Chris Harrod and I played two games of Big Base DBA set in the Roman conquest of Iberia. So Polybian Roman with Spanish allies against an Iberian army with Celtiberian mercenaries. In the first game, as the Spanish defender, I fielded my newly painted Built-up-Area (BUA). Quite pretty it is too – but it does pose quite a lot of challenges for both sides. We liked the first game so much we played the game a second time but swapped sides.
Army Lists
Given the Ancient Spanish are disadvantaged by DBA I gave them a couple of extra Auxilia to even up the game. This was before we threw to see who would be Roman and who would be Spanish.
Game 1 – Chris as Romans; Steven as Spanish
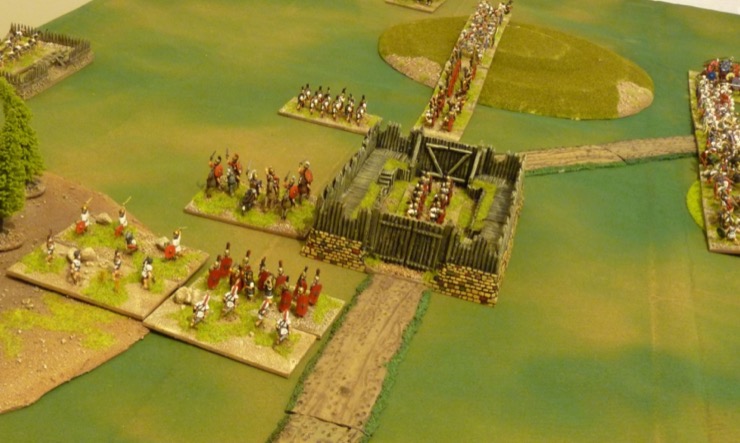
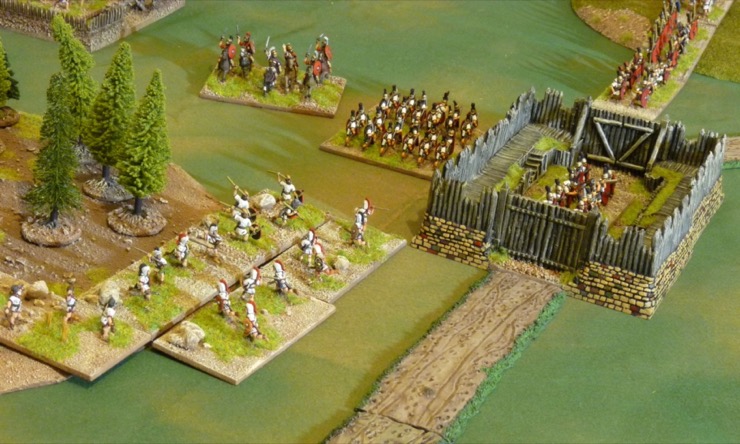
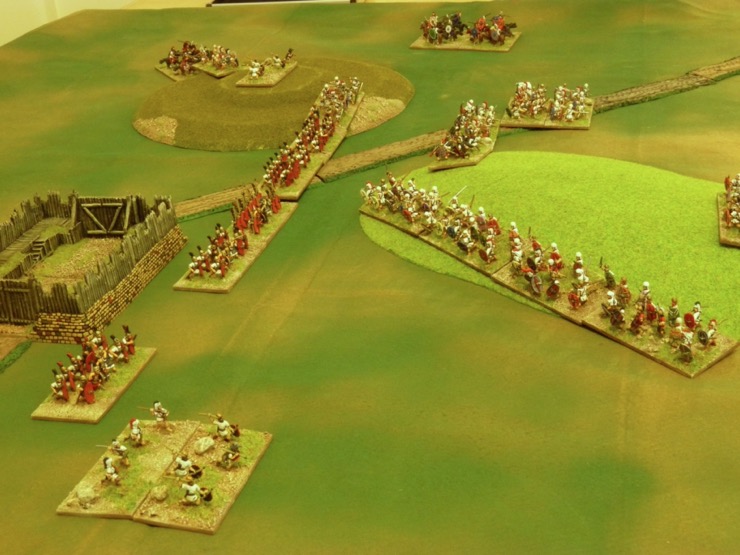
Chris was the Romans in the first game with my picking up the Spanish. That is Ag 4 versus Ag 0 so not surprisingly I was the defender and chose the terrain. Couple of steep hills, gentle hill, wood and my brand new fortified Ancient/Dark Age Built-up-Area (BUA). It is difficult for the defender to get an advantage from a BUA as the attacker is likely to deploy right next it, making the BUA very vulnerable – potential loss of three elements for victory conditions. However, DBA’s BUA rules do give the game the effect of a relief of a siege – something we quite liked.

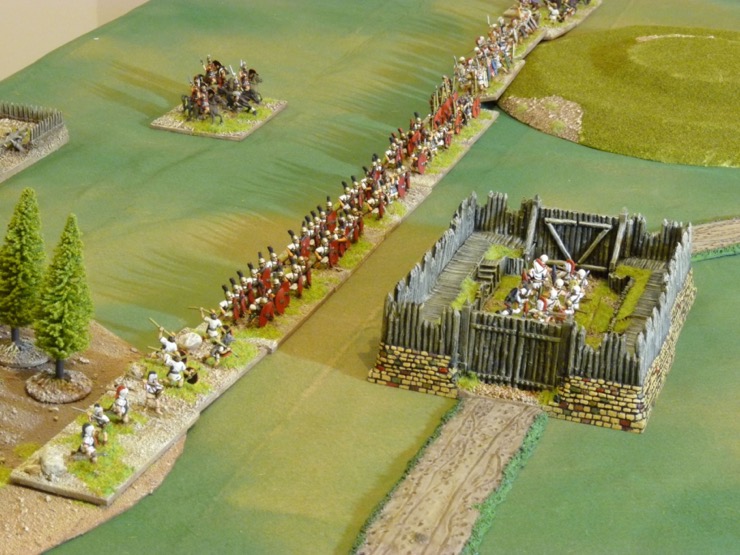
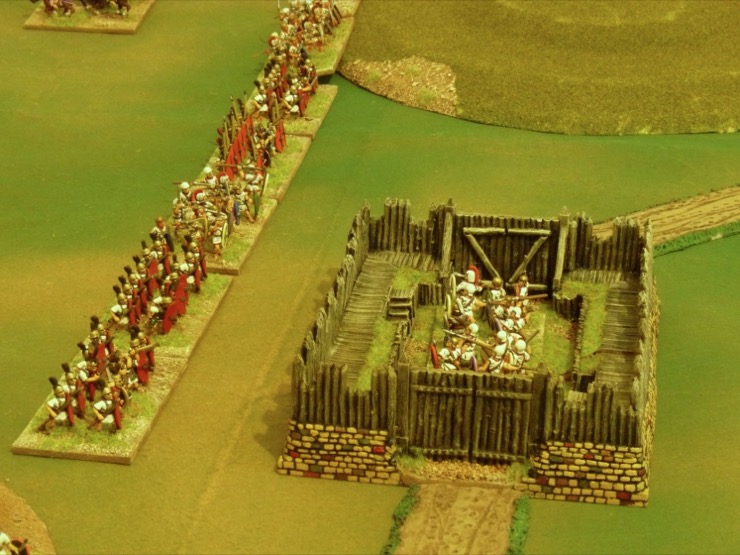
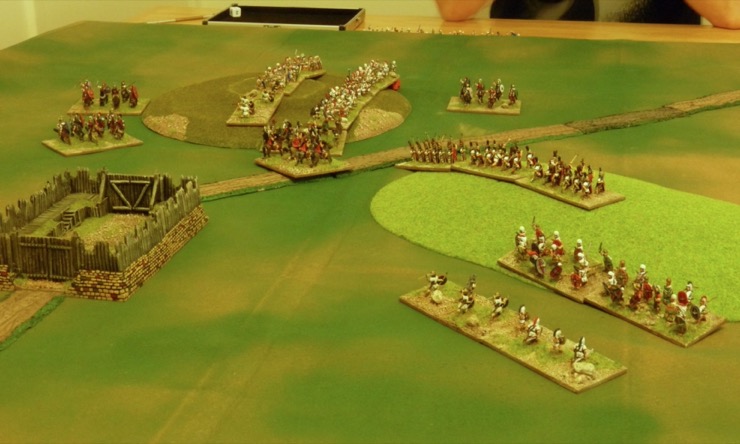
Chris lined his Romans up from wood to steep hill, with sufficient Legionnaires facing the BUA to give me the chills.
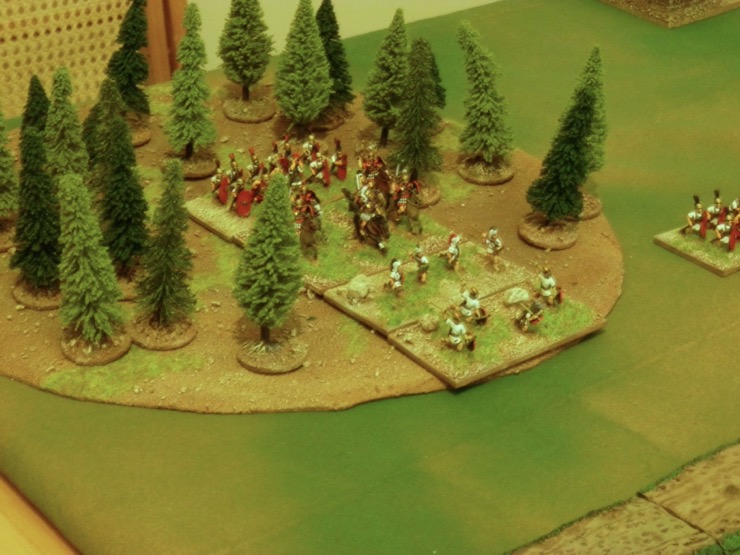
I formed the Spanish into a kind of “L” shape. The backward part of the “L” was so I could unfold part of my army in front of the BUA, and avoid the inconveniently placed steep hill. (Not that I did manage to unfold in the end.) I also put a few skirmishers in column on the pesky steep hill. My plan was to force march the Caetrati to challenge the Romans in the wood near the BUA. This was a high risk strategy and was going to be critical in the game to come.
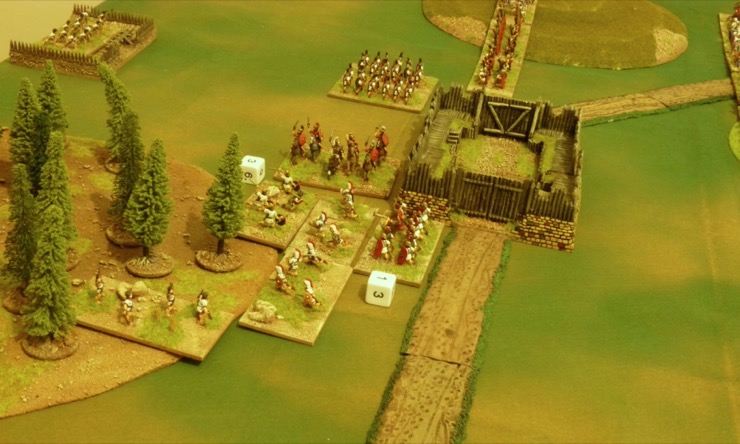
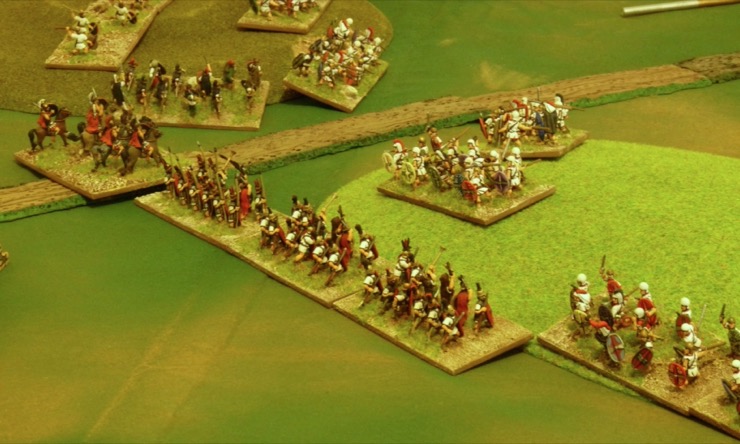
As planned, on my first bound, the Spanish Caetrati force marched across the table. This was an attempt to distract the Romans from attacking the BUA.

The distraction didn’t work and the scaling ladders went up. Luckily I bounced the first assault wave. The factors were 5 for each attacking Blade (they didn’t combine but attacked separately), and 3 (Auxilia) + 3 (fortifications) for the garrison. 5 versus 6 sounds alright and I managed to recoil all three attackers the first time around.

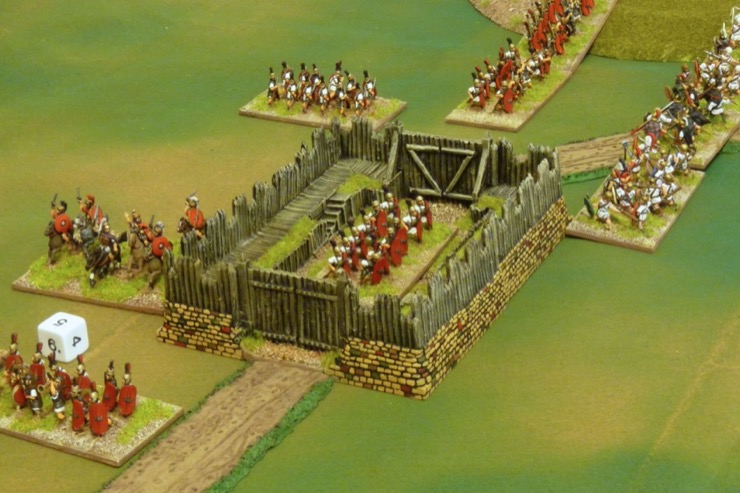
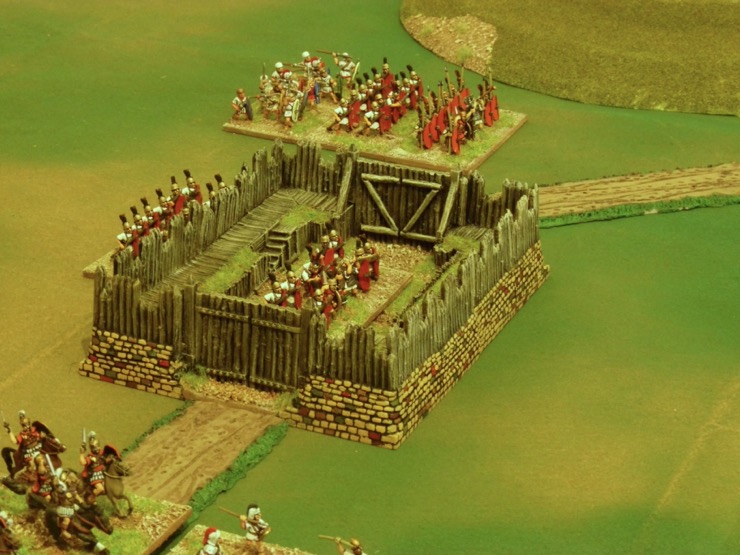
Unfortunately, the second assault wave took the town. 6 versus 5 but auto kill if the attackers get more than the defender. I was suddenly three elements down; one for the lost garrison and two for the lost BUA.
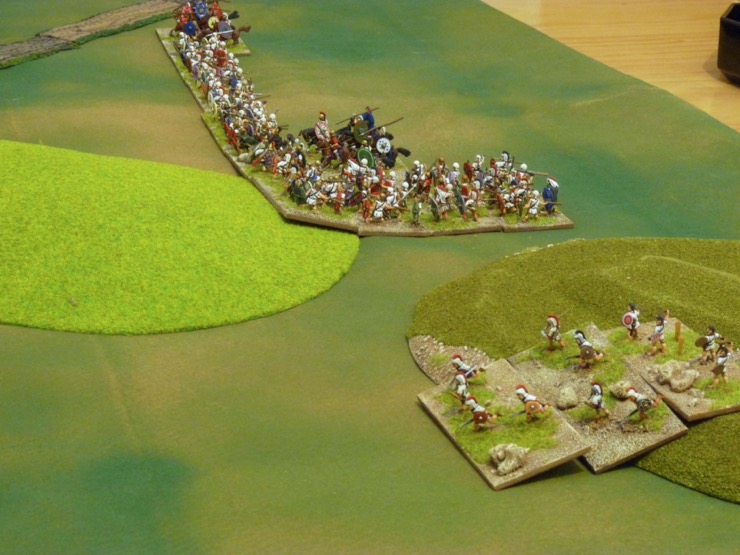
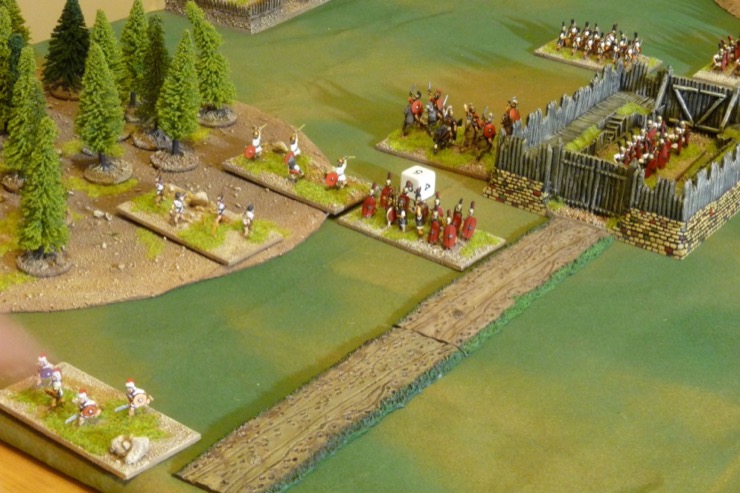
The skirmish in the woods initially went well for me but then turned nasty. And I threw a succession of “1”s on the PIP die so my main battle line was very slow in coming to the rescue.
The killer was when the Romans in the BUA ceased looting and sallied from the gate to hit my Caetrati.
The fight in the wood became very one sided.

My succession of PIP 1 scores meant it took a long time for my main battle line to get anywhere near the Romans and take the pressure off the Caetrati.
So after a few bounds my Caetrati fled in the face of the Blades, through the wood and off table. Game over. My high risk strategy had failed. But it was a fun game.
Game 2 – Steven as Romans; Chris as Spanish
Chris was keen to give the Spanish a go so we swapped sides but left the terrain in place.

Generally the deployments were similar to Game 1. I deployed Romans from wood to steep hill but I put a flying column in the woods. They would either slow up any troops trying to support the BUA or have a go at any exposed flank.
Chris adopted my “L” shape but put the whole army into that formation.

Chris also had an element of Scutarii as the BUA garrison.
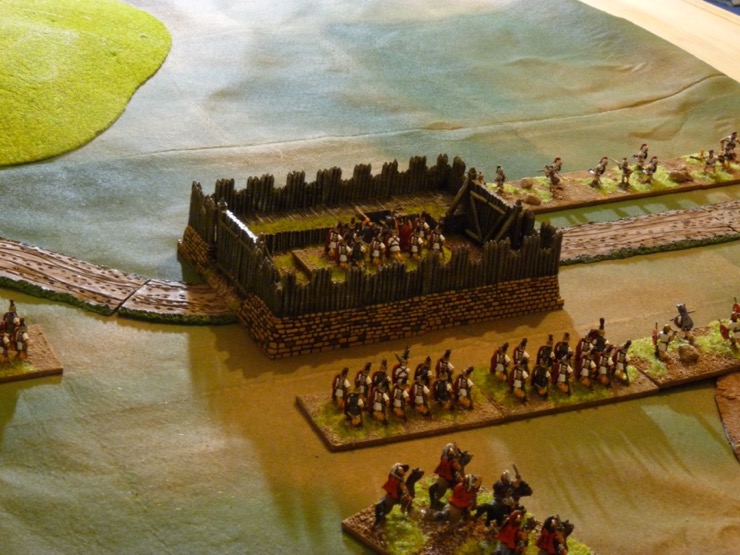
Clearly the Spanish garrison were a bit daunted by the might of the Roman war machine so on Chris’s first bound he vacated the BUA and left it to the denizens to defend.

Denizens are not very staunch and the BUA fell at the first rush. But this only meant the loss of two elements to victory conditions not the three he would have lost had he left the garrison in place.
The we got into a big battle of manoeuvre. Lots of bounds and lots of PIPS spent on jockeying for position.
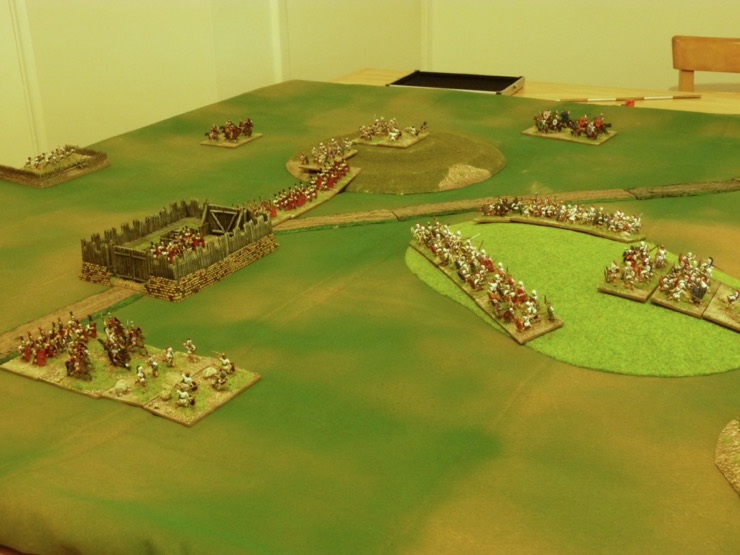
We finally lined up with Chris in a very shallow V formation. His right flanked faces Romans on the steep hill. His left flank was defending the gentle hill across from the BUA.
Then the game got hot again. Chris sent his right flank up the steep hill. The Celtiberians (warband) did a couple of quick kills making things look a bit grim for the Romans.
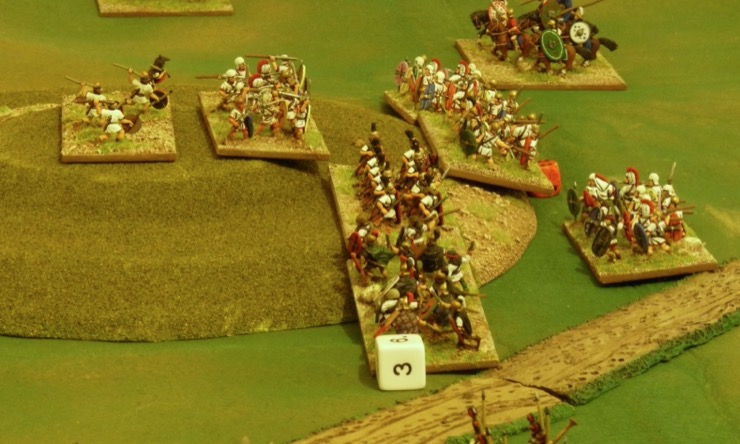
I pinned the Celtiberians with the Roman Cavalry (and General). The Warband’s only movement choice was to face my Cavalry in the open – which they were loath to do.
With the Warband pinned and my right flank covered by Velites, I could send the Legions up the gentle hill. And up they went, pushing the Spanish line back.
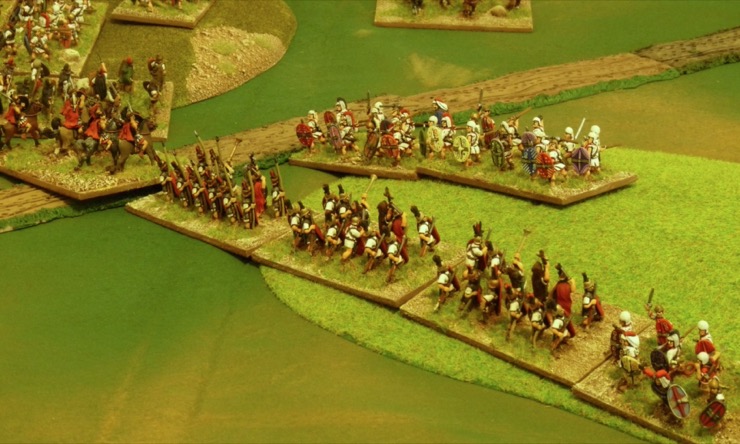

It was a simple meat grinder. Factor of 5 for the Blades. Factor of 3 (Auxilia) + 1 (defending hill) for the Spanish. Odds on for a Roman victory. Turned into a certainty as soon as I got overlaps and reached the crest line and got the +1 for the hill myself. Game over.
Conclusions
A couple of great games brought to conclusion in about three hours of play.
The BUA was both pretty and fun. It really gave the feel of the relief of a siege. The fate of the BUA dictated tactics by both sides. Fascinating.
The Romans still have the edge even after giving the Spanish two extra Auxilia stands. Those Legionnaire Blades are mincing machines. So the Romans won both games. Next time I might nudge the Spanish up a bit more – maybe give them an extra Caetrati.
And I’m loving the look of Big Base DBA.
I’ve got to do something about lighting for these battle reports. Chris has very weak lights in his flat so everything comes out a strange yellow.
two beautifull game with a BUA. but again Roman it is difficult to keep it free.