
Chris, Jamie and I played the pick up version of my Sagrajas 1086 – A Big Battle Big Base DBA (BBBBDBA) Scenario. This was an excuse to use my new El Cid Army for Big Base DBA. Each side had 24 elements on a 6′ x 4′ table.
Deployment
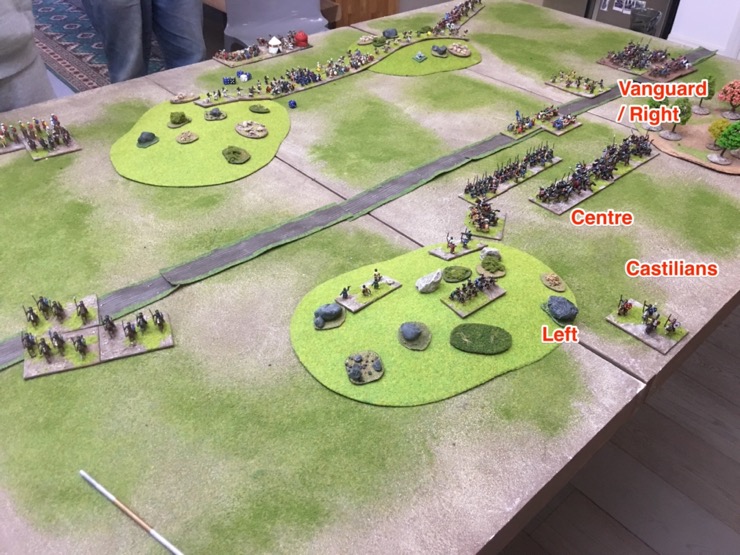
Chris, with help from Jamie, set up terrain. A road, three steep hills, and a wood. The hills and woods were quite large as well. This was all because Chris felt nervous commanding an army with 50% light infantry skirmishers (6 x 2Ps). Fair enough. I’d feel nervous trying, in DBA, to stop Knights with Psiloi.
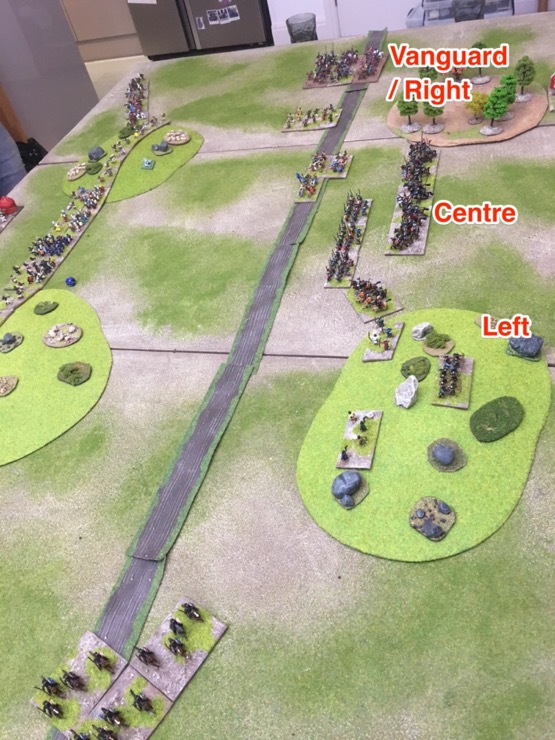
Both armies deployed with the commands side by side. The Castilian Vanguard was facing the Andalusians (Chris) and the Castilian Main Body was facing the Murabitun (Jamie).

This meant both armies had a join in the centre where the infantry of the two commands met.

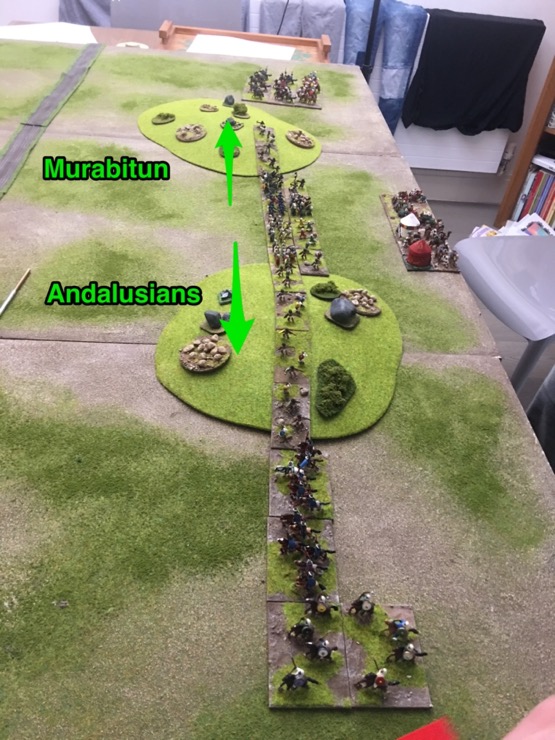

Amongst their 24 elements the Castilians had 10 Hidalgos (Knights). Six of them were in the Vanguard. This is where I intended to attack. Unfortunately I didn’t have enough flocked knights, so I had a few elements on table that were only partially flocked. These, and some other elements, where from my first “El Cid” army. The rest of the army are the new version.
The Battle
Being Spanish, I attacked.
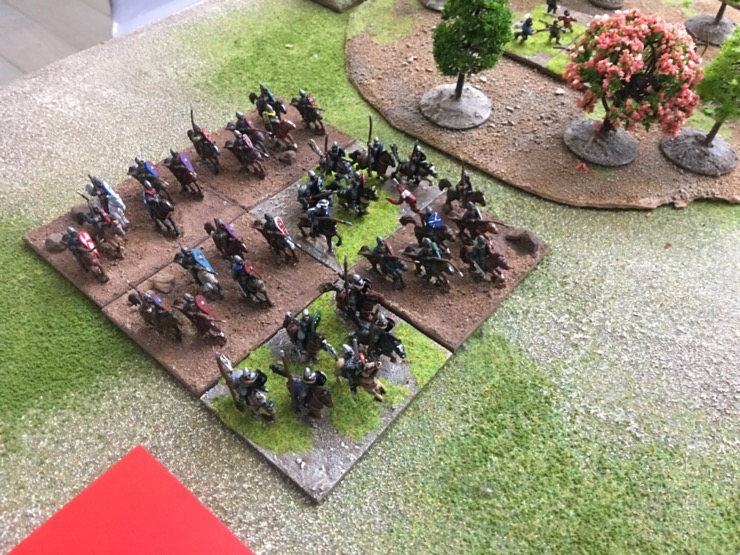
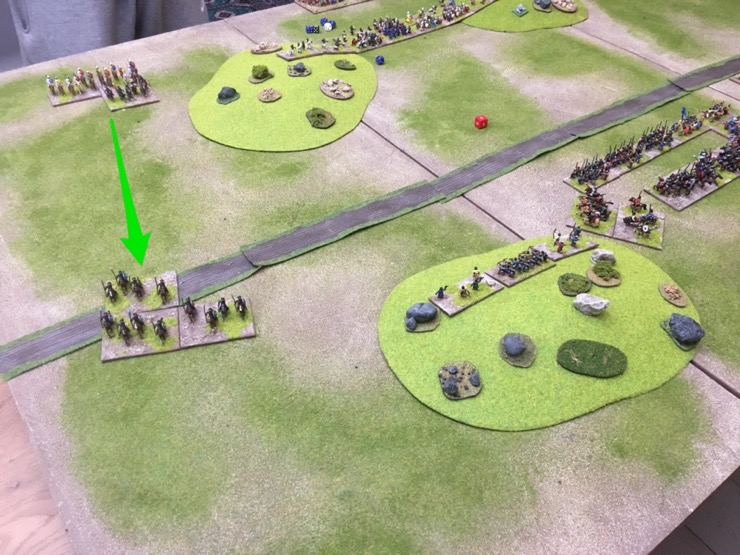
However, my advance was interrupted by the bad going. My cavalry had to go crowd around the terrain. As you might have noticed above my Vanguard Hidalgos were in a solid column (2 wide and 3 deep); this was to fit between the woods and the edge of the table. In the centre my lighter cavalry – Caballos Villanos (Cv) and Light Horse – had to swerve around the hill on my left.

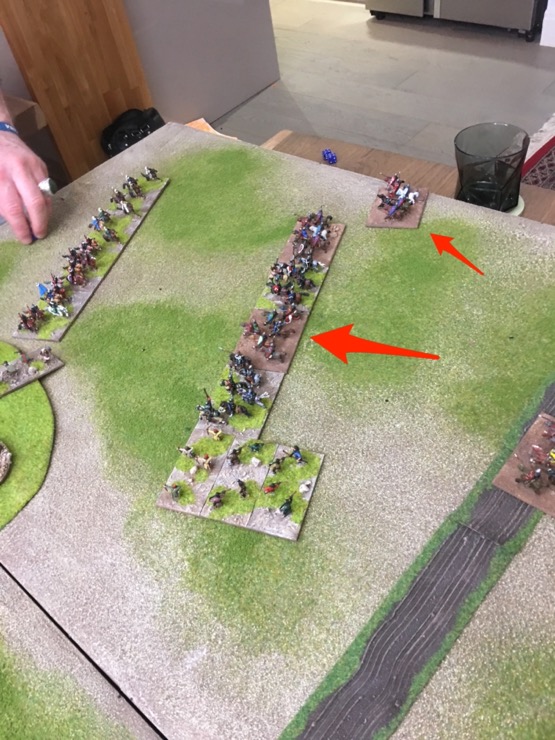
That hill – the one on my left – offered Jamie and opportunity he couldn’t resist. He launched his light horse into a on-table flank march.
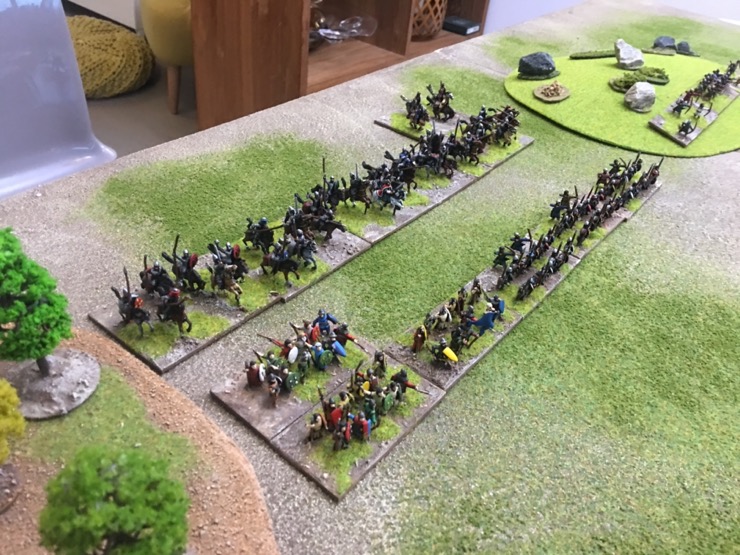
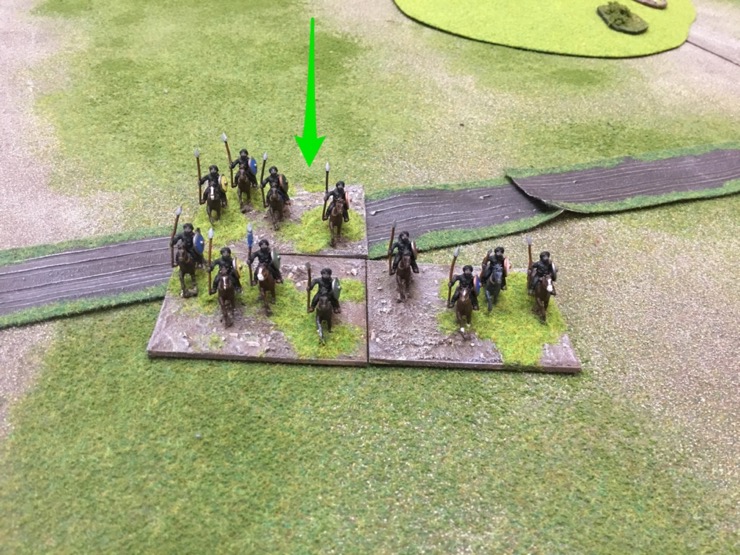
By the way, if you couldn’t tell, the Murabitun are mostly wearing black.
With the Vanguard Hidalgos roaring down on them, the Andalusian horse pulled back.
By this stage of the battle, my battle plan was becoming obvious. Attack on the right, pin in the centre, and hold on the left.
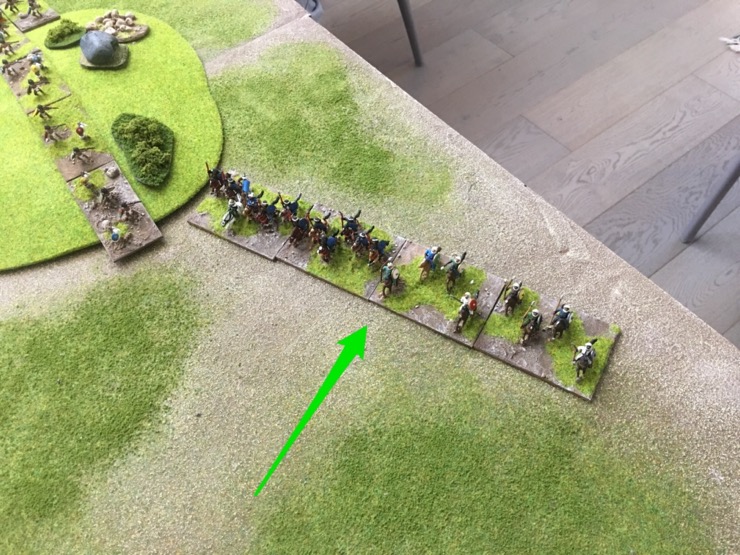
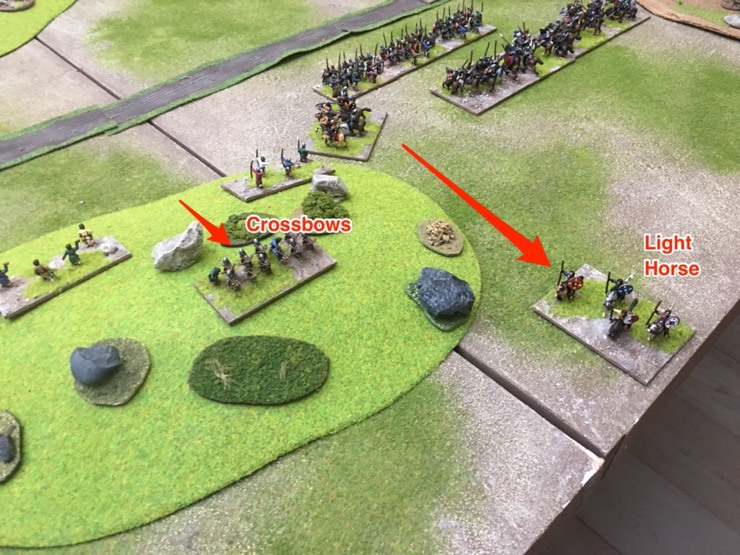
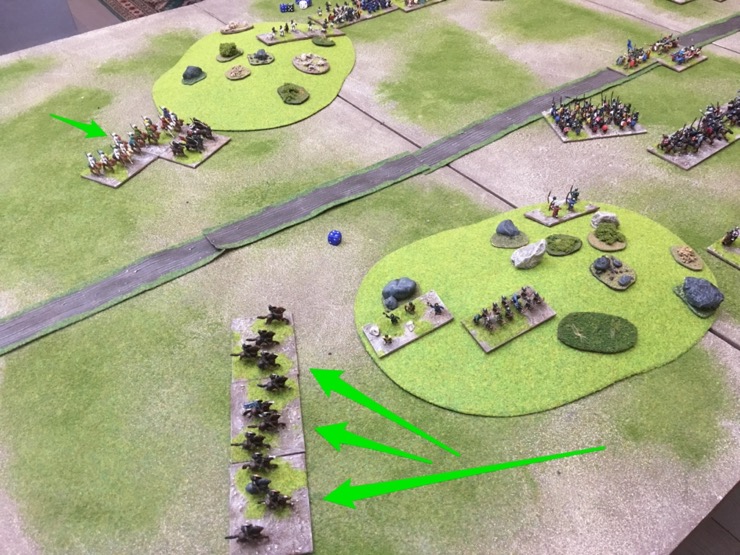
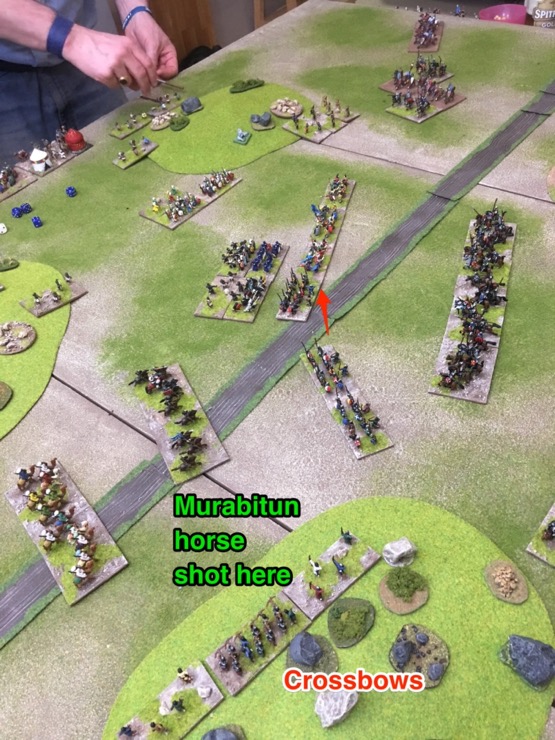
On my left I moved the Crossbowmen and Light Horse to block the hole towards the Castilian rear.

None-the-less Jamie pushed his Murabitun horse further forward.
On the right I deployed the Vanguard Hidalgos for combat. They had been in a thick column to squeeze between the wood and the edge but that formation would be a problem in combat. I needed them in a line.
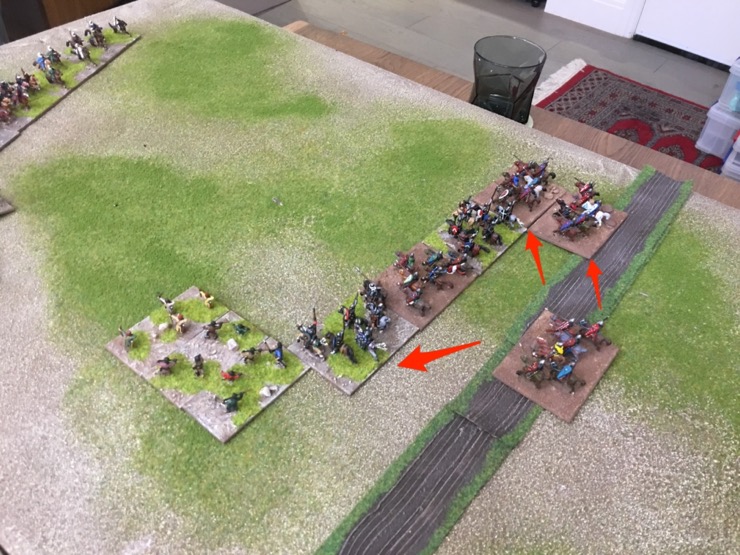
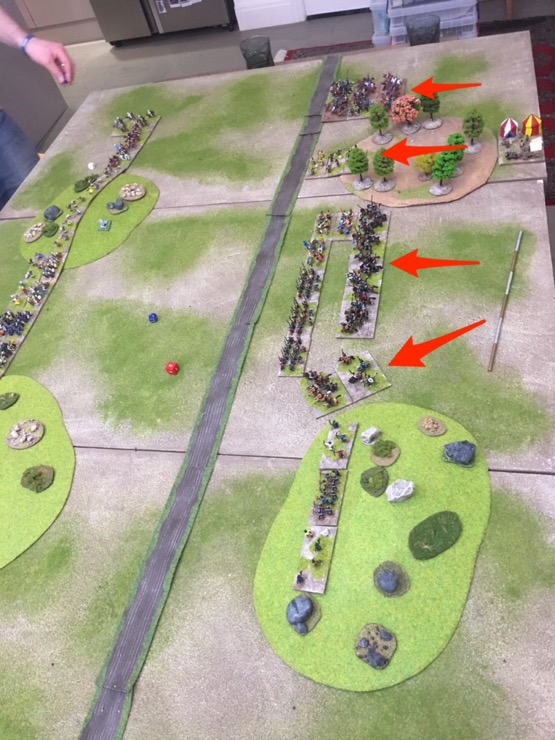
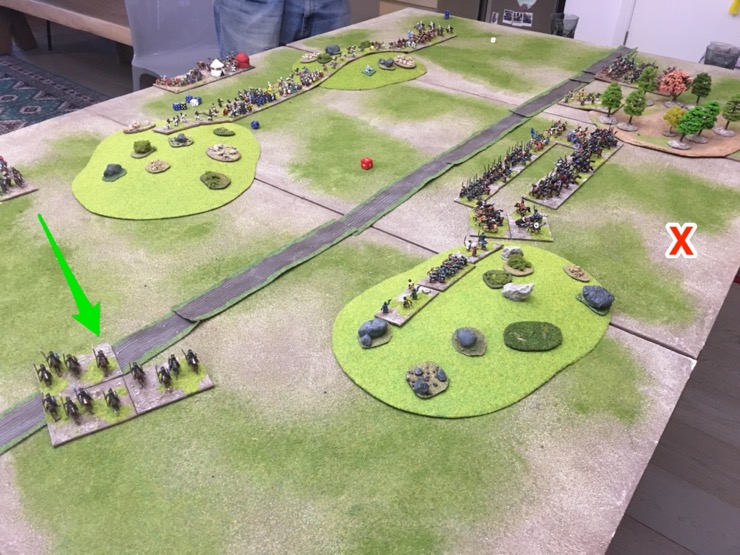
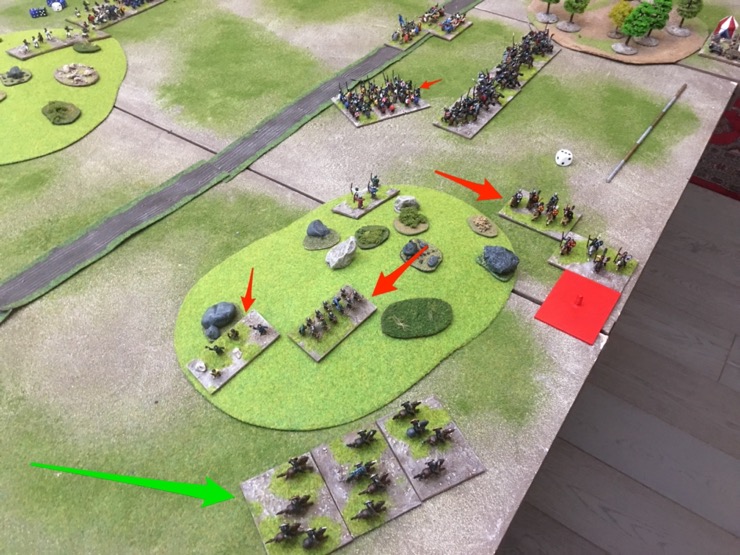
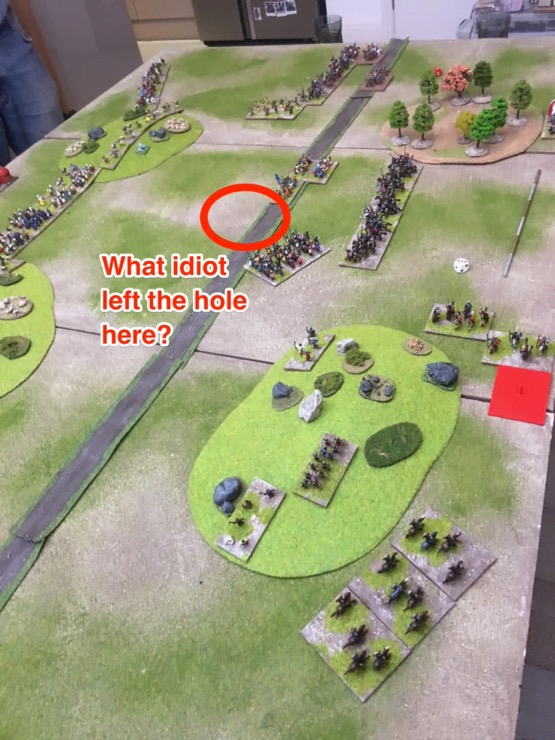
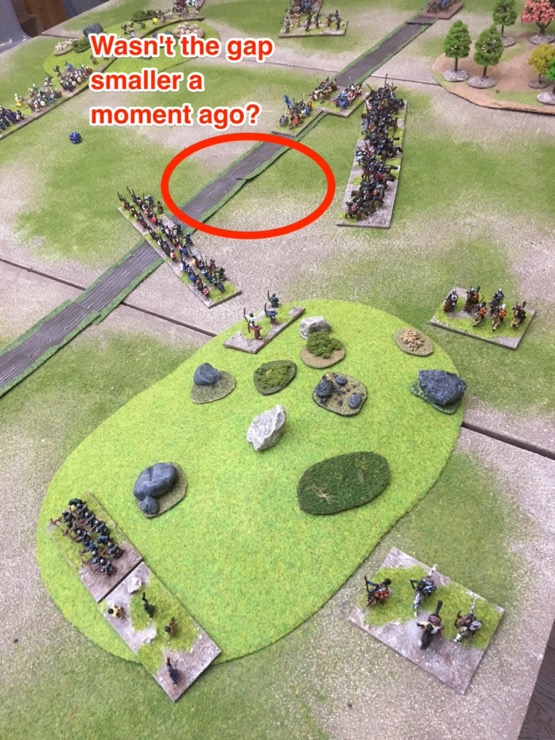
Unfortunately, I had handled my centre a bit clumsily. There were a couple of reasons for this. Firstly, it is where the two commanded joined, so I had to use PIPs from each command to move the centre. Secondly, but related, the action was happening on the flanks so the centre didn’t get PIPs. The net result was a gap in the centre. A gap that Jamie and Chris noticed.
Back on my left, I increased the threat to the Murabitun horse. Safe from my perch on the steep hill.
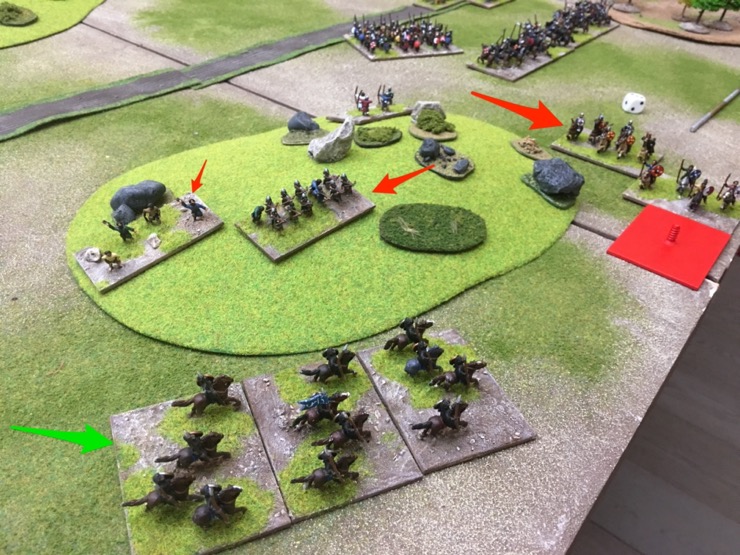
Jamie sensible pulled back.
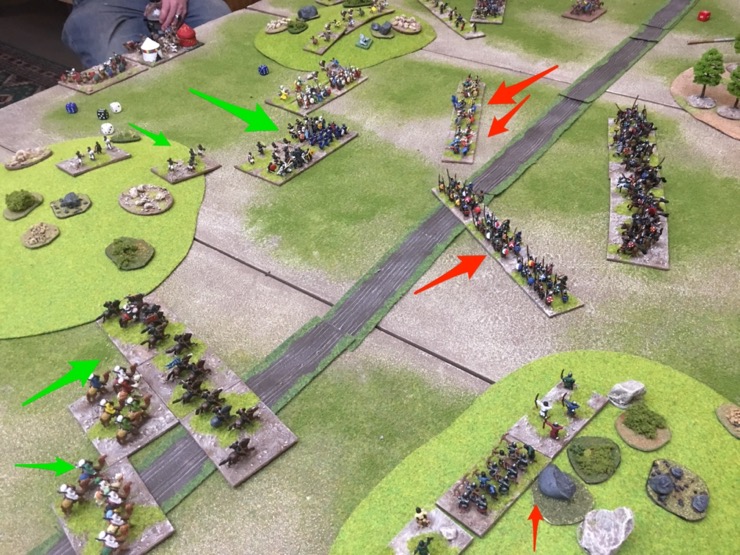
Now all three of us shifted our focus to the centre and right.

Jamie and Chris set their hopes on the gap in my centre. Which, somehow, I’d managed to make bigger.
Chris started to advance his infantry in the centre.

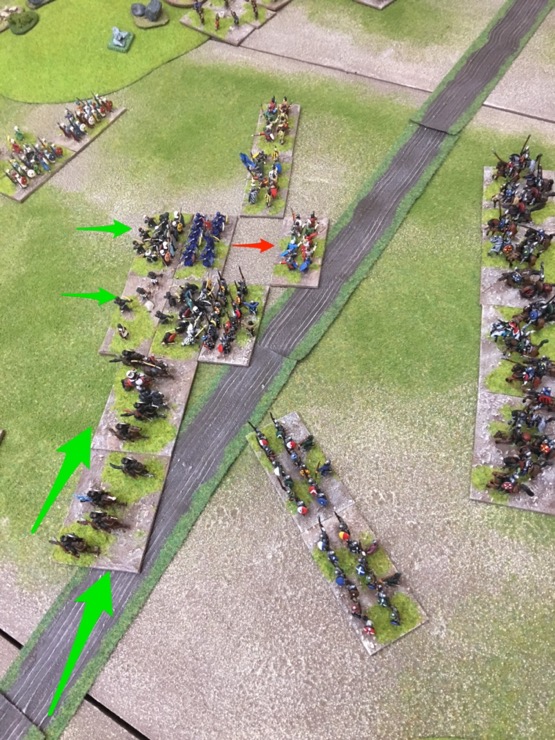
My hopes were with the Vanguard. And for the first time the Hidalgos were in charge distance.
Actually it was the Hidalgos’s charge distance, it was the charge distance of their Andalusian foes. So, in a do or die moment, Chris charged with the Andalusian horse, including his general. This is how Al Mu’tamid ibn Abbad of Seville came face to face with Álvar Fáñez.

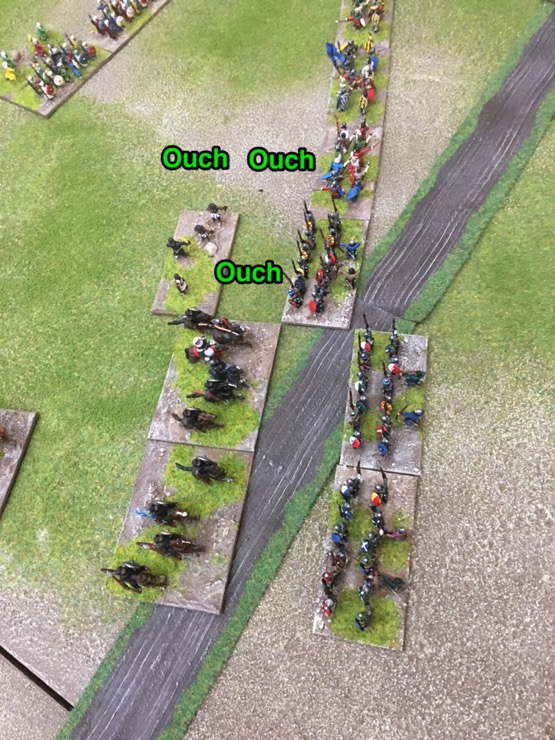
Unfortunately for Chris, and Mutamid, this encounter didn’t go well. Álvar Fáñez beat Al Mu’tamid

The neighbouring Hidalgos also destroyed the other Andalusian cavalry element.

Now the only hope for the Muslims was in the centre. Jamie pushed his troops forward as fast as he could. Meanwhile I tried to close that nasty gap between my infantry lines. With a couple of good PIP rolls and some nifty manoeuvring I managed to get close enough.
On the right the Andalusians became demoralised through the loss of their general, and began to flee off table.

In the centre Jamie advanced aggressively.
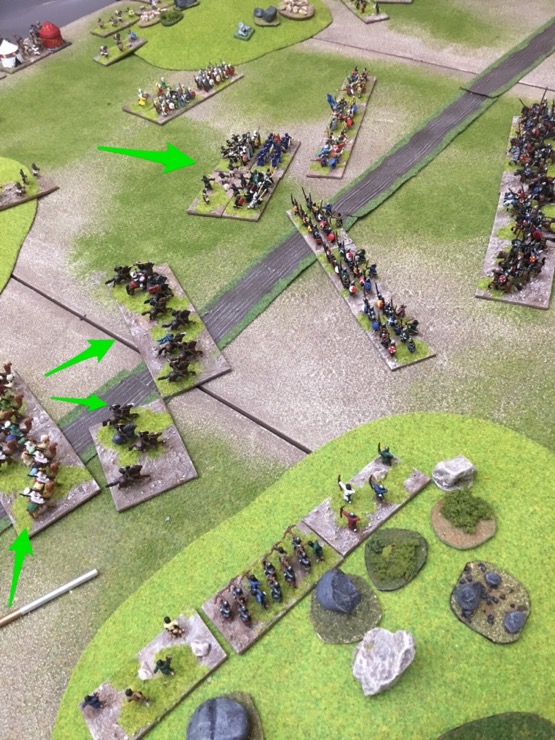
I had my Vanguard racing towards the centre, but they wouldn’t get there in time to help the infantry. The foot sloggers were on their own.
Every good battle has a grand finale and it was no surprise that this was in the centre. Murabitun infantry and horse charged into Castilian infantry.
Unfortunately for Jamie, the Castilians won the melee.
With five lost elements the Murabitun command became demoralised and the Castilians took the field.

Conclusions and Observations
Well we over turned history. That was interesting. Admittedly this was the pick up version of the scenario and not super historical.
The orders of battle are stacked in favour of the Castilians. 10 Knights out of 24 element. That is a lot. And the Muslim don’t have much to stop them cold. They have to exploit the terrain, nibble at the flanks, and hope.
Jamie started well with a on-table flank march aimed at my camp. Unfortunately for him it only took a couple of PIPs to close off that line of advance.
Unfortunately for the Muslims, Chris got overly brave and charged into the knights with his cavalry (CV) and light horse (LH). He did it because he saw a momentary opportunity – with an overlap on a Knight versus Light Horse match up. If he’d been lucky that knight would have died. But he wasn’t luck and the mounted combat on the right ended badly for the Andalusians.
The whole “Big Battle DBA” thing was new to us. Worked quite well, although we only used two commands not the full three commands.
I was worried that I would have 24 elements of “El Cid” era Feudal Spanish. I shouldn’t have worried given I’ve got two versions of the army: one from the 1990s and one from 2018. The Muslims were easy of course – I had masses of figures to spare.
All in all a good game. It would be interesting to play the historical version of the scenario.
Beautiful report, I enjoyed the explanations on the pictures, well done…And of course these handsome armies, and camp…