
Jamie and I played the second game of Populous, Rich and Rebellious, our four player Campaign using Tilly’s Very Bad Day, and set in the English Civil War.
Summary: At the “Battle of Montgomery”, the defending Parliamentarians (Jamie) defeated the Royalists (Steven) in five game turns.
Strategic Situation
Previously Chris had taken the East Midlands for Parliament. In Game 2 I (Steven) was attacking Jamie in Wales.

Campaign Cards
I picked Wales because of my Welsh heritage and because I would get more campaign cards than Jamie. I got three cards and Jamie got 1.
Parliament = 1 Campaign Card
+1 for being the strategic defender
Royalists = 3 Campaign Cards
+1 for being the strategic attacker
+2 for control of the adjacent Royalist Capital (i.e. Upper Thames Valley)
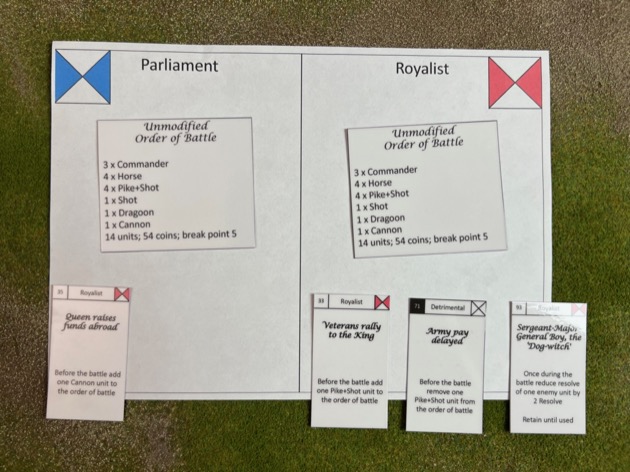
Jamie drew “Queen raises funds abroad: Before the battle add one Cannon unit to the order of battle”. This is a Royalist card and so Jamie had to discard it. That meant Parliament ended up with the standard order of battle.
I got three cards:
- Veterans rally to the King: Before the battle add one Pike+Shot unit to the order of battle
- Army pay delayed: Before the battle remove one Pike+Shot unit from the order of battle
- Sergeant-Major-General Boy, the ‘Dog-witch’: Once during the battle reduce resolve of one enemy unit by 2 Resolve – Retain until used
The “Veterans” and “Army pay” cards cancelled each other out. So, like their opponents, the Royalists got the standard order of battle.
Which left me with the ‘Dog Witch’ card, perhaps my favourite of the entire game system. Boy (also Boye) was a white hunting poodle belonging to Prince Rupert of the Rhine. Boy accompanied his master into battle. Parliamentarian propaganda alleged that the dog was “endowed” with magical powers, hence the ‘Dog Witch’ label. Boy is so famous he has a wikipedia page.
Orders of battle
Despite drawing four campaign cards, between the two players, the two orders of battle were matched. Both sides had the standard order of battle of 14 units.
Royalist Order of Battle
|
Parliament Order of Battle
|
Initiative
We play the tactical attacker has initiative.
Map and Table
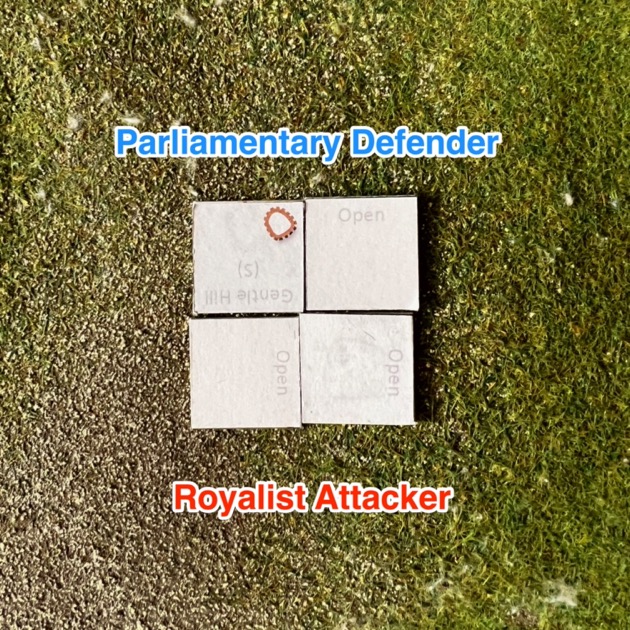
We used Terrain Cards to generate the map and hence the table. The table was mostly open with a small hill in the Parliamentarian deployment zone.
Pre-game
Being a scenario most of the pre-game phase was ignored. The pre-game bombardment causes some confusion in the Royalist ranks. Not much but enough that I didn’t fancy marching straight into the guns.

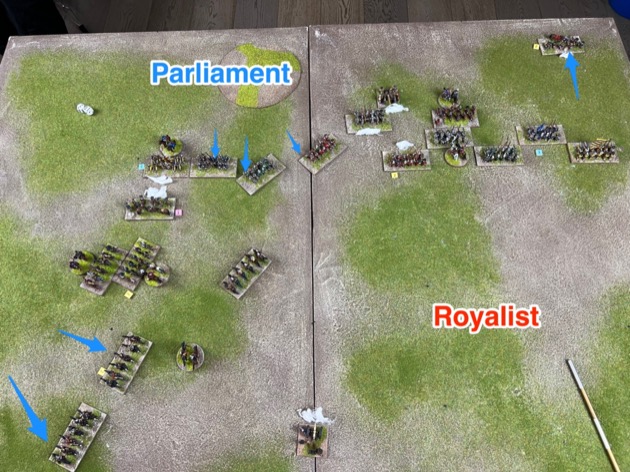
Turn 1
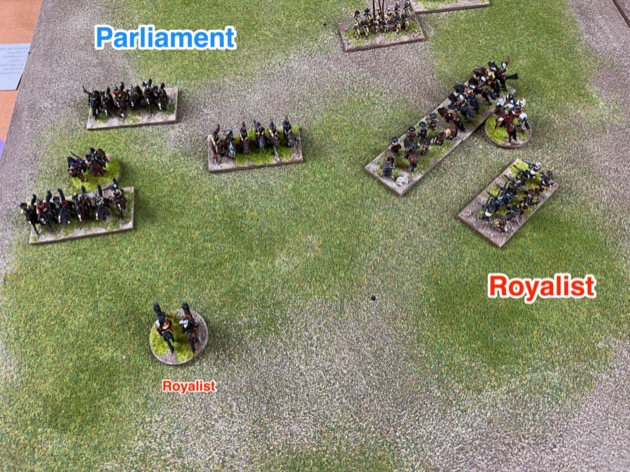
I forgot to take a photo of deployment. So the Turn 1 photo is the first of the battle. I deployed with a cavalry command on the left. A small command with a unit each of horse, shot and dragoons in the centre. And my foot were placed on the right. Jamie had a strong cavalry command facing my left. His foot were in the centre, facing my mixed command. He had a small command of shot and dragoons to face my right.
I figured Jamie would hold his infantry in the centre, hoping to get advantage from the hill. My grand plan was the entice Jamie’s cavalry command to advance into a pocket on my left. I advanced on the right and centre, and I held my cavalry command back on the left.
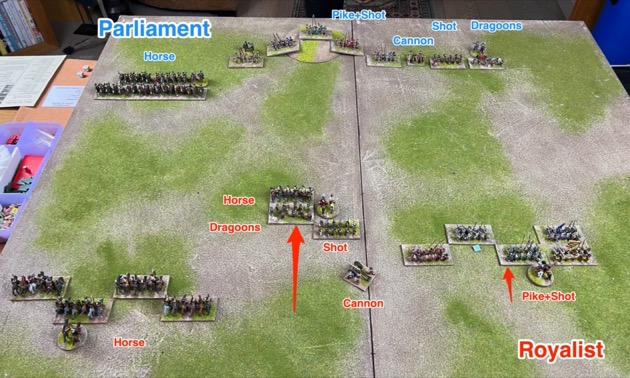
Jamie pushed his dragoons forward to slow up my advance on the right but otherwise waited.

Turn 2
In turn 2 I lost the battle. Strictly speaking in turn 2 I made a decision which eventually lost me the battle. Rather than stick to the plan, I advanced my cavalry on the left. Mad, rash, impetuous fool.

The other two commands used oblique moves to drift towards their respective flanks. On the right I had quite a lot of infantry facing a single unit of dragoons.

On the left I had two commands, with superior numbers, facing Jamie’s cavalry command.

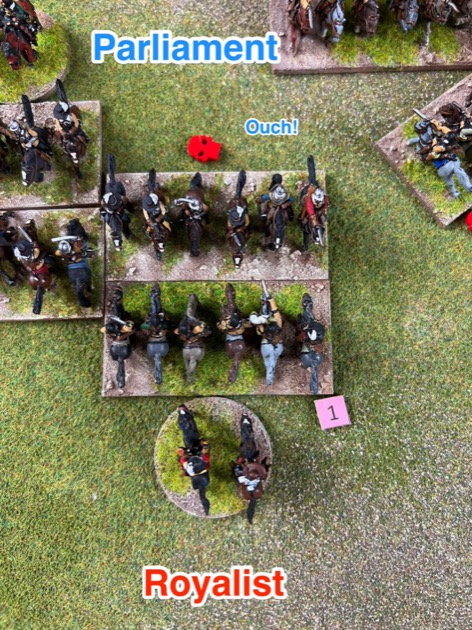
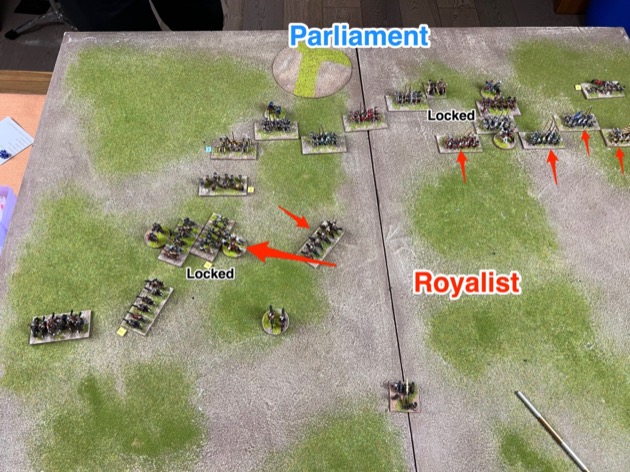
There was a lot of charging as the cavalry lines clashed together.

Cavalry fights are short and brutal in Tilly’s Very Bad Day.
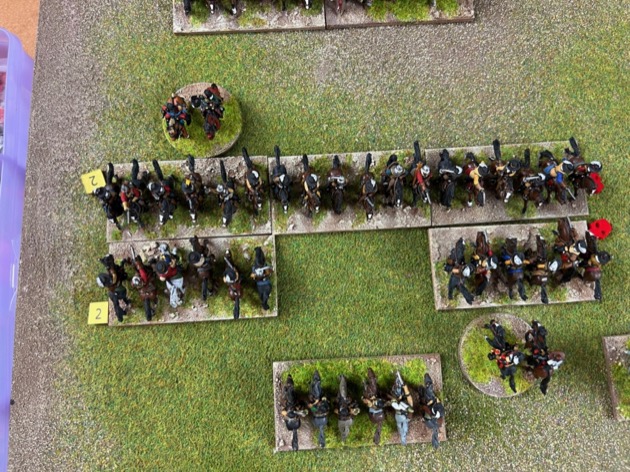
We both lost a cavalry unit

At the end of turn 2, I still felt I was winning on the left.

Turn 3
In turn 3, I continued my drift towards the flanks.

On the right, Jamie had a very thin line facing my pike and shot.

Jamie pulled back the dragoons to keep his distance.

On the left I felt I was closing in on Jamie’s horse.

But it was an illusion. Jamie advanced.

Then there was a bit of mutual charging.

I lost a horse unit.

Jamie lost a horse unit.
Sigh. I lost another horse unit.

Quite a lot of routs. But the odds were definitely going against me.

Suddenly Jamie controlled the extreme left. And I had little to stop him.
Turn 4
I kept pushing forward on the right and started trying to pull back on the left.


Jamie saw his moment and started advancing everywhere.

Only a couple of charges this turn. One by Parliament on the left and one by the Royalists on the right. Both were inconclusive.


Turn 5
I kept advancing my infantry on the right and tried to hold the line on the left.
And again Jamie advanced everywhere.
I finally got my infantry to bear on the right and charged.

But the Parliamentary shot were staunch.

The routed one of my pike and shot units and killed the general. [Note: Actually, looking at the dice now, there were 3 hits, which wasn’t enough to rout the unit. But hey, fortunes of war.]

That was the end of the game.
Observations and conclusions
Well, that was short and sweet. 90 minutes leading to a clear Parliamentarian victory. Jamie played a solid game. I thought I had a good plan in game turn 1, but then threw it away in game turn 2 and advanced. My original plan might have worked. My new plan game face to face with superior numbers and I got hammered. Serves me right.
Two victories for Parliament. The only good news for the King is that now, after two games, the Royalists had two campaign cards to carry over into future games.

Where to get Tilly’s Very Bad Day and Populous, Rich and Rebellious
Both are available for download as PDFs:
Tilly’s Very Bad Day (PDF)
Populous, Rich and Rebellious – English Civil War Campaign (PDF)
An enjoyable game by the looks of it. The photos from above the table with arrows added certainly help the reader understand the flow of the game.