
Chris (British) and Steven (French) fought another unnamed battle from the 3rd Carnatic War (1756-63) (Seven Years War in India). We were using Adam’s home baked rules and figures, with jungles and fortifications provided by Steven. Once again the disciplined troops – European and Sepoy – showed their dominance over the lesser trained locals. All subsequent words are Adam’s.
Introduction
For the second test game of my rules (tentatively named Turbans and Tricornes, thanks Vincent!), I (Adam) umpired a game between Chris and Steven. This was fairly similar to the first test game, with the British again attacking French fieldworks. Once again a river and some jungle formed natural flanks although the table was bigger (6’x4′ not 4’x4′). Because the armies being bigger, both sides got to deploy some exotic units.
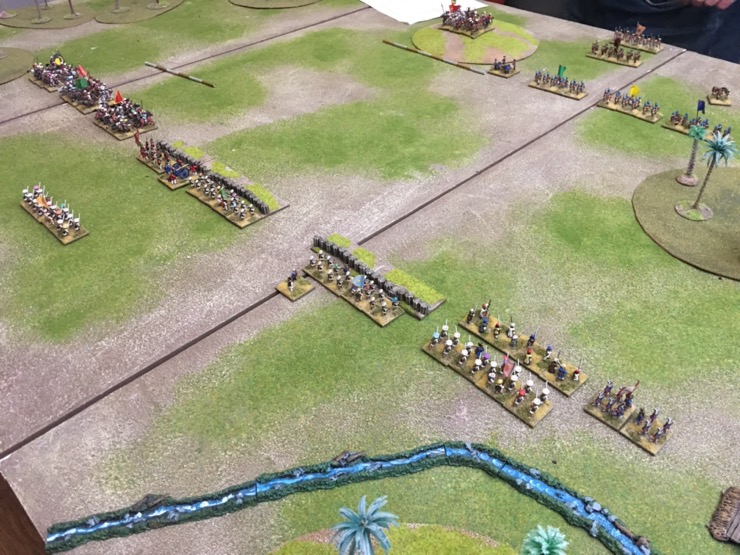
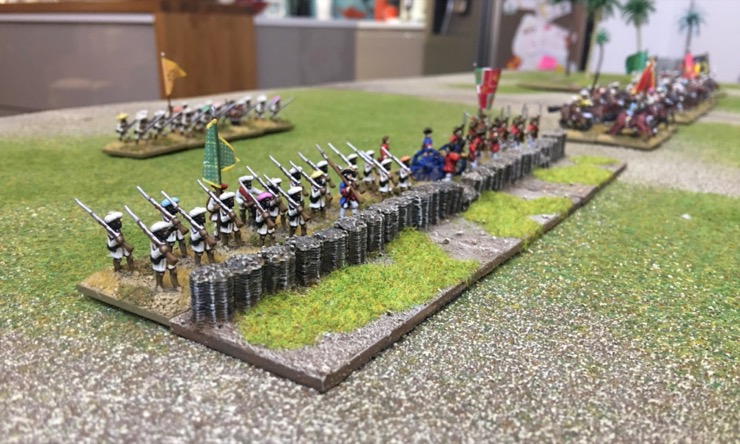
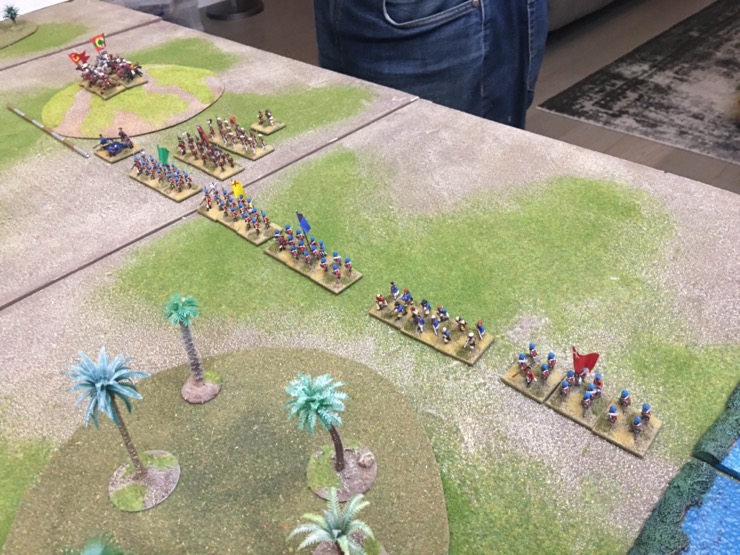
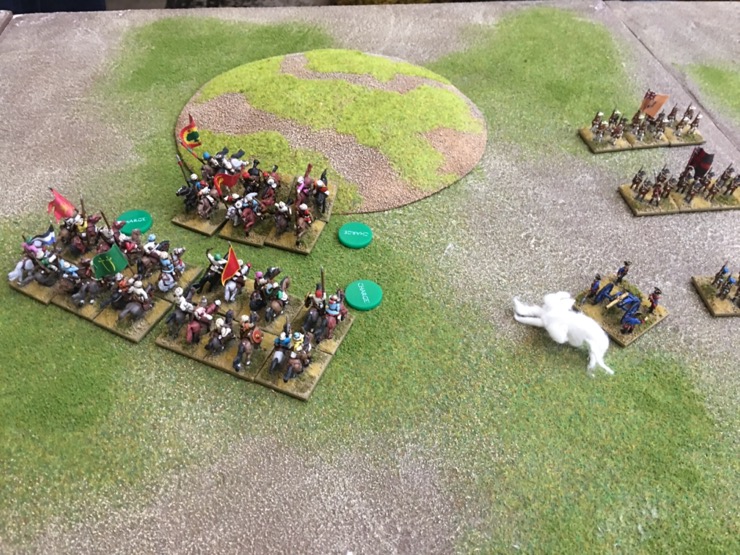
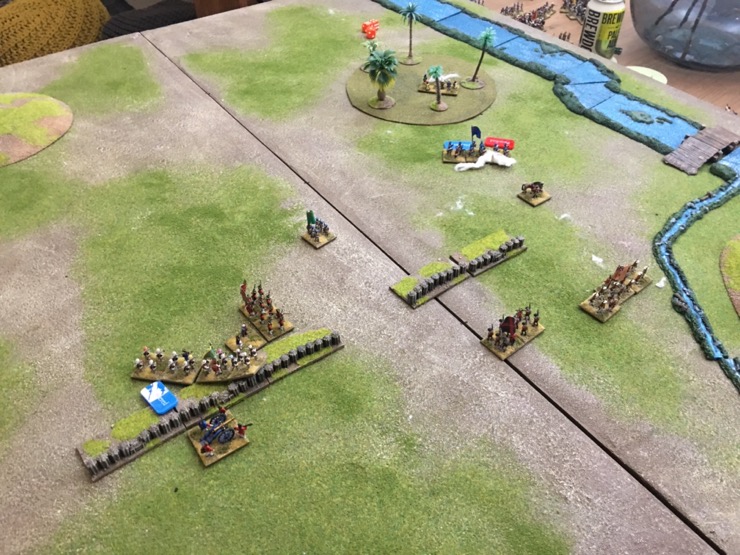
Steven would be defending as the French. On his left, he had three big blocks of native irregular cavalry. For his main battle-line, he filled the fieldworks with his French Sepoys, deployed his artillery in the centre, and placed his elite European battalions on each flank. On his right, he deployed two units of mercenary skirmishers.

Chris chose a rather unconventional approach. He chose to attack in a line focusing on the left, even though this would result in his troops marching through a jungle. His two elite European units were kept in reserve in the centre, with the right being held by his artillery and single unit of native cavalry.
Opening moves
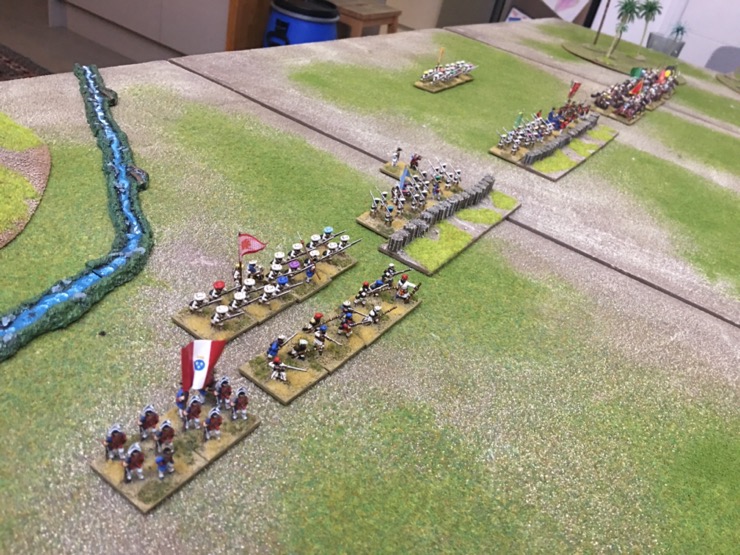
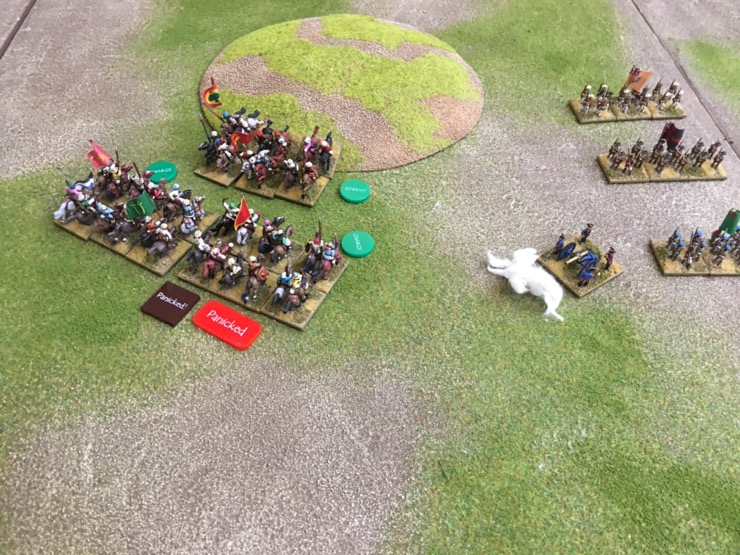
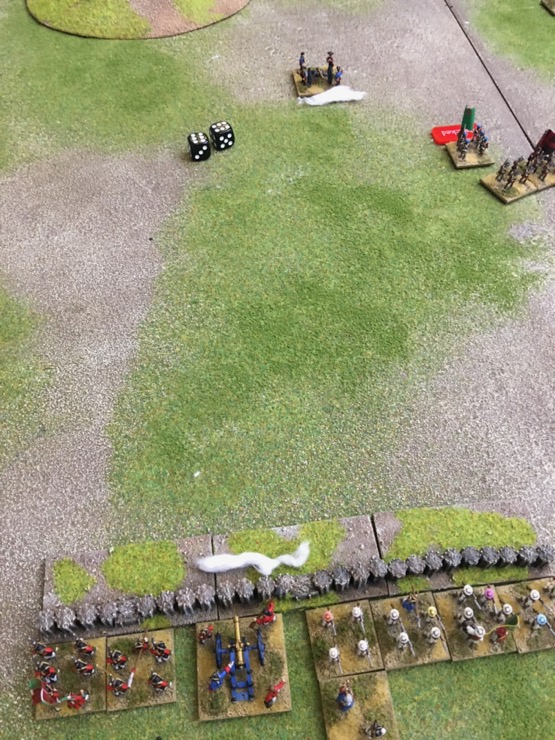
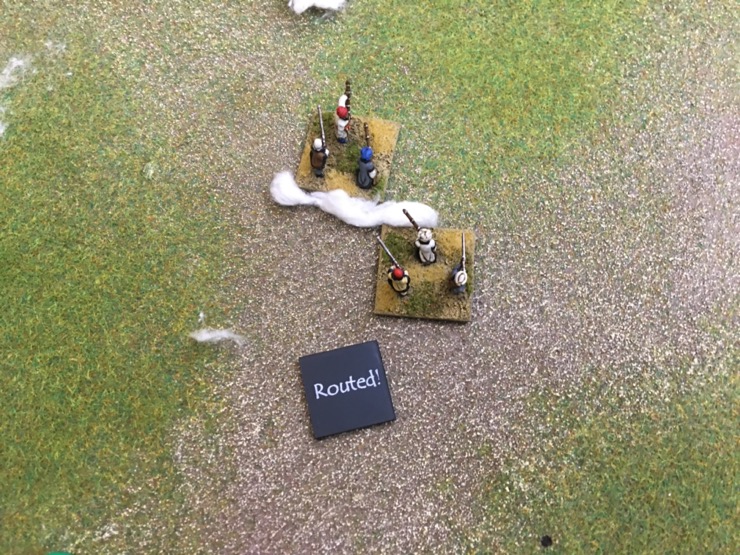
Steven wasted no time in throwing forward his cavalry, which outnumbered the British cavalry three-to-one. The result went as expected, despite one French unit losing their nerve in the face of British artillery fire (‘irregular’ troops are more susceptible to the effects of artillery in these rules). The British cavalry were routed, and the French cavalry surged into the British flank.

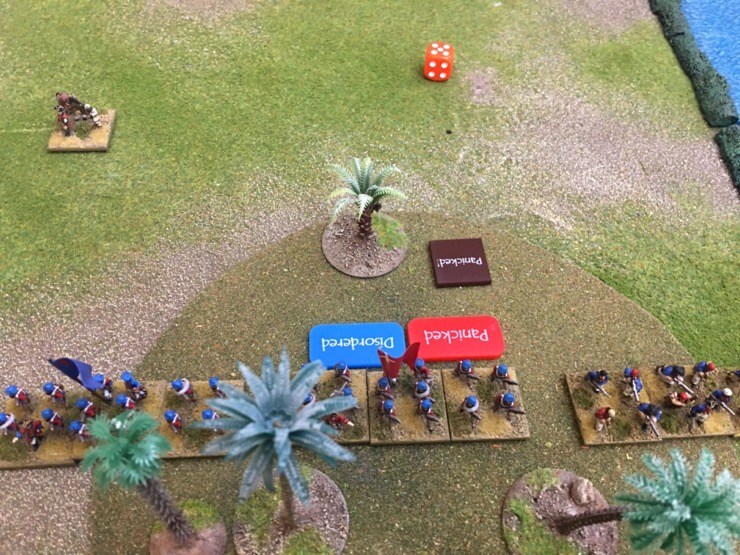
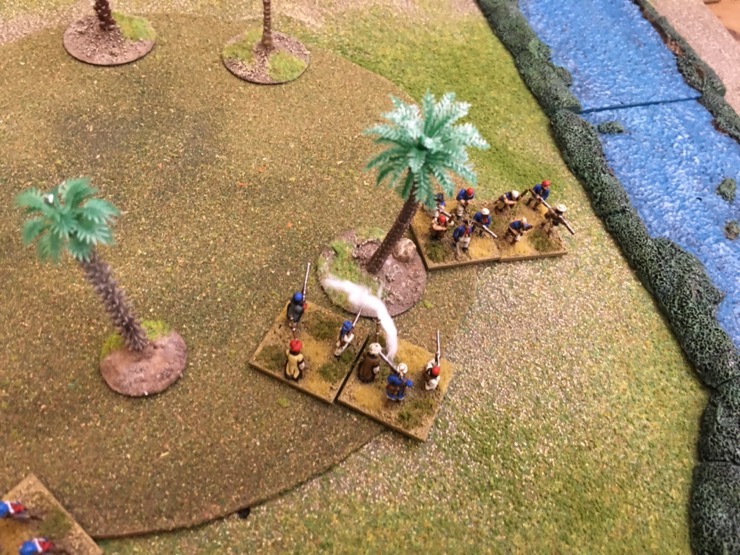
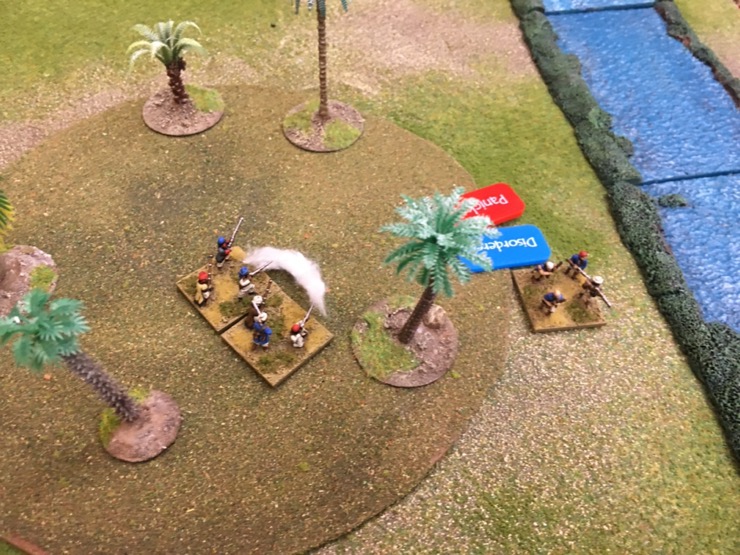
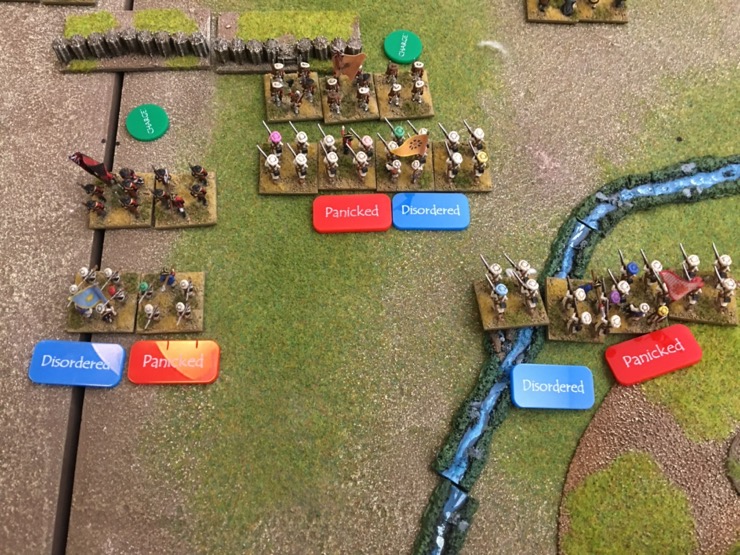
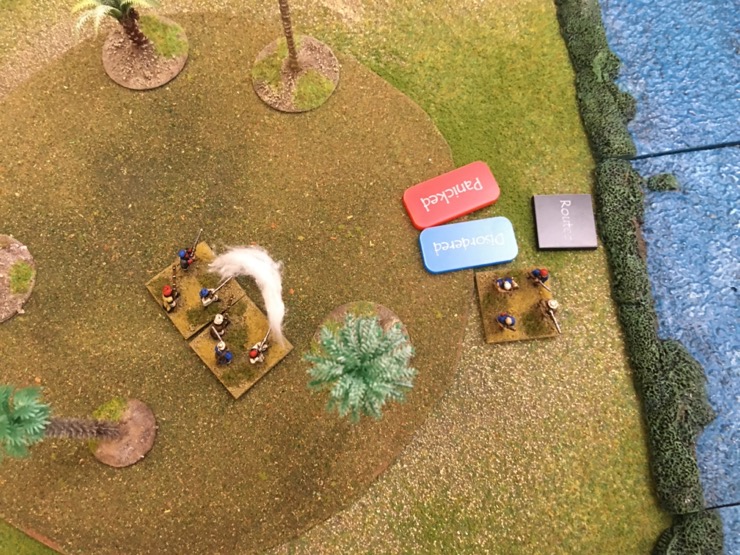
Meanwhile, Chris was moving his line forwards, but his troops took severe movement penalties hacking through the jungle. Steven took advantage by sending forward his skirmishers. Hardened Afghan mercenaries armed with long jezails, these understated troops would wreak havoc amongst the floundering British (aided by some consistently awful rolling by Chris).

The Afghans quickly panicked some British Sepoys, which in turn panicked the British Sailors on their left (historically, both sides employed naval troops, to very mixed effect). They failed to rally, and continuing jezail fire inflicted another panic on the Sepoys, routing them.


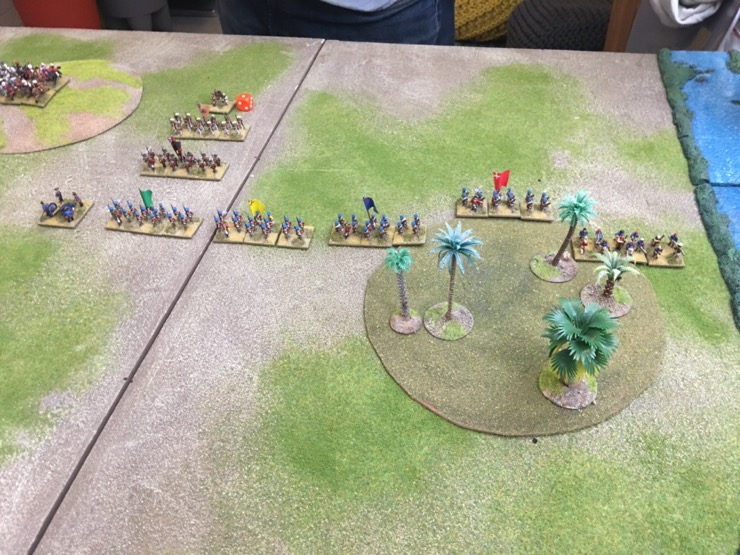
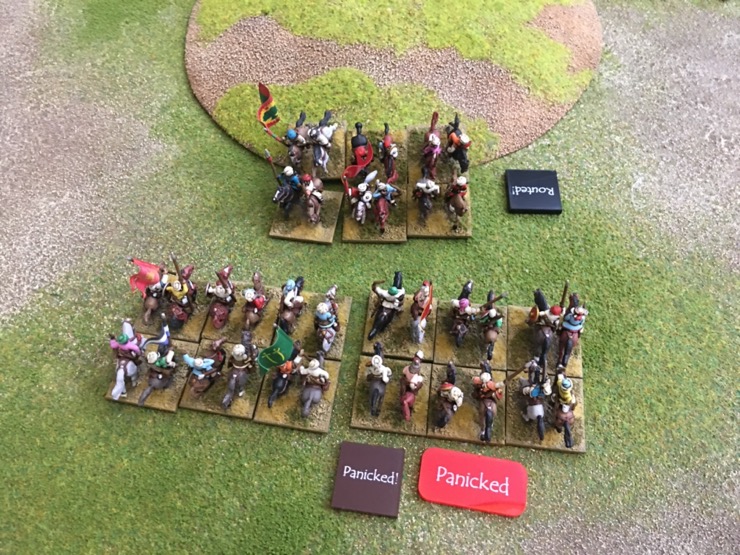
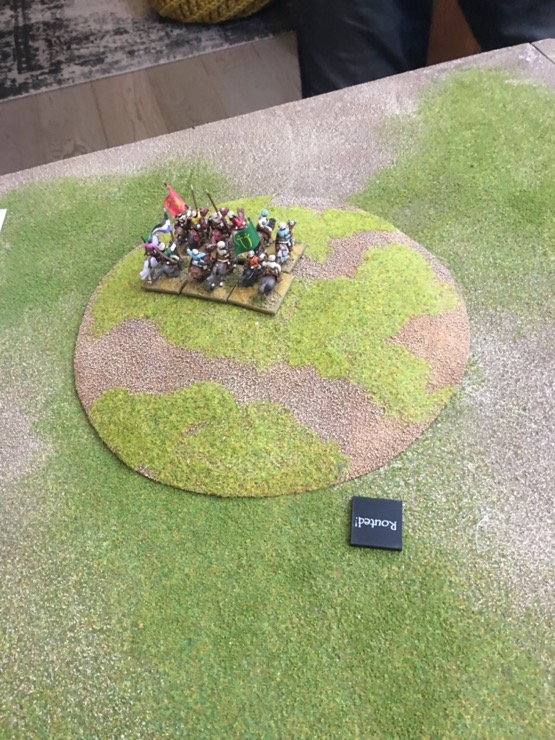
Steven’s cavalry appeared triumphant, but really they had reached their high-water mark (and gone beyond their command range). In the face of artillery fire, Steven chose to send one particularly exposed unit off the table to raid the British baggage, rather than stay where they were to get blown away. A desperate charge into the flank of the East India Company Europeans came close to success, but the cavalry proved unable to push on through the musket and cannon fire, and soon all the French cavalry were routed.
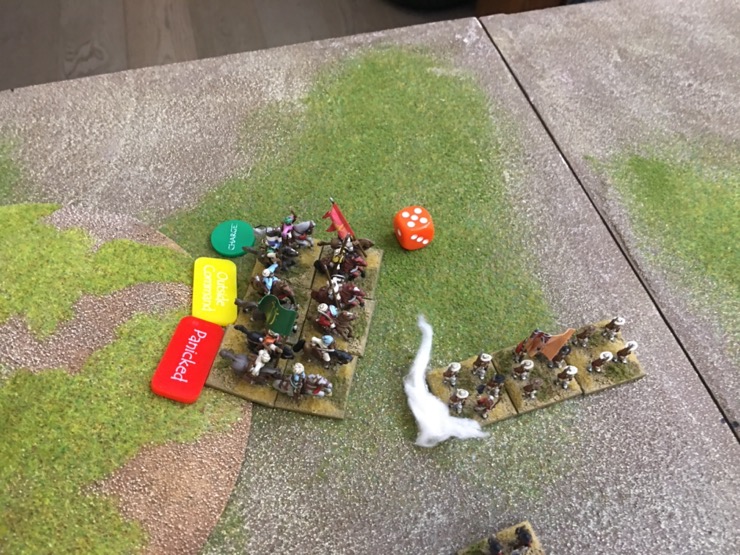
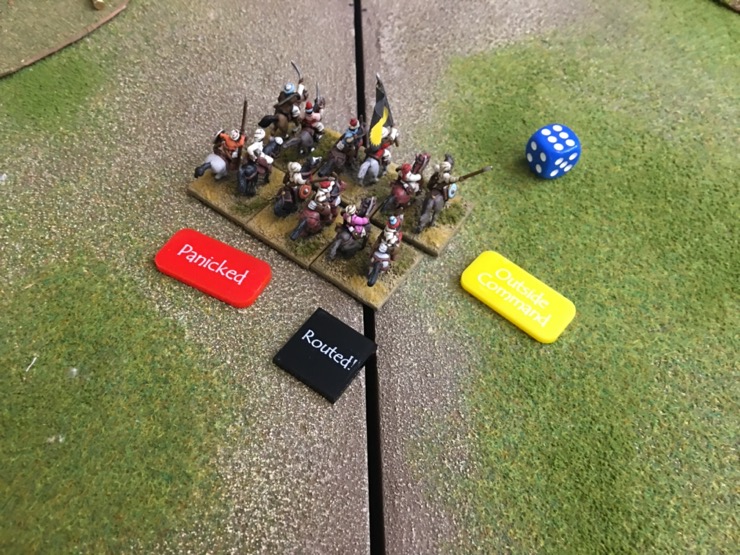

The lesson: irregular cavalry is useful for threatening and screening flanks, but can’t stand up to modern firepower (I do have some heavier native horse that might have done better, but they’re still on the painting table…). However, Steven had succeeded in pinning down Chris’s best troops well to the rear of the real battle.
The main action
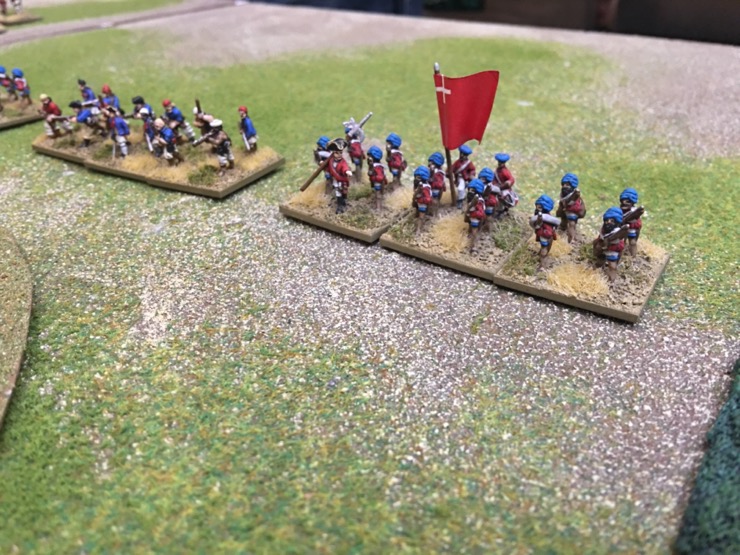
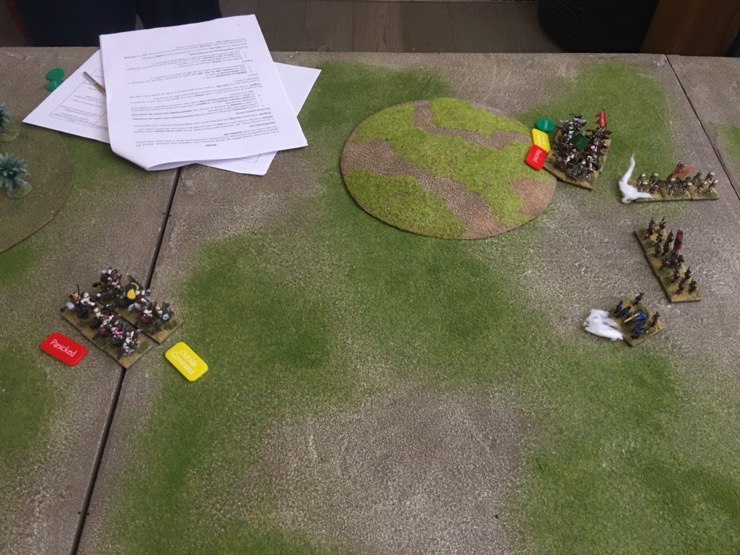
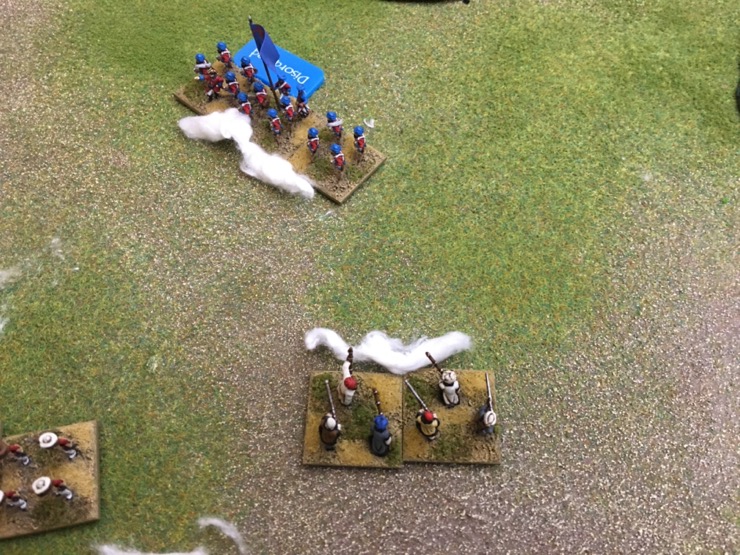
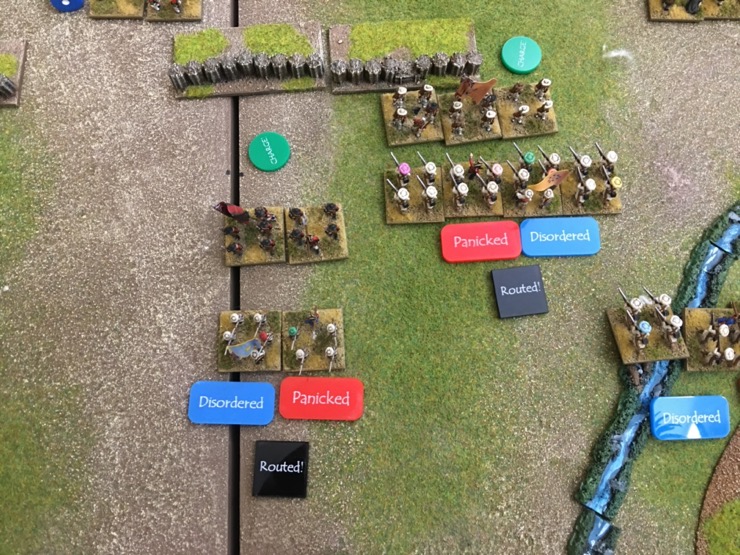
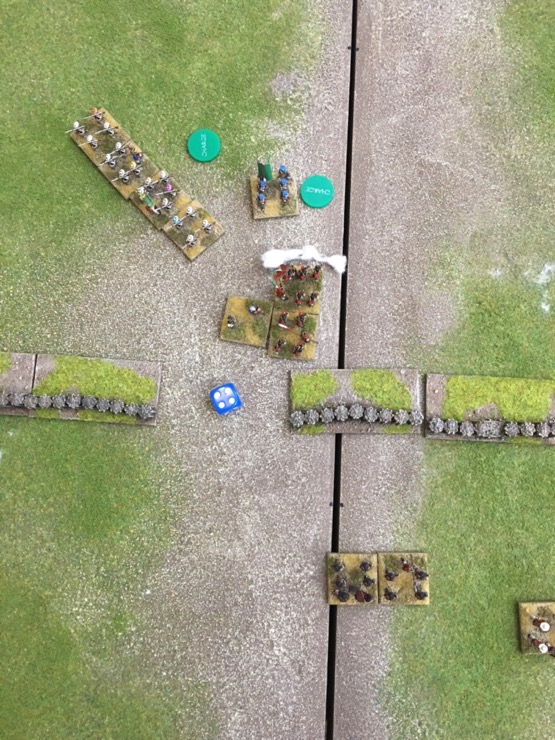
In the centre, Steven’s artillery was whittling down an unlucky Sepoy battalion. Between this and the jungle fighting on Chris’s left (where Steven’s skirmishers would eventually rout the British Sailors), when the British finally reached the French line it was in piecemeal. The first British Sepoys to reach the line were fired on from all sides, and Steven sent his French East India Company battalion to counterattack. They succeeded in driving the Sepoys off with just one base surviving, but the French battalion in turn was charged in the flank by some more Sepoys emerging from the jungle and routed. At a stroke, Steven had lost his best unit on his right flank.


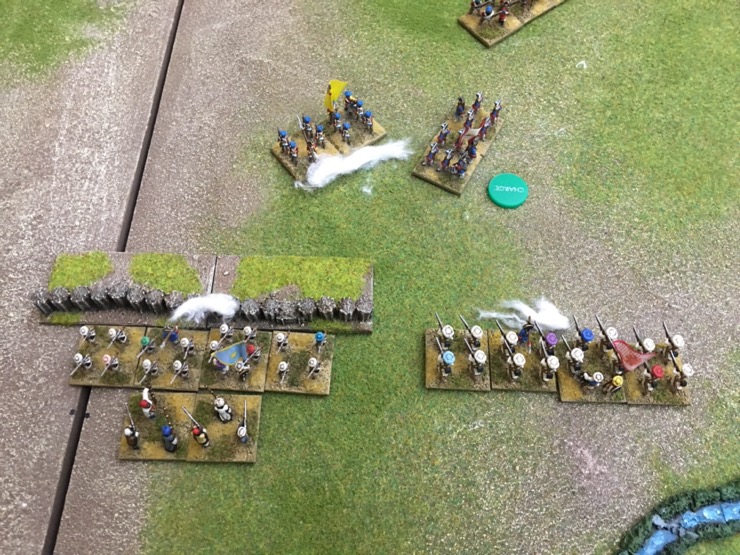

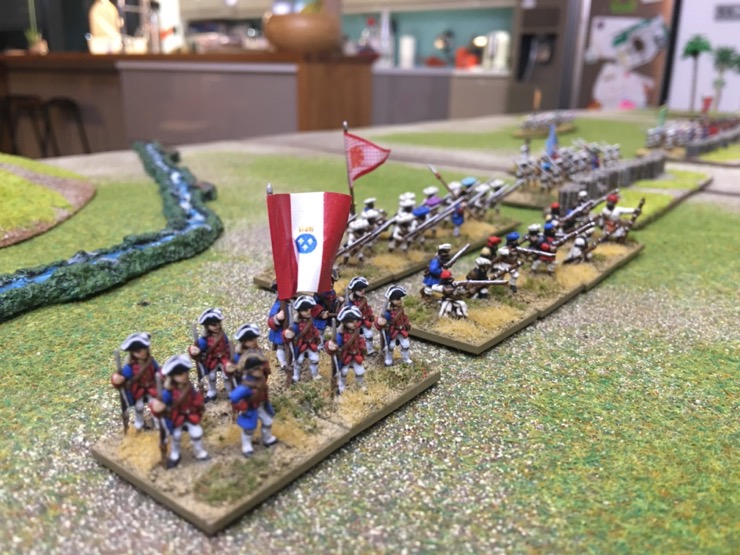
With the French cavalry driven off, Chris was finally able to send forward his British battalions to charge the French line. Although Steven’s artillery knocked out Chris’s guns, the British managed to reach the French right in time to save the remaining Sepoys. In the face of fierce fire, they charged directly into the French fieldworks. They took losses, but took the position and threw the French Sepoys into disarray. It should be remembered that the French Sepoys were not as well drilled as their British counterparts, so there simply wasn’t much they could do to slow down the bayonet charge.

The battle ends
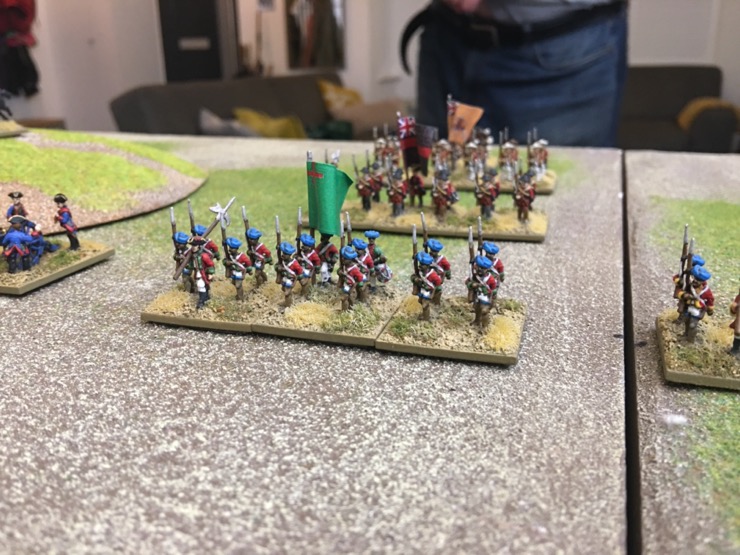
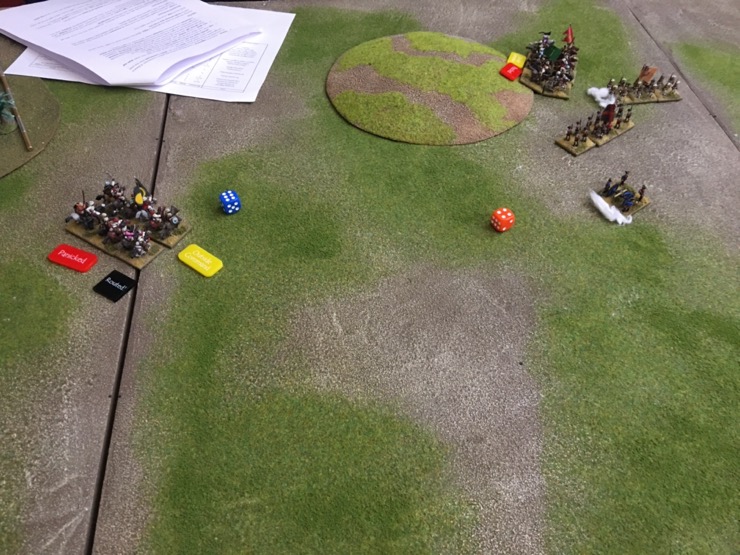
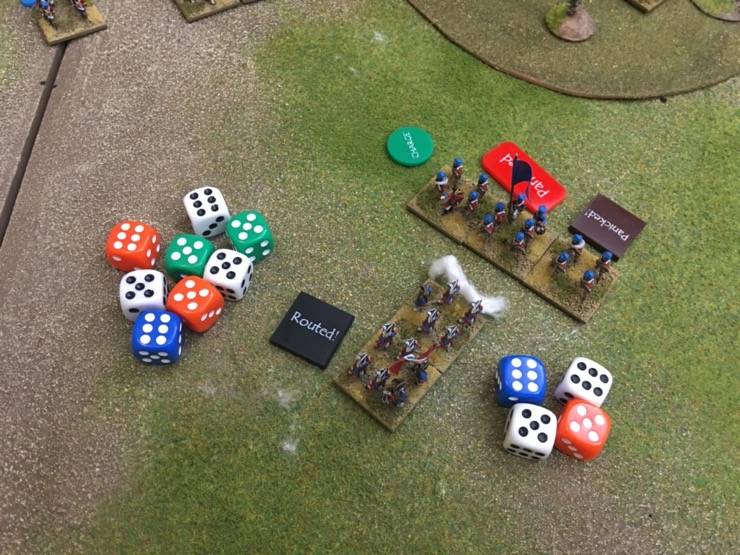
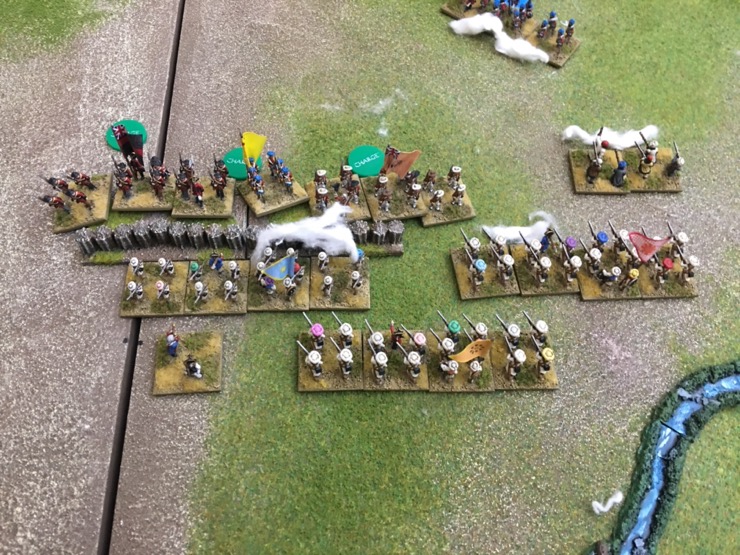
The pendulum had now swung dramatically against the French. Steven attempted to respond by wheeling his centre into battle. In the lead was Lally’s Regiment, one of the ‘Wild Geese’ units raised by Irish exiles in French service. However, they had too far to go, and were halted by some plucky Sepoys from the battalion that had been shot up by artillery. Against the odds, this tiny unit succeeded in driving the French back and ending any hope of rescuing the French right. Sure enough, Chris followed up on his successful assault and routed the reeling French Sepoys.
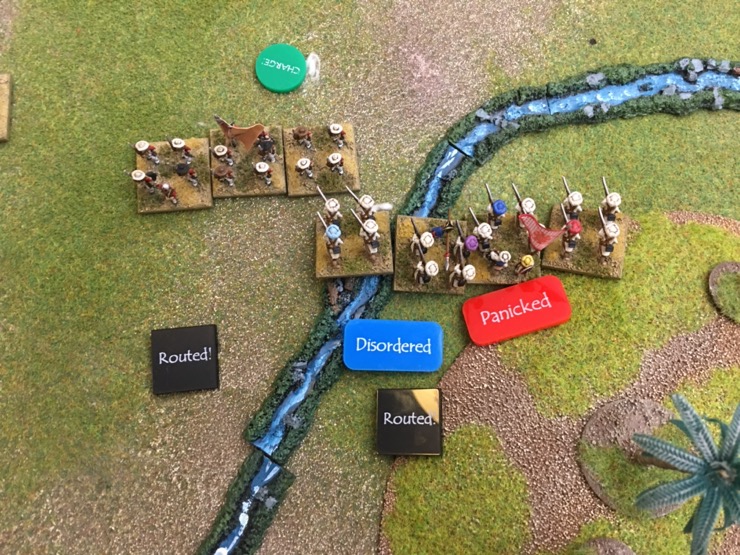


With that, we called it a night, and declared a narrow and pyrrhic British victory. The British had taken the field but at a tremendous cost, and the French centre remained intact and able to withdraw.
Conclusions
The game was a learning experience. The events were plausible, and the battle was certainly better balanced than the previous outing (achieved by letting the defenders outnumber the attackers). At one stage Chris seemed doomed, but Steven could not take advantage of how spread out the British were. However, it was certainly a ‘test game’ in the sense that it left me (Adam) with a lot of areas to improve the rules.
Keen to get some play out of his figures, I succumbed to the temptation to get ‘all the toys on the table’. The result was a battle that was a bit too big in retrospect – with a new ruleset, it would have been more sensible to play a smaller battle to give the players an easier task. With so much going on, inevitably some rules weren’t applied correctly in the rush to keep things moving.
I had hoped that proper victory conditions would not be necessary, as it would be obvious who had won. This was a mistake, as both sides had units that could remain dangerous even if all their friends were routed. Steven suggested an army breaks when its first European unit routs – they are, after all, the main stay of these armies. This rule would still have resulted in a British victory but the game would have ended when Steven’s French East India Company battalion routed. I’m more tempted by a solution with weighted points values to calculate an army reaching its ‘breaking point’ (or even a gradual degradation of command abilities). A commander might not worry about losing some allied cavalry, but would have to think carefully before throwing in his irreplaceable European battalions.
Possibly my biggest problem was balancing realism and gameplay. Despite bungling his deployment and taking severe losses as a result, Chris was able to squeeze a narrow victory simply by charging his best units forward on a narrow front, with Steven wondering what he could have done to counter this. Anticipating the British assault, he had brought in a second line of troops, but in the rules this does not provide much of an advantage. Whilst I feel that quality should beat quantity, I agreed that this was a problem – a solution going forward could be allowing unengaged units to provide effective support to their neighbours.
The rules are definitely too finicky – I identified a few rules that didn’t add much to the game, and are ripe for pruning. But the biggest complicating factor is that units consist of bases, and there was much time wasted figuring out which bases in a unit could participate in firefights and assaults. A solution to this will probably be a simplified system, such as units fighting with either all bases, all bases with a penalty, or one base (Steven’s favourite approach), rather than endless permutations.
A fabulous, fast moving and colourful game in what definitely fits as a ‘little played’ period (more correctly sub-period, I guess), It’s always good to give a set of rules a good work out so as to find the glitches. Perhaps your desire to get all the figures out was a benefit for this?
Anyway, marvellous stuff!
Regards, James
You’ve really got my atention with these rules. Looking forward to more game reports!
A marvelous exotic period. I’ve greatly enjoyed your two AARs featuring superb figs and terrain. Great inspiration for me since I’m currently converting 15mm figs for the battle of Cuddalore. Maybe one way to help the French European infantry is to allow them a column advantage in melee? But maybe that doesn’t apply in your earlier period? By my later period they were using deeper formations than the Brits. For victory conditions I would suggest breakpoints as in DBA. But with rabble type units not counting towards breakpoint if lost.
I’ll be visiting regularly to look out for more lovely India AArs!
Oh God, I feel another period coming on! Loved this post gentlemen!
Great report and I believe you are closer than you think to having a great game. Having horde/ irregular horse count as 1 Morale Equivalent, sepoys as 2, Europeans as 4 would solve much of your problems (I think). At the Rheine Donau Club (Perth, Western Australia), we play a set of Napoleonic rules similar to what you play. One major difference is that you must dice to move units/ commands with the required dice roll becoming progressively more difficult and ‘clumsy’ units requiring a higher die roll.
I only recently finished reading Dalrymple’s excellent* The Anarchy which offers many possibilities for scenarios and campaigns. A great cast of character on all sides.
* Granted, he seems to have a real chip on his shoulder about the EIC, which I don’t think is supported by his own research.
For army break point you could adopt something similar to chain of Command where every unit or leader routed or lost cause a variable (diced for) loss of morale. As the army’s morale descends towards zero they start to lose command and control. This way the loss can be varied by unit type, European losses being far more damaging.
Thanks for the kind comments, sorry for not replying sooner! I’m glad you enjoyed the period, it’s not exactly the most popular for wargaming, but for flavour it’s hard to beat it. A hundred years ago, every schoolboy could have told you about Clive and Plassey, but the period seems to be very neglected now.
Getting all the toys on the table certainly was a help – I’ve definitely come away with loads of areas of improvement. Obviously I’d love for the rules to have been perfect from the start, but in real life it’s only experience that can sharpen them, and show what works and what doesn’t.
Very excited to see your Cuddalore project coming along Noel! French columns were certainly appropriate in this period, with the battle of Wandewash being perhaps the first example of French infantry in column facing British infantry in a two-deep line. I do have rules for changing formations (including assault column), although at the moment (and this is what did in the French) any formation charged in the flank is doomed – again, it’s something that might need balancing, but may be realistic!
I like people’s suggestions for break points. My first thought was to do weighted values as suggested. Gradual degradation like CoC is another idea that I really like, although for the time being I’d rather get the basics sorted first. But I do have ideas for leader characteristics, or even the ability to degrade their abilities in exchange for short-term bonuses (like putting together a small ad hoc unit).
As for dicing to move units, that would definitely be period-appropriate! Might be a hard sell to the guys at the club, they’re not exactly fans of excessive ‘friction’ as it is! But at the moment, we do have something similar in place – units have keywords like ‘drilled’, ‘aggressive’ etc and these affect how many ‘pips’ it costs to do things. So it’s a lot easier to move your better units. Dicing might be an idea for especially dubious ‘allies’ who don’t like committing to losing causes.
And yes, Dalrymple is a funny one. A very good historian, not so great political commentator, but at least he’s passionate! He often crops up in debates about reparations, the legacy of empire today etc – I’ve got an inherent distrust of historians talking about today!
https://www.facebook.com/BespokeArmies/posts/2358253807768635
I love the FK15s castings for this. The only range available from what we could find. We had used “Age of Lace” a mid 1700’s version of “Age of Eagles”. with a few adjustments to give a more realistic flavour. We have played a campaign between Madras & Pondicherry. Half the fun was Mysore and Mogul allegiances that switched. (in some cases mid siege/battle.) Elephants and native artillery were appropriately frustrating and joyous. There are some photos on the Bespoke Armies FB page. However, I am so pleased to find those that have been seduced by riches to be found in the Far East.
Looks a great game. Are the rules available anywhere?
Thanks
Simon