
My research on Contested river crossings in the Seventeenth Century has convinced me I need some fords. Actually I need more river crossings in general, but I have some bridges and no fords. So I felt I had to correct that.
Background
I have a bunch of 4″ wide river sections designed by Mark Strachan from when he worked for Military Miniatures (the company that morphed into BattleFront and then launched Flames of War). These are simple and robust models that have lasted me nearly 30 years. They appear every time I need a river rather than a stream. For example …
In S12 Fighting Across the River – A Tilly’s Very Bad Day Battle Report 1:

In KB1R Paper Factory – A Crossfire Battle Report from Krasny Bor:

In Small Threat to the Flank – A Crossfire Battle Report:

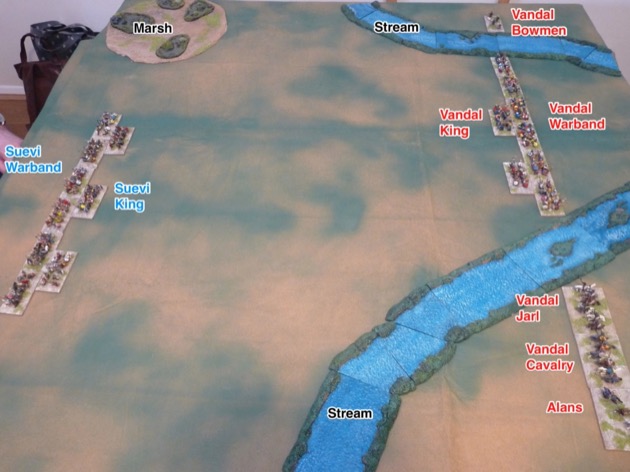
In 446 AD Suevi versus Vandal – A Red Spear, Black Crow Battle Report:
Making a ford
I have a couple of bridges for this river, but The trouble is I lack a ford. Time to rectify that.
Materials
Some MDF
Some Milliput
Sand
Paint
Method
I cut out a bit of MDF to the same same as one of the straight river sections. Then I drew on lines for the edge of the banks.

Next up I added milliput banks and the ford itself – small islands across the river.
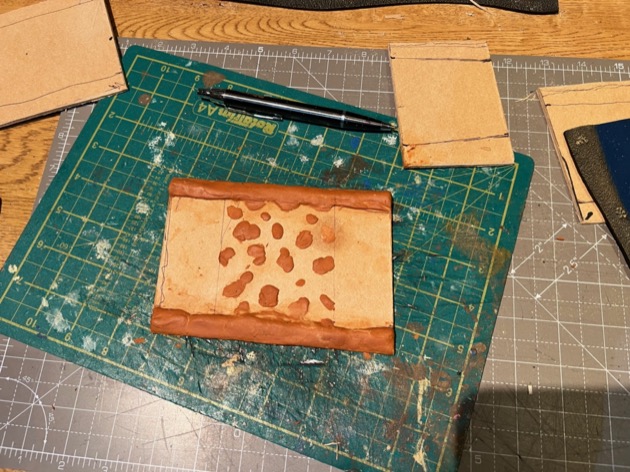
I checked with some of the existing sections to ensure the banks were the right height and width.
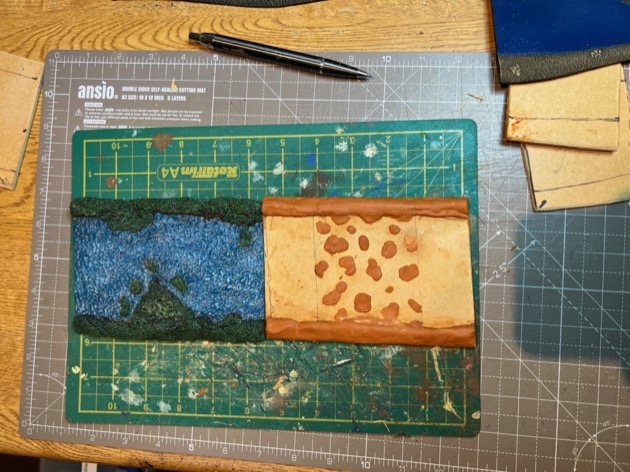
Sand was next: I glued sand over all the milliput.

And finally I painted the river. It took a bit of mucky around to match the blue but I got close to the original colour.
Mark Strachan made his water bumpy. I guess to reflect movement over stones or something. So I did the same. In my case I used Acrylicos Vallejo 200 ml Water Effect – Transparent Water. Again, I got close to the original effect.
The result
The colour match isn’t exact, but nobody will notice once the game starts.
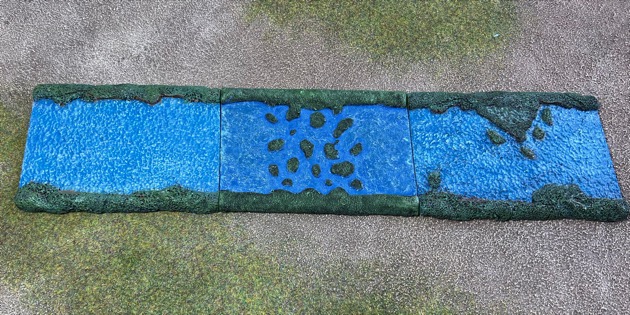

Job done.
I suppose you could have made the ford section a lighter blue to represent shallower water? You would then only need to match the blue at the ends. Good match though.
Neil
Hi, is the tabletop 120×120 cm?
“S12 Fighting Across the River” and “Small Threat to the Flank” were on 120cm x 120cm tables (4’x4′).
“KB1R Paper Factory” and “446 AD Suevi versus Vandal” were on 180cm x 120cm tables (6’x4′).
Dry brush with a lighter blue?
What is the Vallejo water effect used for? Bumpy effects, but I cannot tell whether it’s necessary given the photos. Does it make a difference?
Vallejo water effects can be used to provide a gloss to flat surface but gloss varnish is just as good and cheaper.
The water effects are ore useful for texture. In my case the models I’m copying had bumps, kind of like surging water or small waves. You can see the texture in the colour variation on the features to the left and right of the banner photo. These colour variations were probably brought out by dry brushing a light blue over the blue of the river. My feature had flat water so I used to the Vallejo water effects to get colour bumps. Just apply it thickly.
If I did my own water features I wouldn’t bother with any of that. You can get amazing results with Vallejo water effects and similar products, but I don’t need those aesthetics for wargaming features.