The vast majority of my (Steven’s) figures are painted using the Black Undercoat Method. Roland Davis is a master of this technique so I asked him to write a painting guide.
There are also a number of period specific Painting Guides and galleries around the site.

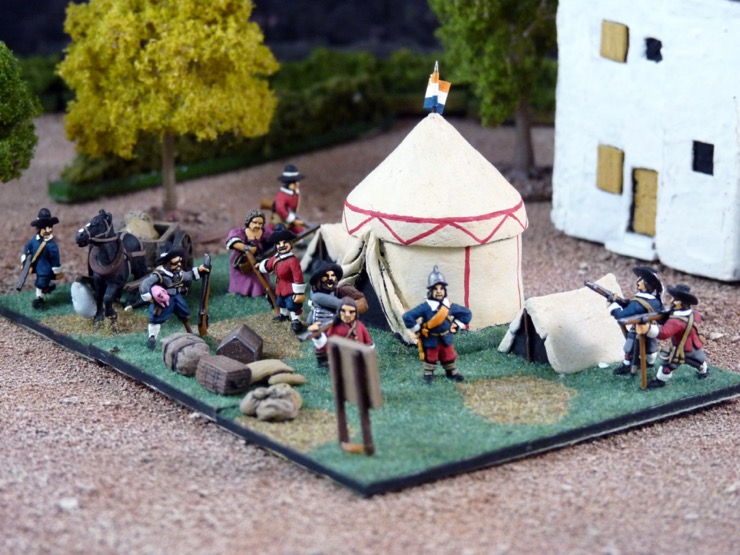
Carlist Officer
Black Undercoat Method
By Roland Davis
General Tips
Here are some general tips.
- Think in terms of painting armies rather than figures. You are trying to go for a overall effect rather than minute detail on each figure.
- Do not paint one figure when you can paint ten and don’t paint ten at a time when you can paint fifty.
- Don’t bother painting any detail which you couldn’t expect to be able to see from half way across the table.
- An army which is painted to an average level and finished is better than an exquisitely painted army which takes so long it is never finished.
- Buy the best figures you can get. Top quality figures with an average paint job look better than bad figures painted well.
Choice of Paint
The choice of paints you use is dependent on many factors. I use mainly Tamiya paints which I can recommend as some of the worst to use. They are too expensive, don’t cover well and dry too fast. I use them because they are virtually the only ones I can get locally. Whatever brand you use, the most important thing is that they cover well (have a high colour density). Because you are painting straight over a black undercoat you need paints that are thick and cover the black undercoat well. For blues and browns this is usually not a problem but whites, yellows and reds will often not cover well and will not show up clearly. The best thing to do is buy a better brand of paint, but failing that, put some white on the area first and then put a top coat of the pale colour.
[Steven: Other common choices are Vallejo Model Color and Cote D’arms. I use Vallejo.]


Prepare the Figures
The first thing is to give the figures a good trim before you undercoat. Try and remove all the bits of metal which are not meant to be part of the figure. This includes ‘slag’ where the mould is wearing out, leaving metal where it would not have when the mould was new. Most commonly this is under the arms or between the legs of horses. Also try and remove, or reduce, the appearance of the mould-line. That’s the line formed from the two halves of the mould. When you dry-brush the figure this line will be high-lighted so you should get rid of it as much as possible.
Undercoat the Figures
Next comes the actual undercoating. I spray the black undercoat using VHT paint. VHT stands for Very High Temperature, and is an automotive paint. I use this because it is fairly cheap, covers very well and always stays very matt. Most other brands of matt spray paint will become glossy if put it on too thick, which is easy to do when spraying. As always when spraying, several thin coats is better than one thick one. The paint does not take long to dry.
[Steven: When I was still in New Zealand I used VHT as well. It is available in some petrol stations. In the UK I’ve tried radiator paint and a variety of hobby paints. For a while I used Games Workshop Chaos Black, when there was a Games Workshop shop near by. Now I’ve gone back to automotive paint and use Halfords Matt Black Paint 500ml Car Spray Paint.]
Mount the Figures
Next put the figures on painting blocks. The blocks I use are short bits of dowel, about 20mm wide and 25mm long. I stick the figures down using Blu-tack, though some folks glue them down using white glue. I find the Blu-tack works fine for 15mm figures but gluing is sometimes necessary for 25mm figures, especially mounted ones.
[Steven: I mount my figures on a specially made Painting Block, but using dowel’s as well.]
Touch Up the Undercoat
The next thing to do is to touch up the undercoat in all the places the spray could not go. I use black ‘poster paint’, mainly because it is cheap and covers well. It is important to get some black paint into every little nook and crevice because you will leave a lot of those places black to provide the sense of depth and shadow. The bare metal of the figure shows up well against the black undercoat so it is easy to see where you have missed.
Paint on the Colour
Then you can get down to actually painting the figures. Some folks start with the flesh parts and work outwards but I start from the outer bits and usually finish with the flesh coloured bits. This is because I usually dry-brush the larger areas such as coats and trousers. If I had done the face first the dry-brushing would get on the face and I would have to do it again. So I do the big areas first, trying to leave the black undercoat showing in areas of shadow such as under the arms and in the large creases.

When painting the figure try and leave a small strip of black undercoat showing between the different parts of the figure. For example, if you are doing a shoulder strap, there should be a thin line of black showing between the jacket and the shoulder strap, and again when one shoulder straps goes over another one. This is even more important when the two items are the same colour, such as Napoleonic Austrians, with white jackets and white shoulder straps. The general rule is to leave a line of black between any items which are physically different, or which would have gap between them, such as when a collar folds over and touches the jacket again. Even though the collar is part of the jacket, there would be a gap along the top of the collar, so a line of black should be left, if possible. It is not necessary to leave a black line on things like patterned clothing. For example, striped trousers do not need a black line between the stripes.
Dry Brush the Big Areas
I give the big areas a dry-brush of a lighter colour to highlight them even more. The dry-brush technique is where you put some paint on the brush but then rub most of it off leaving the brush almost dry. Then you stroke the brush over the surface and the small amount of paint will stick to the raised areas of the surface, providing a highlight effect.
[Steven: I don’t dry brush; instead I use Simple Shading with Vallejo Model Color Paints. Some folk might like to try Vallejo Triads – Three colour shading with Vallejo Model Color Paints]
Paint the Flesh
[Roland paints the flesh tones last.]
Faces can be a bit of a challenge. I take the ‘minimalist’ approach and just put a dab of paint for the nose, cheeks and chin. Sometimes I also paint the forehead and ears if they are showing. If possible, I leave some black showing underneath the nose to be a moustache, which adds character to a figure. Leave the eye sockets black so as to be in shadow. Have a look of photos of crowds on a sunny day and see how much facial detail can be seen, usually it is not very much.
Hi Steven. I arrived here for the usual reason – I was elsewhere in the Balagan but your blog is far too diverting, so I get diverted. Anyway, I noticed your comment about Tamiya paints at the top of the page and thought I’d point you towards Ral Partha Europe’s ‘Miniature Paints’ range. I’ve been using them for years and I think they’re really good value. They aren’t expensive. The majority of the range covers well. They keep well (with care). And best of all, RPE do a very good mail order service. Definitely worth a punt in my view. Here’s a link to their site http://www.ralparthaeurope.co.uk/shop/miniature-paints-c-54/ Best regards, Chris (Oh, by the way, you’ll see the range is temporarily unavailable but I believe they’re due back soon.)
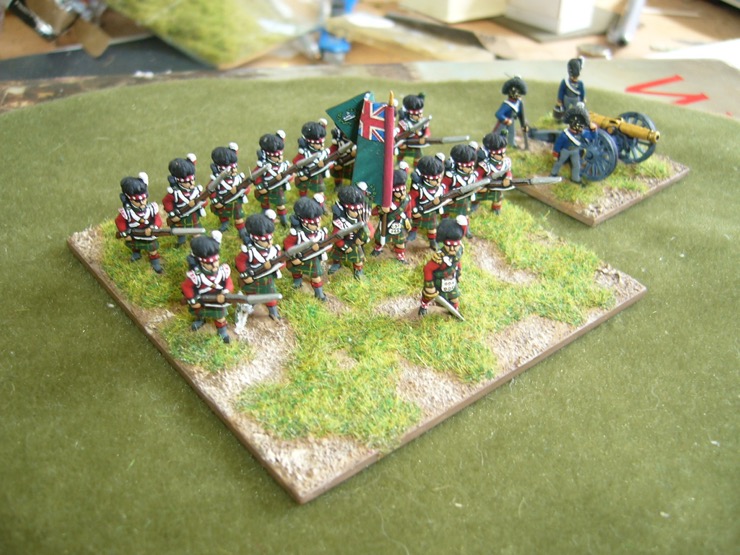
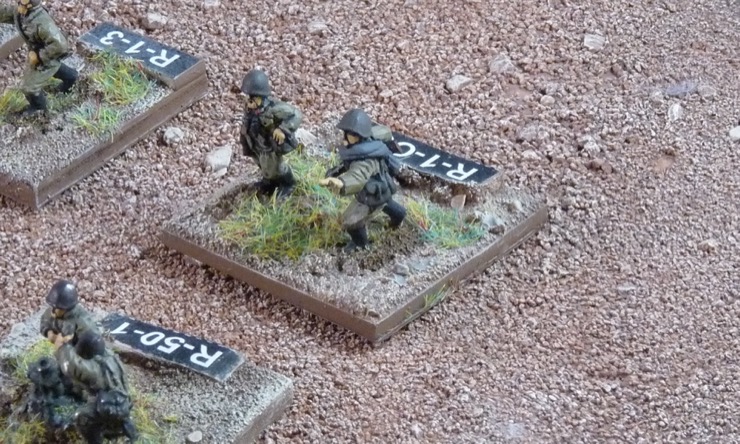
Hi. What scale are the figures in the images? Impressed if you achieved that in 15mm and concerned about my own novice efforts in comparison….
15mm al the way.