
Chris Harrod and I play tested my The Monster – A Crossfire Scenario. Twice. The first play test was over pretty quick and the Monster of the title chewed up the Germans as they appeared. A few tweaks to the scenario and we tried again … the second time we got a much better game out of it.
Jump to:
Table Set up
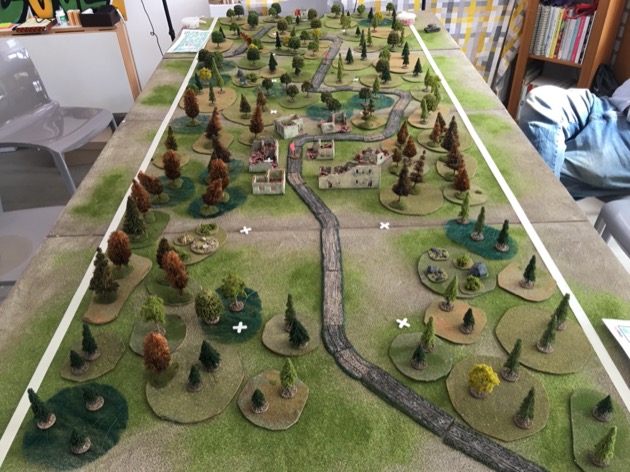
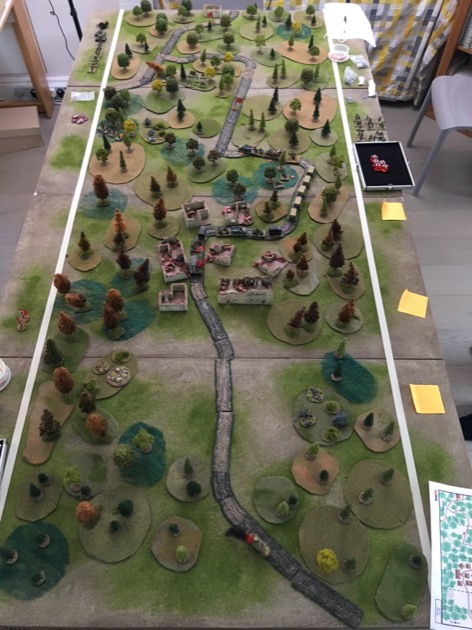
First of all we set up the table. It is an unusual shape, being 8′ x 3′. I got out all my wargaming boards making 8′ x 4′. Then we used masking tape to block off 6″ from each long edge to give the 8′ x 3′ we needed. And, as usual, we used little white crosses for the foot square grid to facilitate transferring the terrain from the map.
You might want to jump to the tweaks following Game 1 or directly to Game 2.

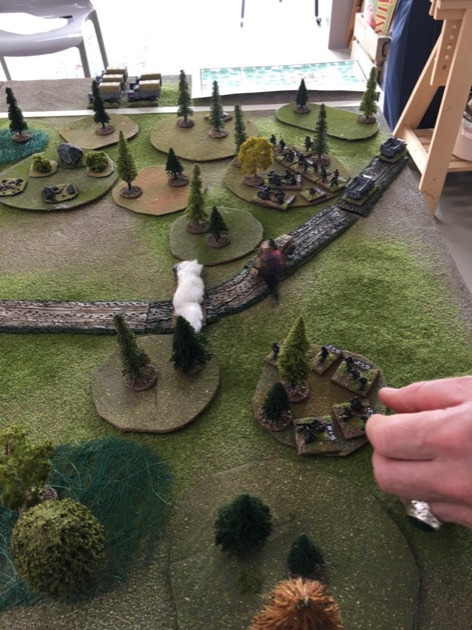
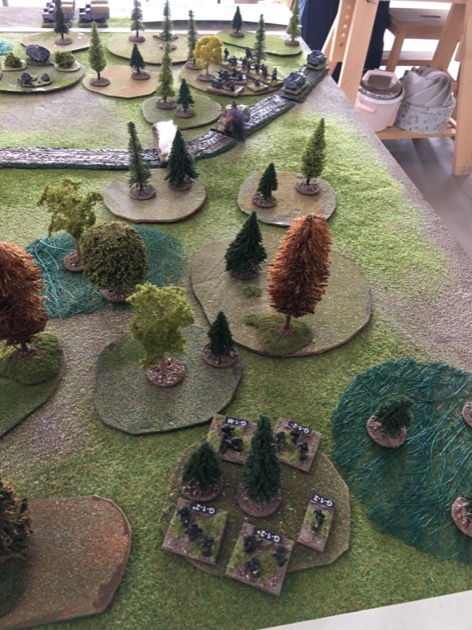
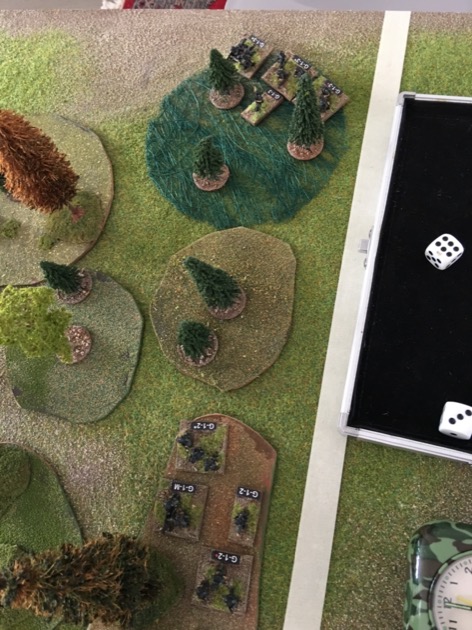
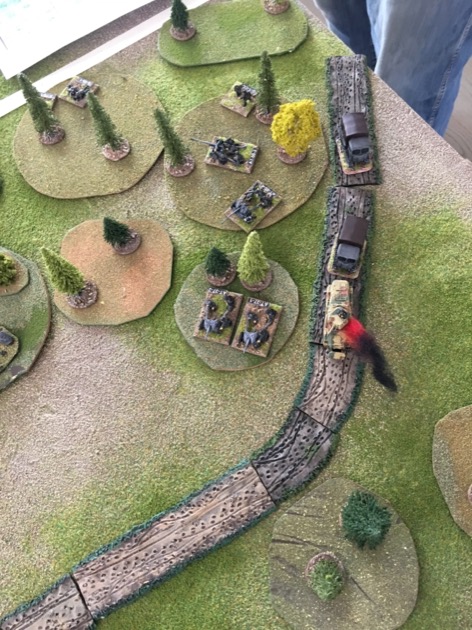
I think the table was quite impressive. Nice windy road. Lots of trees. So many trees in fact, that I ran out. I had to recruit some very old trees to stand duty but I still only got about 2 trees per woods terrain feature. I also ran out of cardboard terrain templates and recruited my Sisal templates (the dark green ones) to fill the gap.

I think the table looked even better from lower down.
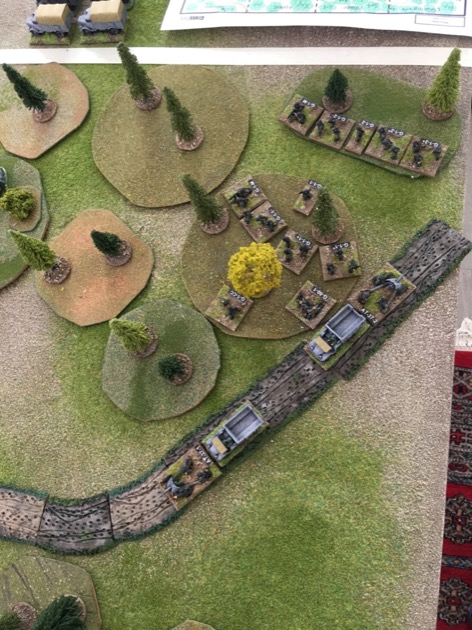
We also got out the troops and set them up ready to play. Three groups of Soviets.


Four groups of Germans.


Game 1: The monster eats everybody
Game 1 was over pretty quickly. I deployed the Monster at the edge of the village next to the clearing. It had a good field of fire and and shot at any Germans appearing from the west. It was a duck shoot.


Changes to scenario between Game 1 and Game 2
After the rather uninspired experience of Game 1, we decided to tweak the scenario to give the Germans a chance of winning.
First up was the German order of battle. The need more smoke capability to successfully threaten the Monster on it’s flanks, or via ATG from it’s front. I also wanted to give the Germans more reconnaissance ability. So they got:
- 1 x FO for off-table 75 mm Infantry Gun (12 FM)
- 1 x SdKfz 221 Armoured Car (MG)

Having the “Monster” deploy at the edge of the clearing was devastating. With a good field of fire, it killed anything that approached the village. So we forced it to deploy further back; this meant it had to either attempt to move into position, and risk throwing a track, or had limited fields of fire. So two tweaks to the scenario:
- The KV-2 (“Monster”) must deploy in the Village Sector and east of the objective within the sector.
- The “Monster” is at risk of throwing a track and become permanently immobilised. Each move action throw 1d6: on a 3+ the tank is immobilised for the rest of the game. Throwing a track loses the initiative. When immobilised the turret can still rotate and the vehicle can still fire. (no longer has a free move)
We also gave the German’s more flexible deployment, with a possibility of arriving anywhere on the on the western table edge:
- On the first initiative, start arriving on the western table edge:
- If no Soviets have been spotted so far, enter at the point where the road enters the table
- If any Soviets have been spotted, enter anywhere on the western table edge.
- If they wish, the German player can hold initial troops off table. This means they can send troops on table to find the Soviets, and then commit the rest with the benefit of arriving anywhere on the western table edge.
- All German reinforcements arrive anywhere on the western table edge.
Lastly I introduced some special anti-tanks rules. Generally I think light guns (50mm and less) should be more manoeuvrable than heavier weapons. My house rule on man-handled guns addresses some of this, but I thought they needed something for limbering/unlimbering as well – which in the standard rules is very slow. And to give the small guns a fighting chance against the Monster, we let them group fire.
- Light guns (50mm or less) are more manoeuvrable than heavier guns. Light guns can perform two types of action per initiative: manual move, towed move, limber, unlimber, or fire. So, for example, a light gun would limber, then take two towed move actions, in the same initiative. This would not be possible for a heavier gun.
- German Paks of the same type can form a “fire group”, e.g the two 3.7 cm Pak35/36 can shoot together if within a stand width. Similarly for the two 5.0 cm Pak38. These weapons can also group move together.
Game 2: Germans capture the village
After the tweaks we made, Game 2 was much better. Chris made it past the village and into the Forest Sector.

First of all Chris offered up the sacrificial lamb – the armoured car – to reveal the Monster.


I tried to move the Monster to the edge of the village/clearing but, as luck would have it, the KV-2 threw a track and became immobile. The tweaks to the scenario – deploying in the village and no free move – were already having an impact.


Chris now had two FOs and this was significant from the start. He could, for example smoke off the Monster.

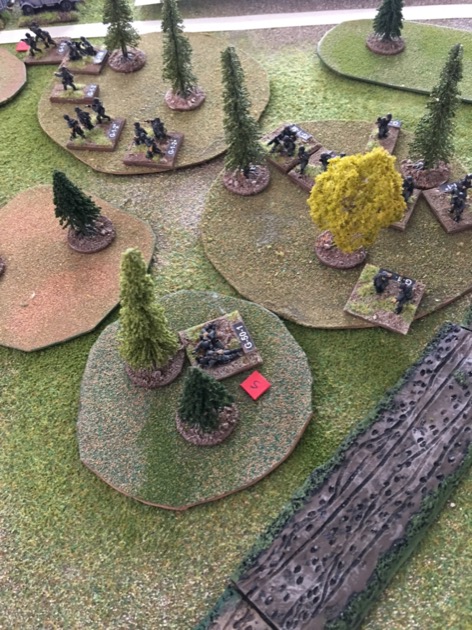
With the Monster smoked off, Chris could push troops in both directions. For the first time he was able to push troops left.
Of course I had infantry to stop any infiltration to the flank.

Unfortunately, my riflemen were clearly focussed on the Germans on the right rather than the guys sneaking up on them nearby. Or, more technically, both squads got a NO FIRE.

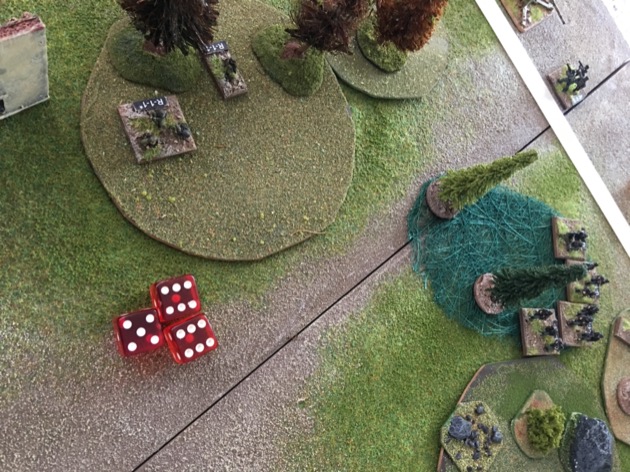
Chris was actively pushing forward on both flanks. At one point we had to see who could shoot at his troops, hence the white cord – we use these to measure straight lines.

Chris managed to get numbers to bear on my troops and destroyed a HMG squad.


An hour into the action and the second wave of Germans arrived, with heavier anti-tank guns (Pak38s) at the front.
The reinforcements also allowed Chris to send more troops left.
This gave him two platoons on the left. The Germans closed in on the village.

On the right the Germans continued to dish out death with superior small arms fire.

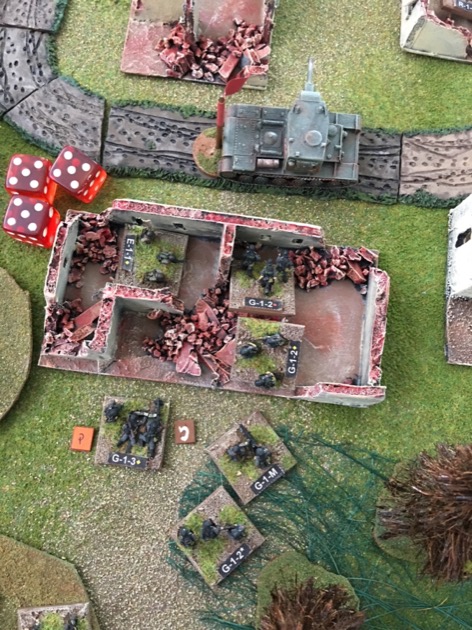
At this point it looked pretty bad for the defenders of the Village. I had the Monster, a pinned Platoon Commander and a suppressed rift squad. Grim.

Okay, it got grimmer. Chris charged the suppressed squad and killed it.

Then he took the PC captive.

That just left me the Monster visible. None-these Chris knew I had more troops out there, including some in the village, so he adopted defensive formations when each platoon finished moving.

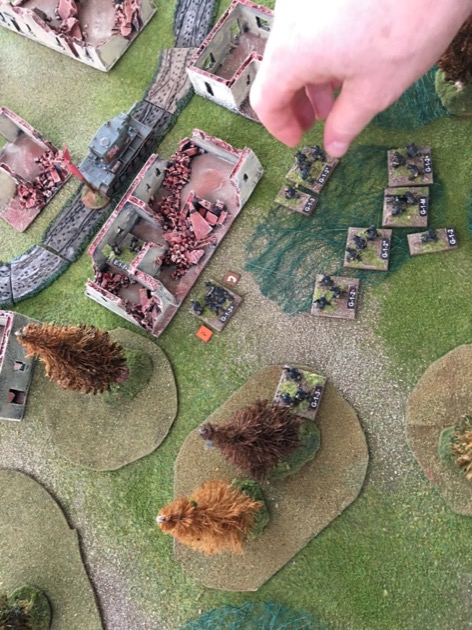
The Germans crept towards the village carefully.

When Chris finally decided to rush for the nearest building (on the left) he discovered I had a sapper squad in the target building. My sappers stopped the German rush.
And Chris’s advance on the right revealed my last remaining rifle squad. This also stopped the German advance. Brave Ivan was going to go down fighting.

Although immobile the Monster could still fire, so took pot shots – very big pot shots – and any Germans that showed their faces.
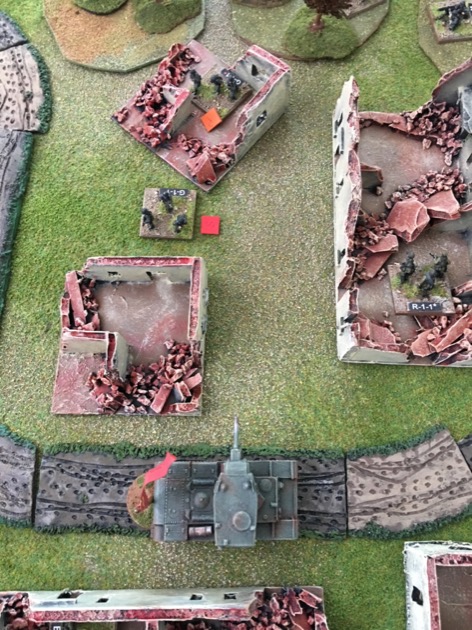

My guys were fighting on but it was very one sided. I had the Monster and two squads. Chris had a complete rifle company on the outskirts of the village.

Further back Chris started manoeuvring his Paks into a position to shoot.
The next Soviet casualty was the Sapper.
That opened up the Monster’s flank to close assault. Chris sent in a anti-tank rifle squad and his PC. The Monster won – Mother Russia was pleased.

Having seen off the close assault the Monster opened up with its big gun again.


My remaining rifle squad continued to fight on.


With 1000 hours on the clock the Flak88 arrived. Finally Chris had something that could hurt the Monster. If only he could get it into a position to fire safely.
The fight in the village continued and the Germans managed to suppress my remaining squad.

Chris followed up with the bayonet and the Monster was alone.

Chris had his Paks in a position to fire on the Monster. The Pak38s fired. Ping!

Impatient for a quick victory, Chris sent in more infantry to deal with the Monster. Monster 2; German riflemen 0.


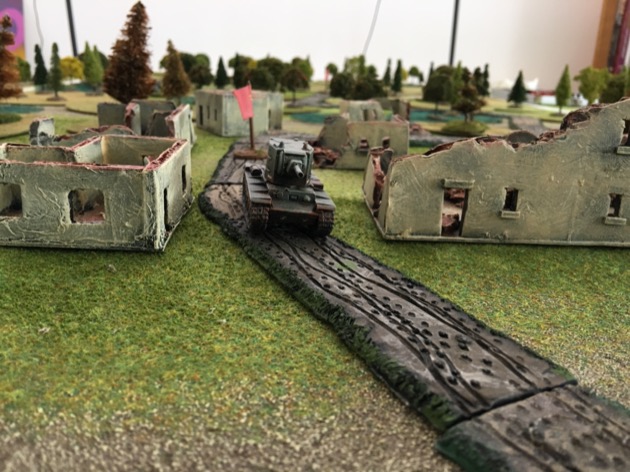
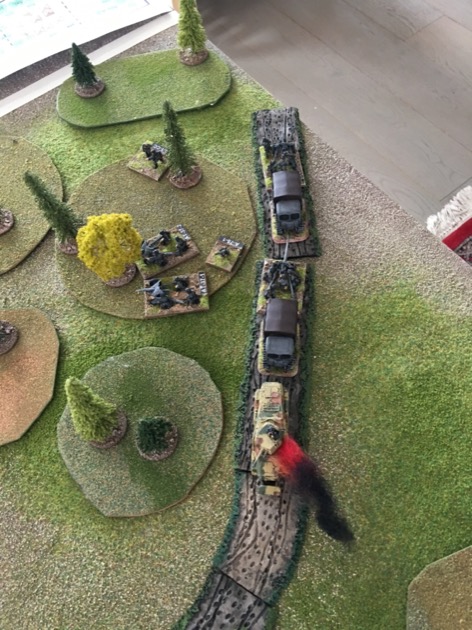
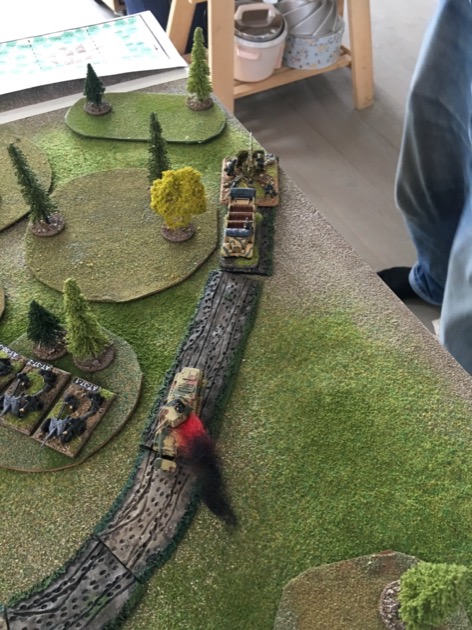
At 1030 hours the German supply convoy arrived. Five trucks on the road from the west. Unfortunately, the Monster was still squarely on the road.

Chris smoked off the Monster to let his Flak88 deploy.

Chris then sent in another infantry assault on the Monster. Monster 3; German infantry 0.


3 hours into the game and Chris finally had some fire power to use against the Monster. The Flak88 opened up.

One shot and boom! No more scary Monster.

The road was now (seemingly) open and the trucks rolled forward.

Chris sent his infantry forward around the village, looking for Soviets.


Chris also put an towed anti-tank gun in front of the supply trucks to draw Soviet fire.

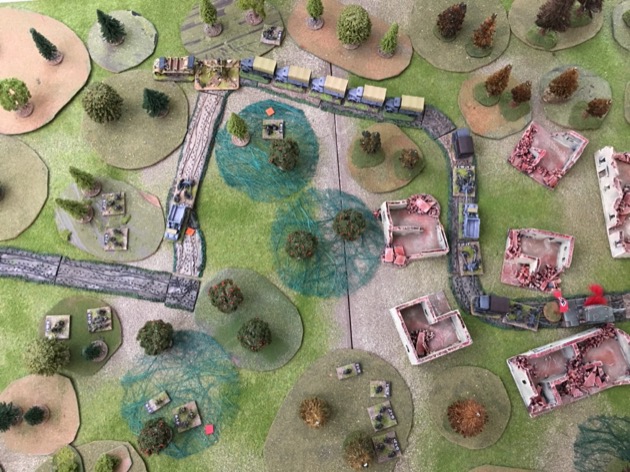
Not surprisingly the German advance revealed Soviets hidden in the Forest sector. Fighting begins in amongst the trees.


While the German infantry try to clear the way, the supply trucks continue to drive along the road.


Chris was feeling the pinch as he was running out of troops. So he rushed the Flak88 to the front to give some much needed fire support.
The fighting continued in the woods with bayonet and grenade.

I didn’t see much reason to stand and die so I pulled back to get closer to my, still hidden, forces in the Junction Sector.

With no real offensive power remaining Chris packed it in. The German vehicles was jammed on the road through the village.


After the game I showed Chris were my remaining troops were.

Observations and Conclusions
Playing the Monster was a first in several ways:
- First time I used all four of my Wargaming boards
- First time I’ve used a 8′ x 3′ table
- First time I fielded my KV-2 – the Monster
- First time I fielded my 8.8cm anti-tank gun
- First time I have had five German anti-tank guns on-table
- First time I’ve had supply trucks in a Crossfire game
Now to the games themselves. The first game was a non-event. But with the tweaks mentioned above the second game was quite good. Chris cleared the Village Sector and most of the Forest Sector. But he didn’t have enough troops remaining to go the distance. Most of the German losses were trying to close assault the Monster. It might have been worth using this as a fall back strategy if the Paks couldn’t knock out the beast – a Plan B – but Chris chose this approach as his Plan A. If Chris had had those troops to fight with in the Forest, it might have been a different outcome. We agreed our second attempt was a good game. So I’ve incorporated the tweaks into the Scenario and it would be worth a replay in the future.
The scenario might still need some tweaking. In particular, I wonder if I should cut back the Soviet orbat in the Junction Sector.
The long 8′ x 3′ table was a nice novelty for a Crossfire game. As was the goal of shepherding vulnerable trucks across table.
It was great to get a KV-2 on table and have it behave historically i.e. be scary but more or less immobile.
I was surprised that I ran short of key terrain. An 8′ x 3′ table is the same table area as a 6′ x 4′ table (24 square feet), and I use 6′ x 4′ tables a lot, but none-the-less I needed more terrain. The scenario uses a lot of small to medium woods features so I ran out of my normal terrain templates. Luckily I had my sisal terrain templates on standby and they did the trick, at the cost of some aesthetics.
Homework: Make some more normal terrain templates: +9 x 6″ circles; +4 x 6″x4″ oval. [Done]
I also ran out of trees. So I had to use my original, very old, and now quite brown, bottle brush trees. This gave me enough trees for two per woods features. Enough but not generous. The the brown trees again sacrificed some aesthetics.
Homework: re-green my original bottle brush trees. [Done, that afternoon as it happens]
Homework: Base up the extra trees I have already purchased. [I’ve done 40, but more to do]
Enjoyed the AAR and want to try it but with my German, Japanese, and US kit I’m not sure what to use for “The Monster”. Wait I also have Korean War kit – I can assume that the Chinese or N. Koreans have received a “Monster” from Stalin as a gift in celebration of some anniversary – all 3 seem to celebrate hundreds of communist anniversary days every year. Dick Bryant
Dick, I think there would be sufficient terror amongst US forces if they had to break through a German force with a disabled Tiger on the road and they had no armour of their own. Assuming, of course, the grunts didn’t have the usual barrage of bazookas. Or change the bazooka rules so they have to shoot within a stand width to keep it exciting.
Wonderful scenario! Very thrilling to read the heroic last stand of the Monster in the second game… I was sad to see it fall at last. Love the KV-2 model.
The whole game around the KV-2 was great.