
Adam, Jamie and I had a go at 2 by 2 Napoleonics. Of course we used my normal Peninsular War figures, in 15mm, on Big Bases. Using Big Bases for the Peninsular War meant this was really 4 by 4 Napoleoncs.
Forces
Jamie and Adam played the game with me as referee. As umpire my job was to know the rules. Jamie as French and Adam was Anglo-Portuguese.
We used the template army for both sides. That meant:
- 1 x HQ
- 10 x Line Infantry
- 1 x Heavy Cavalry
- 2 x Light Cavalry
- 2 x Foot Artillery
This army comes to 39AP.
Deployment
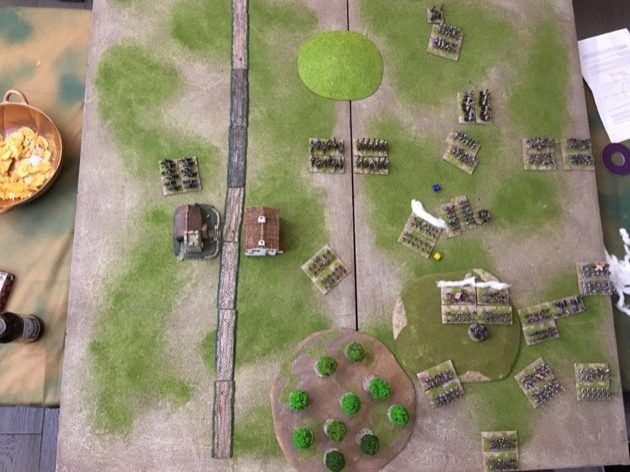
Being Big Base our table was 4′ x 4′. We obeyed the rather loose terrain placement rules.

By default 10AP can start on table. Jamie deployed three infantry Line Infantry units. And probably other stuff but I can’t remember now.

Adam went for two Line Infantry (2 x 2AP) and a Light Cavalry unit (1 x 3AP). The two infantry units deployed on a hill.
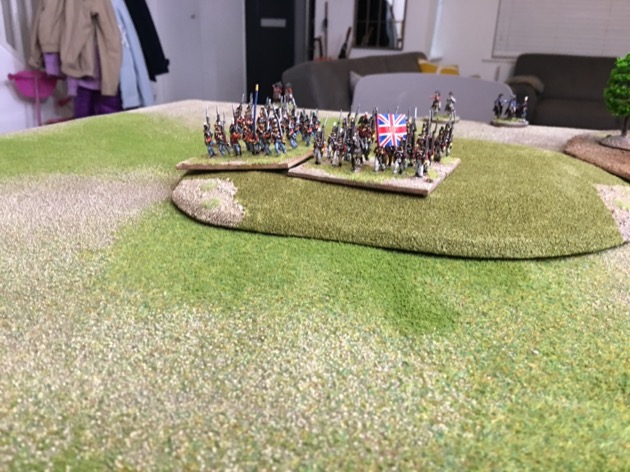
The cavalry was deployed on the far flank, basically to limit the French sides ability to place reinforcement points past half way.

The Game
The Anglo-Portuguese had an advantage on reinforcements because both reinforcement points were on their base edge, so arrivals needed 3+ rather than 4+. First up was some light cavalry.

But Jamie managed to get some reinforcements as well.

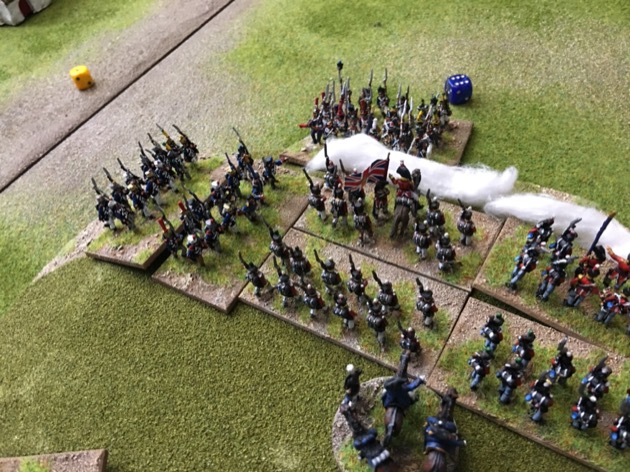
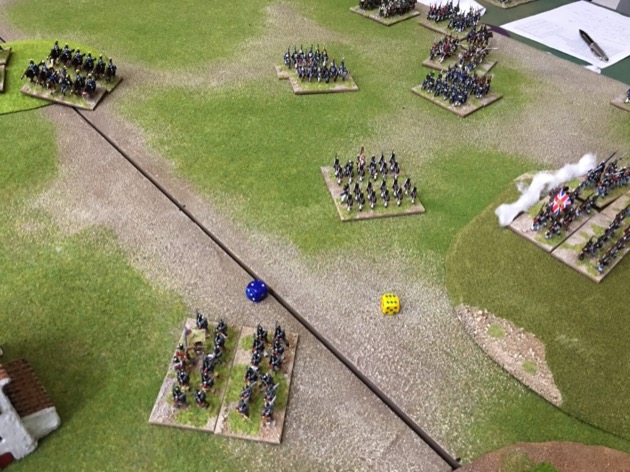
Jamie decided to advance immediately. Aside from being a good aggressive French tactic, this was also to ensure we got a good play test. Most of the action was focused on the hill occupied by the British infantry.

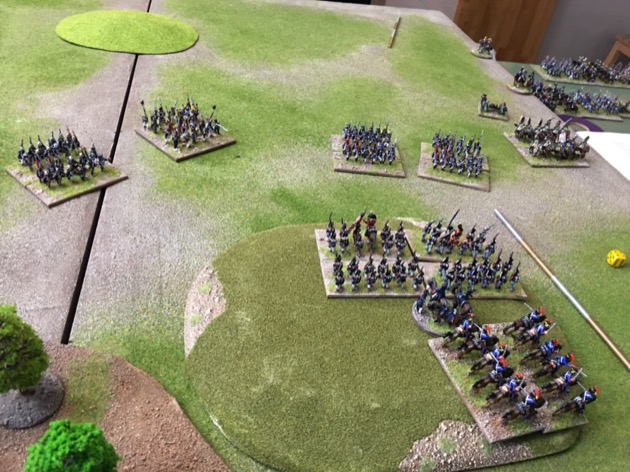

On the other flank French infantry chased the British Light Cavalry around the table.

Reinforcements continued to arrive including some artillery.
Two French infantry units charged up the hill.


With the Anglo-Portuguese winning the reinforcement battle the French left was looking a bit thin.

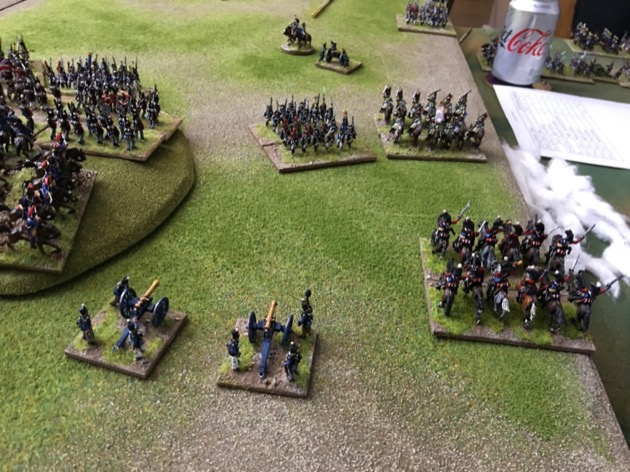
A French light cavalry unit routed back through their own guns. Pinning them. Not that made much of a difference.

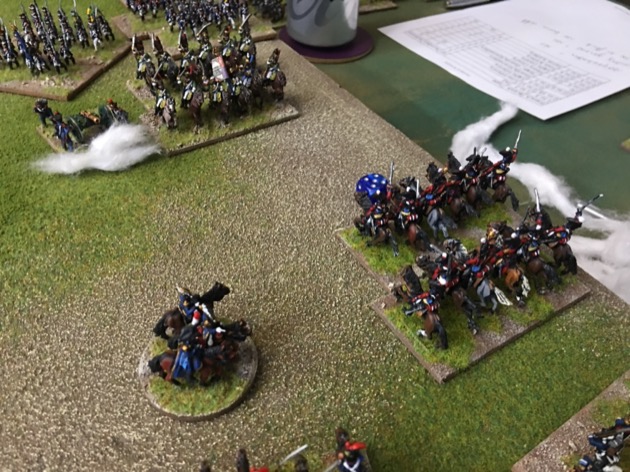
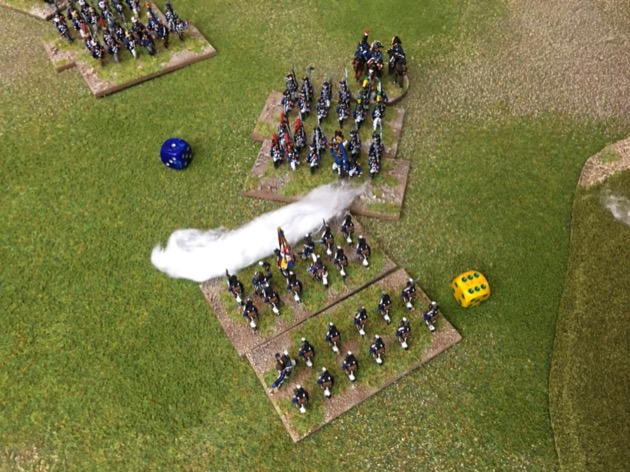
The French charged the red coats again.
This time they had a flank attack. It turns out flank attacks make no difference. Disappointing for Jamie.

The French infantry did manage to catch British heavy dragoons and destroy them.

Reinforcements continued to arrive throughout the battle. Which tended to make the action focus on the French left, where the flank reinforcement point was located.

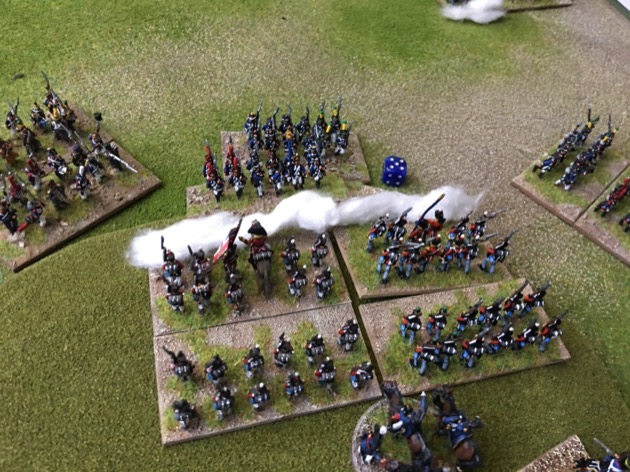
Everything was stacked against the French at the hill. They couldn’t budget the British line.
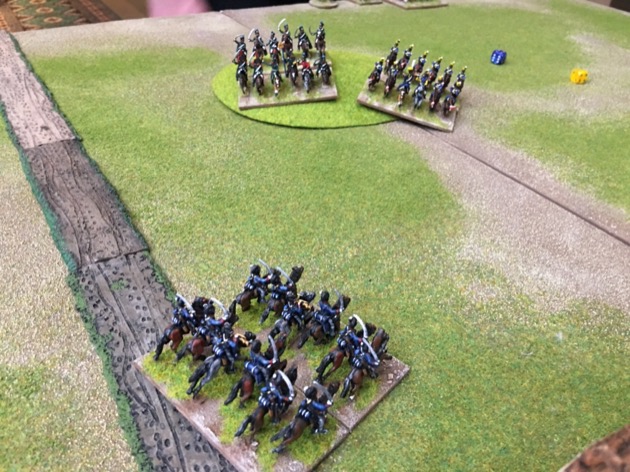
On the Anglo-Portuguese right found opposing cavalry disrupted.
This didn’t stop the British Light Cavalry going for the French guns.

Then more French cavalry arrived.

This would pose a problem for the British Light Cavalry on the left flank. Dodging infantry is one thing but it would be hard to dodge enemy cavalry.
Back on the Anglo-Portuguese right a British cavalry unit was destroyed.

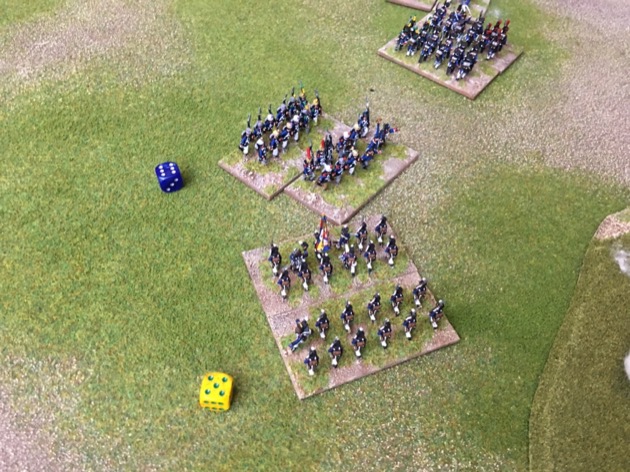

But it was the Portuguese who took the game. They destroyed a French infantry unit, making five losses, and won the game for the Anglo-Portuguese.


Conclusions and observations
We enjoyed the game, thought the rules were nice and simple, and liked many of the elements. We particularly liked the infantry first volley and stalling. The no record keeping and associated status values as also nice and elegant.
We liked the look of the Big Base units. Generally the conversation from a 2′ x 2′ table to a 4’x 4′ table was seamless, however Jamie did occasionally get confused about the 1″ means 2″ thing. That meant we ended says “it moves 2 colours” instead of “it moves 2 inches” (the rules) or “it moves 4 inches” (at our ground scale).
But we were left with a bunch of questions which I’ll post separately.
Good to see you getting Napoleonics back on the table, Steven. How do you feel the rules would handle a historical scenario and what intricacies would you encounter when setting one up?
I’m still forming my thoughts. At the moment I don’t think it is a good fit for the Peninsular. But the problems are fixable. I’ll post some questions/reflections on this soon.