Jamie Wish and Chris Harrod played “Paper Factory” (KB1R), the second game of Krasny Bor, featuring the Blue Division in an epic Crossfire campaign. The Spaniards were defending the Paper Factory, in a loop of the Ishora River, against overwhelming odds. Jamie’s Soviets captured all three objectives and won.
Set up
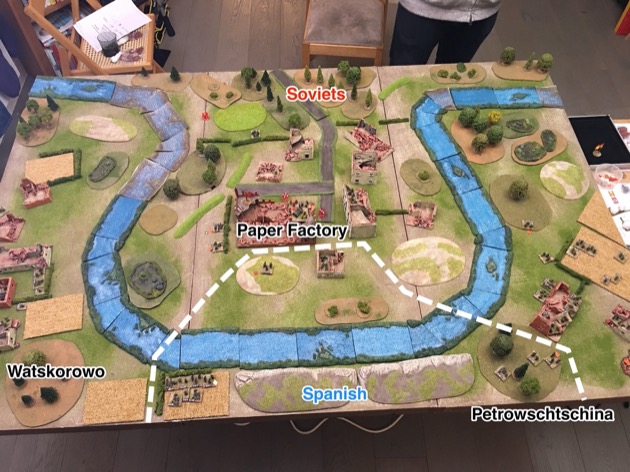
The River Ishora features heavily in this scenario. It forms a loop with the Paper Factory complex in the centre. There are two villages on the outside of the river loop: Petrowschtschina and Watskorowo. Of course the whole table should be snow covered, but hey, all my kit is for summer. You buy me the snow covered terrain and I promise to use it. 😉

The orders of battle were based on pre-campaign decisions.
Soviet Forces
- 8 x Pre-planned Bombardment (Don’t affect Stragglers and Survivors)
- 2 x Battalion Waves (3 and 4) from a Guards Division (Morale = Regular)
- Battalion Wave 3 has reserves:
- From Central Reserve:
- 1 x FO for off-table 76mm Infantry Gun (12 FM each)
- 1 x FO for off-table Heavy Artillery (4 FM each)
- From Division Reserve: 1 x Guards SMG Company;
- From Central Reserve:
Spanish Forces
- 1 x Leg Infantry Company
- 1 x FO for off table 10.5 cm (Heavy) Artillery (4 FM)
- 1 x Battalion HQ: BC(+2), SMG Squad
- Stragglers and Survivors from Phase 1
- 1 x Rifle platoon: PC (*), 3 x Rifle, one with ATR
- 1 x HMG stand
- 3 x Snipers
- 12 x barbed wire section (120 by 30mm)
- 1 x Minefield
- 1 x Bunker
- Any of the pre-planned stands may have an entrenchment, but the stragglers and survivors cannot.
* Throw 1d6 for the rating of each PC contributed by the Straggler and Survivors: 1-4 = PC (+1); 5-6 = PC (+2).
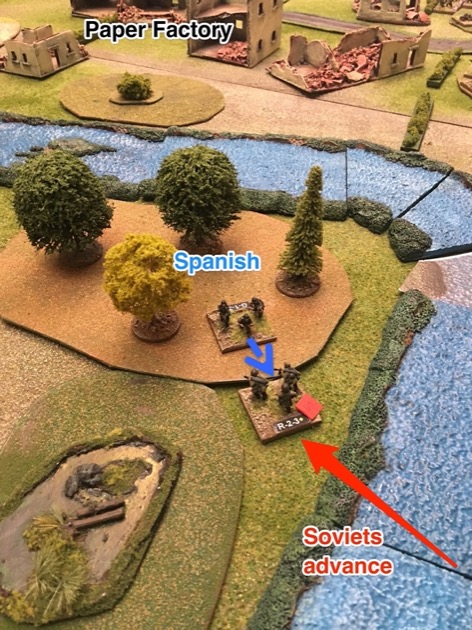
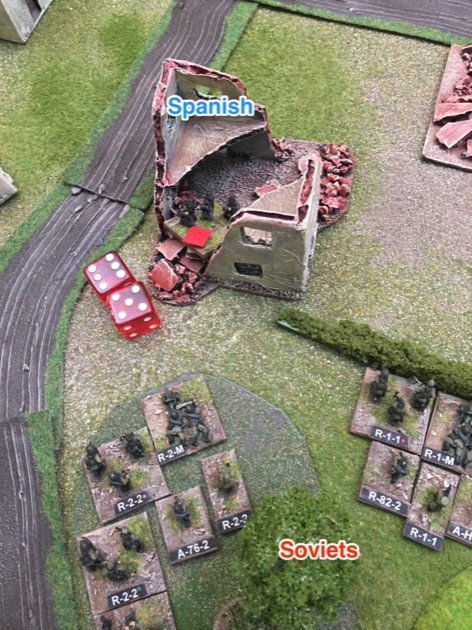
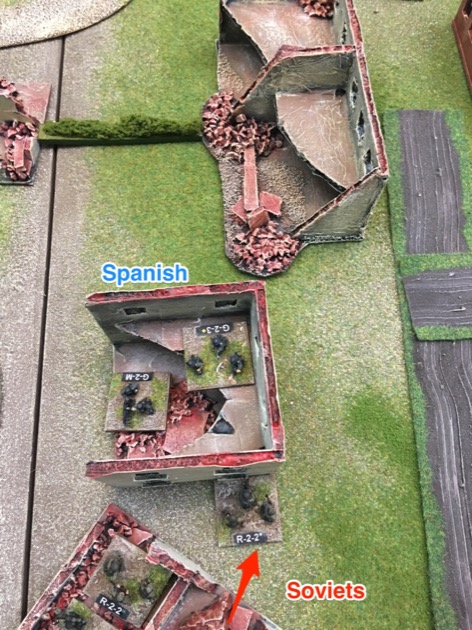
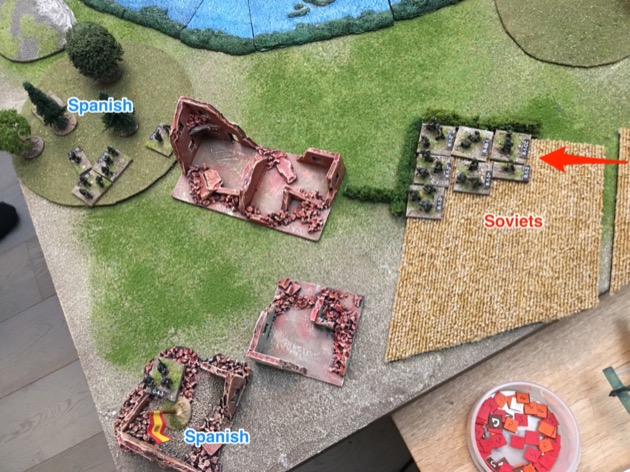
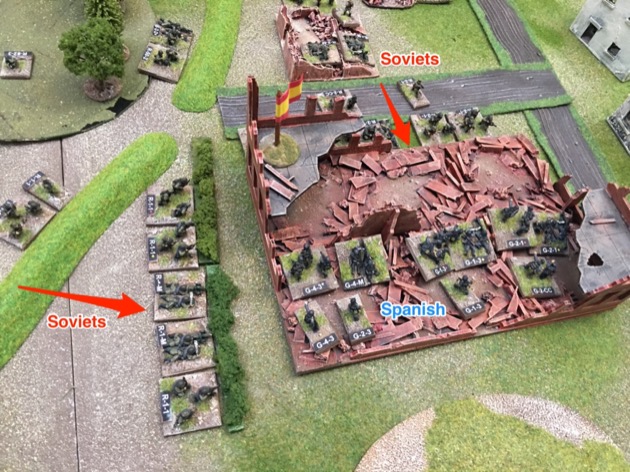
The only visible Spanish are “Survivors and Stragglers” from the first game. Given the Spanish had a rifle company and a HMG company on the front table, they get a rifle platoon and a HMG stand as stragglers. Chris deployed these between the Paper Factory and the river.

The Soviets deployed, visible, in front of the Paper Factory.

There were lots of Soviets.

Lots and lots of Soviets.

The Soviets have to capture three terrain objectives to win. The Paper Factory and a house in each of Watskorowo and Petrowschtschina.


Battalion Wave 3’s Battle
The game started at 1030 hours. Jamie has his third battalion wave on table, having used Battalion Wave 1 and 2 in the game on the front table.

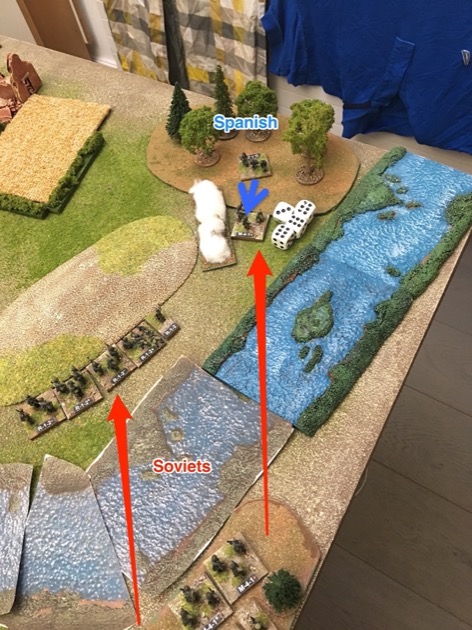
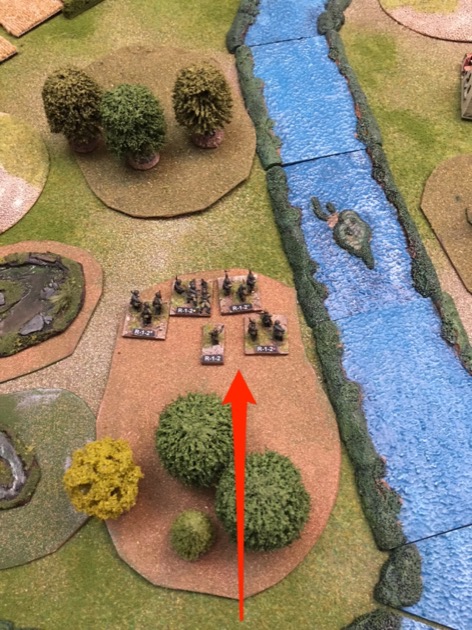
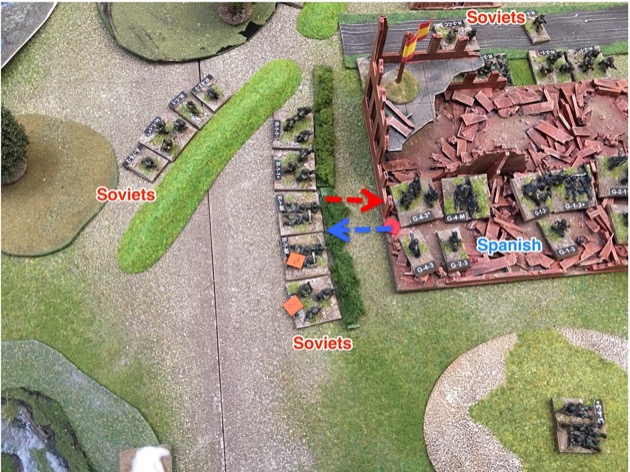
Jamie started by pushing forward on the left. He immediately encountered Spanish.
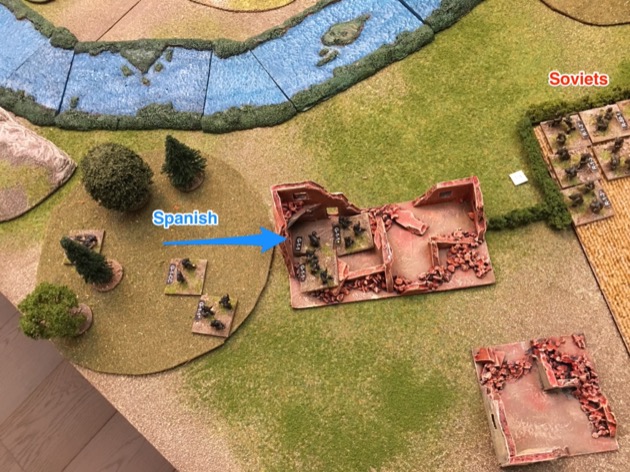
After 15 minutes (game time) Jamie launched the main attack on the Paper Factory itself.
Chris had deployed troops right to the front. So as soon as Jamie came through the hedge and got to the buildings inside the factory complex, he found Spanish. In this case it was a Spanish Combat Engineer.

Jamie bounced back to his left and pushed forward another squad. Chris revealed more Spaniards, up on the nearby hill, and stopped the attack again.

Back in the factory, Soviet firepower began to take a toll on the front line Spaniards.
Chris had deployed in depth so there was always another Spaniard to stop the next Soviet rush.


The Spanish are heavily outnumbered in this scenario and one of the counter-balancing elements is Axis airpower. A random event brought a German Stuka overhead, with associated casualties amongst the Soviets.


As it normal with Crossfire, the defenders are safe until revealed. Once revealed the Spanish got hammered. A patter developed where the Soviets would rush to a new position, Spanish would appear and stop the rush, but then the Soviets would pound the newly revealed Spaniards.

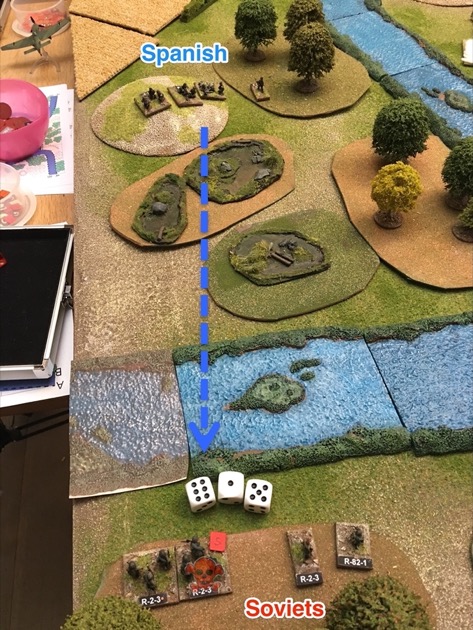
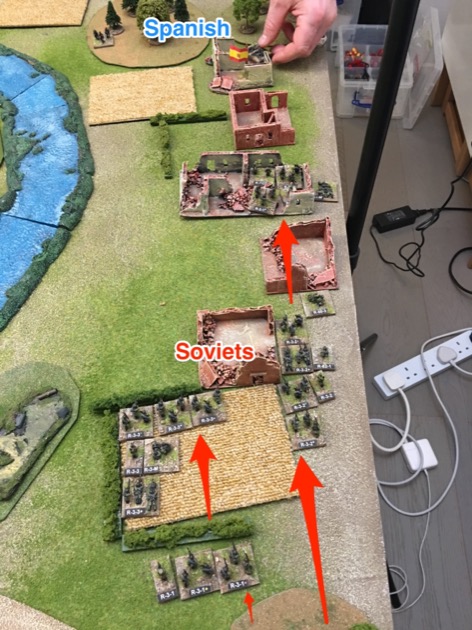
Jamie chose to advance across the entire frontage. 30 (game) minutes after the first attack went in, he advanced across the Ishora to his right.
Back on the left the Spanish were well positioned to blunt the Soviet attack.

However, the Spanish positions were so far forward that the Soviets could bring their own firepower to bear. In this case a platoon dug in in front of the Paper Factory, waiting to attack, lent some fire support to the attack on the Soviet left.
Jamie had allocated some of the divisional reserves, a SMG company, to Battalion Wave 3. Swapping out a rifle company for a SMG company is a bit of a gamble. The rifle guys are much better at shooting. But the SMG are much better in close combat and this is what Jamie wanted them for. With a +1 in close combat they are pretty good at it. Their job was to clear the factory.

But on the other hand Chris had a company of combat engineers. They are also very good at close combat with a +1 for combat engineer and another +1 for veteran. Give them an officer and they are nearly unstoppable. But any close combat result depends on the dice. In this case, Chris split his defenders making two close combats. Round 1 resulted in a casualty for both sides.

Round 2 of the close combat brought a Spanish victory.

Jamie’s attack on the left was faltering rapidly. The Spaniards on the hill dispatched the sole Soviet remaining across the Ishora.

In the factory complex, Jamie had another go at the house so staunchly defended by the Spanish Combat Engineer. By now the defender was suppressed so this looked like a walk over. But one of the charging Soviets was caught as it crossed open ground to the walls of the house. And, as we know, a Suppress turns to a Kill, when shooting at reckless chargers like the Russians.
The fail of the charge meant the other squads that had already reached the walls, were pushed back. Suddenly Chris had two squads, standing up in the open, just outside a Spanish held house. Luckily for him the Spaniards in question were suppressed.

But, just one pass of the initiative later and with smoke placed more judiciously, the Soviet submachine gunners went back in. Two SMG and PC will kill a suppressed squad most times. Even a veteran combat engineer. Even with a lower die roll.

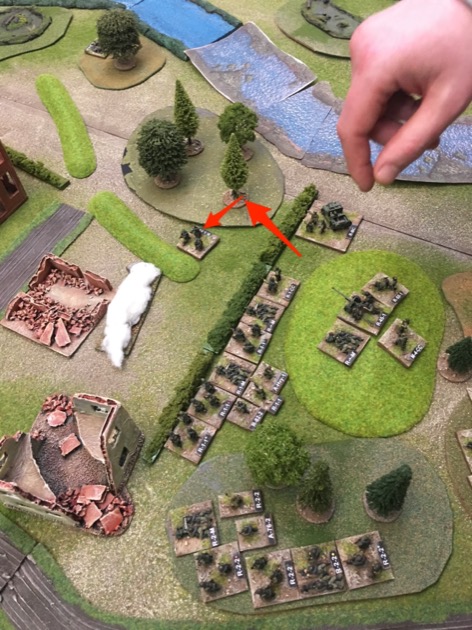
Jamie then attacked again on the right and cleared the first woods beyond the river.

After that small success Jamie refocussed on the factory complex and sent forward another squad. More Spanish!
But the defenders went No Fire and that encourage a Soviet charge. More dead Spanish!

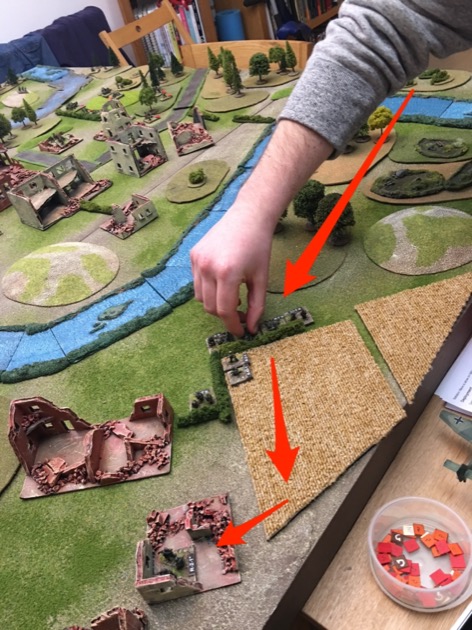
I was umpiring in the game which was not a very onerous responsibility. That’s why there are lots of photos of the action. But, for a change, I thought I’d take a snap over the battlefield. No reason beyond that I could. Aside from the light stand and cable in the background, I think it looks alright. This battle uses my generic building sectors after I refreshed the paint job. I think the effect is quite good … in a ruined sort of way.

After that short message from our sponsor, back to the action. Clearing the factor complex was bloody work. Combat engineers pitted against submachine gunners. Sometimes the Soviets won. And sometimes the Spanish. Clearly this particular SMG platoon got caught by Spanish demolition charges when they got to the walls of the building they were assaulting.

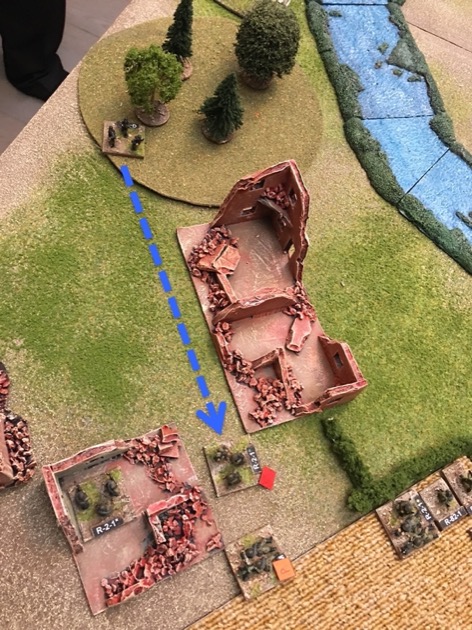
With a victory under their belt, the engineers pulled out and redeployed to the flank.

Then Chris changed his mind and pulled them back to the small hill near the factory. This was to allow him to redeploy the Stragglers and Survivors out of the factory complex completely.

One squad of stranglers headed for Petrowschtschina.

Another squad of stranglers headed for Watskorowo.

Chris continued to redeploy the stragglers and survivors, but got interrupted by Soviet reactive fire.

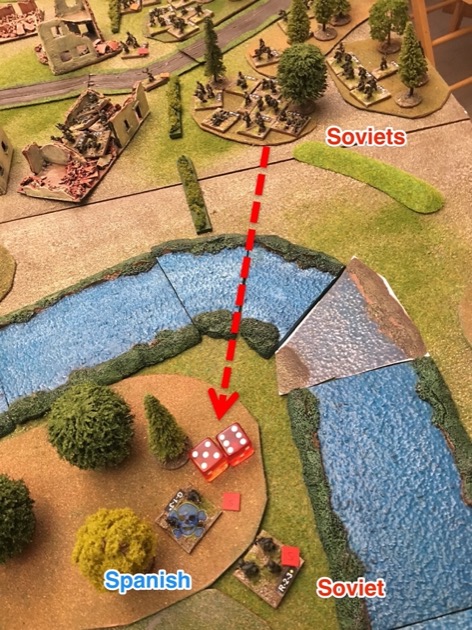
Not content with blunting the Soviet attack on the left, the Spanish positioned on the hill shot up the Soviets facing them across the river.
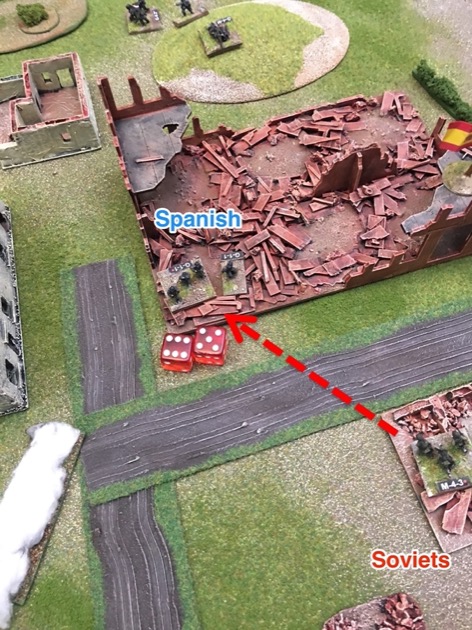
Jamie’s attention then jumped to his right again. He pushed forward and found some Spaniards defending a field.

Back in the factory complex, the Spaniards halted a Soviet rush right at the walls of the factory building itself.

Of course, the Spanish who stopped the Soviet charge immediately became targets for Soviet fire.
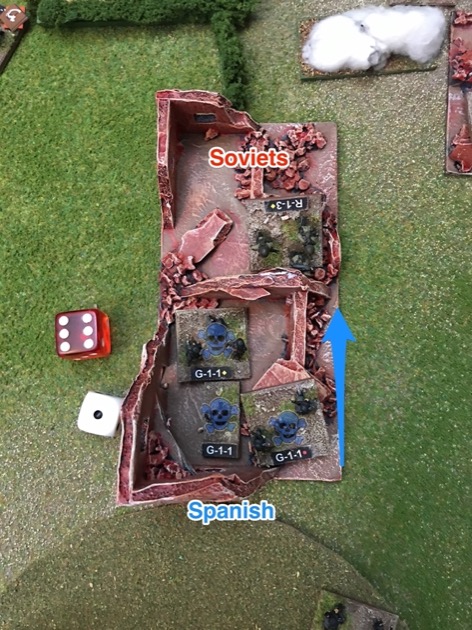
That in turn created an opportunity for the Soviets to penetrate the factory building. The battle seemed brutal to this point but it was going to get a whole lot more bloody now the Russians were in the factory.

Chris responded immediately and brought combat engineers into the factory to clear out the interlopers.

Chris then brought in more troops reinforce the factory building. Stragglers were all that were available.

In his enthusiasm to clear the factory Chris left some troops at the front, visible to the Soviets outside. This, of course attracted fire with associated Pins and Suppressions.
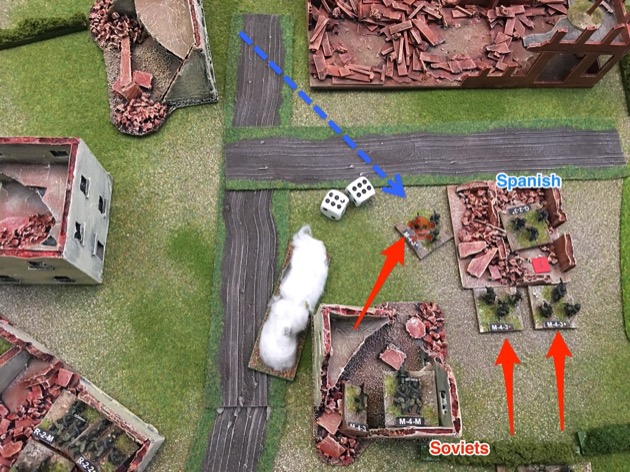
On the right a Soviet mortar fired on the Spanish HMG on the hill.

The Soviet fire on the Spanish in the factory was intense and quickly caused casualties.


Then another Stuka arrived overhead. It concentrated on the Soviets still massed at the factory gates.


Chris pulled his troops back on the Soviet left. Jamie filled the vacuum with Russians.
The action on the Soviet moved moved to Petrowschtschina where a few Spaniards kept the Soviets at bay.
Chris, feeling the weight of numbers, used the cliffs on the Ishora to transfer reinforcements into Petrowschtschina.

And the fight continued.

Then Jamie launched a fresh attack on his right. A SMG platoon got into action and cleared out the field in front of Watskorowo.
This enabled Jamie’s forces to enter the outskirts of Watskorowo.

Jamie also cleared the hill nearby. It wouldn’t do to have Spaniards impinging his access to Watskorowo.

Jamie advanced rapidly through Watskorowo.

The advance in Watskorowo halted when a Soviet squad got caught in the open.
Battalion Wave 4’s Battle
At this point Jamie was in both Petrowschtschina and Watskorowo. He was also massed outside the factory. But he didn’t have any objectives. He did a quick stocktake of his forces (16 dead fighting stands) and decided to bring on Battalion Wave 4.

Chris had take a similar number of casualties (14 fighting stands), but would not benefit from any reinforcements, beyond those provided by random events.

Using the Human Wave special rule, Jamie pulled all his forces off table. Then he started bringing on fresh troops. A bunch massed outside Petrowschtschina.
Jamie also brought up some supports into woods near Petrowschtschina.
Of course, Jamie also brought a large contingent into the factory complex.

And on the Soviet right, Jamie’s troops swarmed through Watskorowo.
Chris decided he couldn’t defend everywhere and abandoned Watskorowo. He used those troops to reinforce Petrowschtschina on the other side of the table.

With a strong force outside Petrowschtschina, Chris decided to advance into the village to ensure he kept that objective.
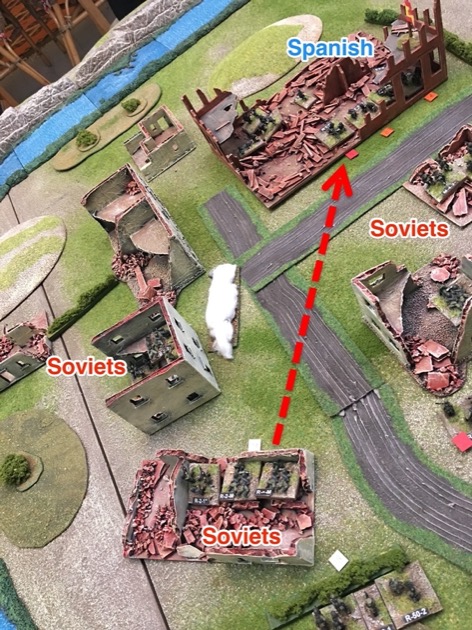
In the centre, Jamie’s troops edged nearer to the Paper Factory. They lined a crest line.

Then over the crest to a hedge line. From here they could see the factory building.
Since Chris had abandoned Watskorowo, there was nothing to stop Jamie taking the village.

Jamie redeployed his troops in Watskorowo so they could lend support to troops fighting near the factory.

Initially there was some desultory fire between the Soviets at the hedge line and the Spanish in the factory building.
Then Jamie assaulted into the factory building. A couple of rifle squads made short work of the defending HMG, particularly as it didn’t have line of sight to the attackers.

Jamie brought more troops into the front of the factory building.

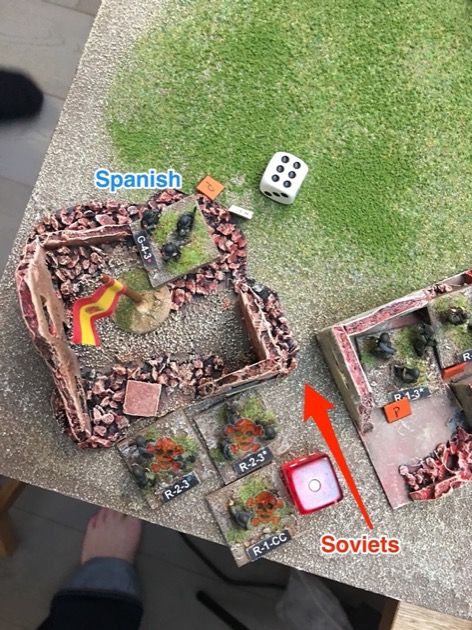
Unfortunately for Jamie, putting troops into the factory building just made them accessible to Spanish combat engineers. Including the company commander!

Chris continued to counter attack in the factory building. By 1130 the building the cleared.


For the third time a Stuka appeared overhead.

This time the Stuka targeted the Soviets lined up on the hedge outside the factory building. Chris threw quite well; a perfect score.

In Petrowschtschina on the Soviet left, Chris continued to hold grimly.

Spanish fire also started hitting the Soviets still reeling from the latest Stuka attack.

Inside the factory building neither side looked particularly strong.

But the Spanish were strong enough to clear the factory building once again.

In Petrowschtschina the Soviets continue to expand their foothold.

The Spanish counter-attack in Petrowschtschina failed miserably.
However, the Spanish managed to blunt a Soviet attack elsewhere in Petrowschtschina.
At 1145 the Soviets cleared the Petrowschtschina objective using firepower.

Chris tried to bring more stragglers into the factory building, but reactive fire suppressed them.


At 1200 hours the Soviet Battalion Commander entered the fray to inspire his boys fighting it out in the wreckage of the factory.

Chris opted to chase easy pickings and went after the Soviet platoon that had been hit by the last Stuka.

Chris then tried to clear the factory building one more time. However, inspired by their battalion commander, the Soviet garrison held firm and wiped out the Spanish attackers.
That was the end of the game. Jamie had all three objectives for the cost of 14 fighting stands from the on table battalion wave.
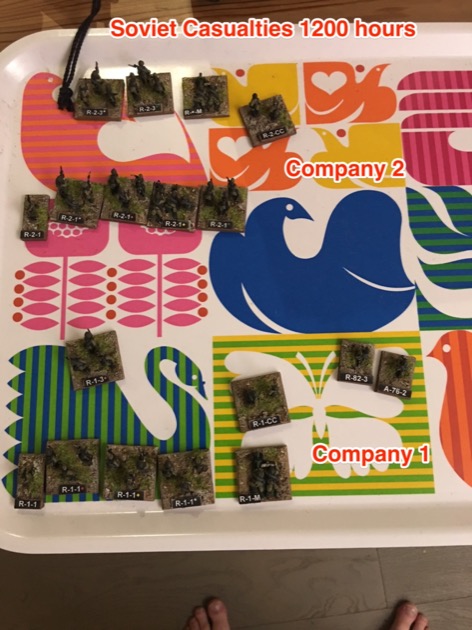
Chris had lost 24 Spanish fighting stands.

Despite losing the three objectives, Chris was still on the table. But he didn’t really have the oomph to recapture anything from a relatively fresh Soviet battalion.
Observations and Conclusions
Another very long game. I set up the table in advance so we could just start playing when the guys arrived at 8 PM. None-the-less we didn’t finish until 2 AM the next morning. Luckily I had the day off. But the guys both went to work. Sorry guys. Next time we’ll play during the day, on the weekend.
The game itself, like the first one, was fantastic. Knife edge stuff as the Spaniards grimly try to hold back the red tide.
Jamie, despite being a relative novice, played well. He remembered to use smoke to shield his advances, he knew when and where to use his shock troops (SMG), he timed the replacement of Battalion Wave 3 with Battalion Wave 4 perfectly. Solid play and a deserved victory. If there is one thing I’d point at, improvement-wise, is I’d recommend he pick one axis of advance rather than spread his focus across the whole table.
Chris fought like a champion. He is a good player and played well in this game. I think, in hindsight, if we had played the game on the front table to completion, Chris may well have taken the victory on table two. Even so it was a tight run thing.
Despite being a “random event”, the Stuka was key to Chris’s chances of victory. Chris got air support three times and used it well each time. Each time a whole Soviet platoon (more or less) got suppressed.
My generic building sectors still serve well. The repaint helped bring them alive.
In the following week after the game, Jamie and partner had a baby, so who knows when we’ll next get a game. However, this is part of the reason I suggested playing each zone of Krasny Bor in turn rather than each phase. We played Zone 1 to completion with a victory to Jamie. Following our guidelines for playing Krasny Bor with two players, we expect to player Zone 4 next, and “The Embankment” scenario specifically. But, if we don’t manage it, we have already got to a form of completion for the campaign with a clear victory for Jamie.
And it is great to finally get my Blue Division back on the table. As Spaniards, and not as Germans.
Viva la muerte
A very interesting after action report, Steven. However, there are two things that (visually) are quite odd. Do you think the soviet commander could enter in the factory mounted on his car? And second, despite the nice touch of the spanish flags, I´m afraid you are using the wrong ones. These are modern (1981) “Constitutional” Flags, those used by 250 Division were of the 1940 type, with an eagle (nicknamed “chicken”).as an aside each infantry battaliion had its own smaller, quadrangular flag (or “guion”). yellow with the eagle again and black lettering.
As usual, your telling of the combats, makes me read again Ruiz Vadillo´s “…Y lucharon en Krasny Bor”, best book about this bloody battle.
Best regards,
Pablo
Pablo
I put a vehicle on most of my battalion commander stands so distinguish then from company commanders. The vehicle is a marker, not real.
regarding the flag, I probably used whatever I could find at the time. Can you point me at a 1940 flag?
I wish my Spanish was good enough to read Vadillo.
Cheers
Steven
As ever a really nice report and well laid out.
Nice table and report. Need to do – sometime in the future – this campaign.
On the flag, I believe it’s this one https://upload.wikimedia.org/wikipedia/commons/thumb/a/ae/Flag_of_Spain_%281945_-_1977%29.svg/1200px-Flag_of_Spain_%281945_-_1977%29.svg.png
Thanks Jose. In hindsight that is the image I used as the basis for my flags. Judging by the URL it is the flag for the period 1945 to 1977. So a few years too late for the Blue Division.
Great write up (as usual) of a hard fought battle.