My older daughter (Dana) is in Year 7 and in January she came home with some home work that got me excited … she had to make a castle. And Dana wanted to do a Motte and Bailey Castle. Oh, wow, modeller heaven. We only had two weeks so we got stuck in.
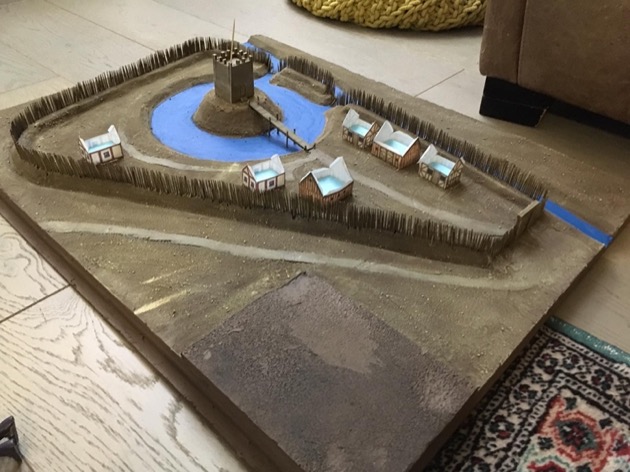
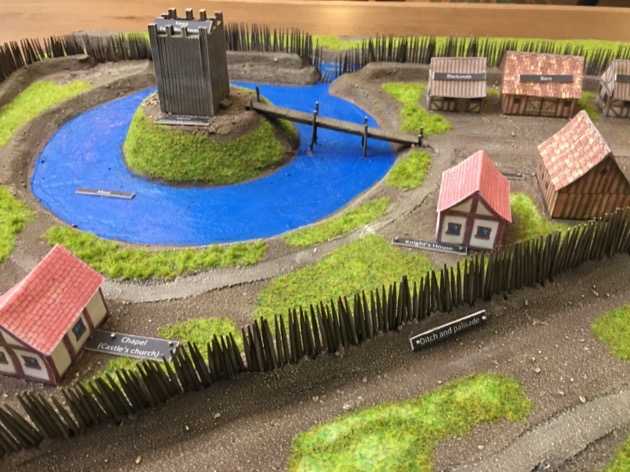
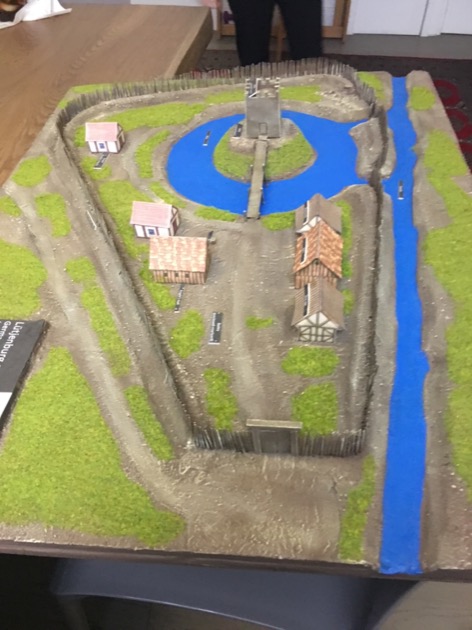
The end result
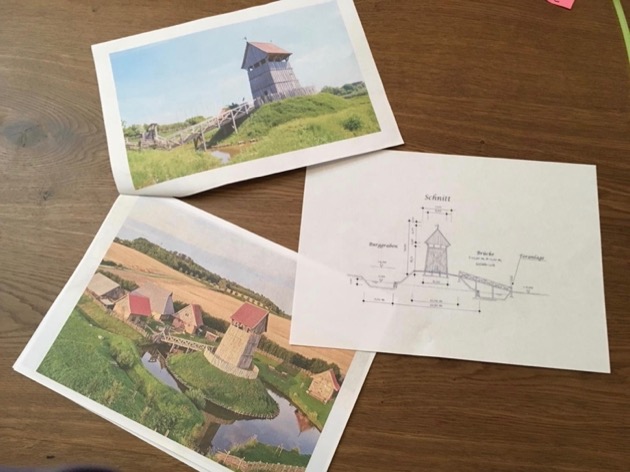
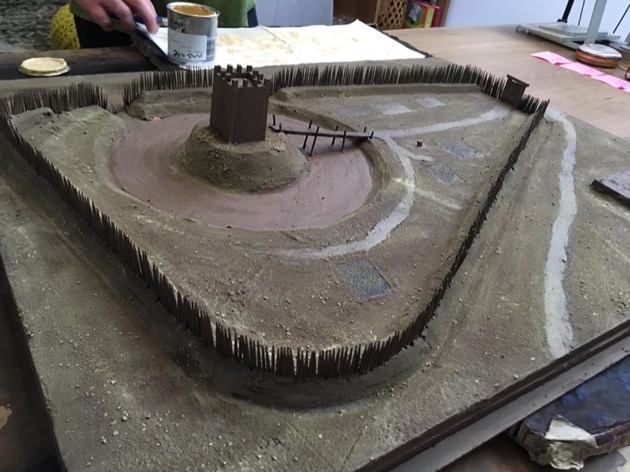
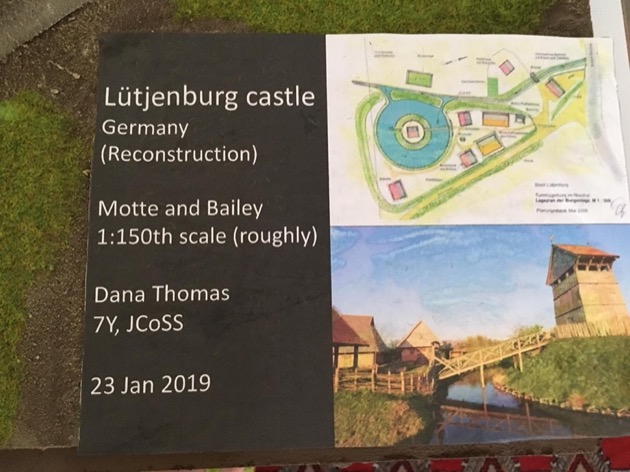
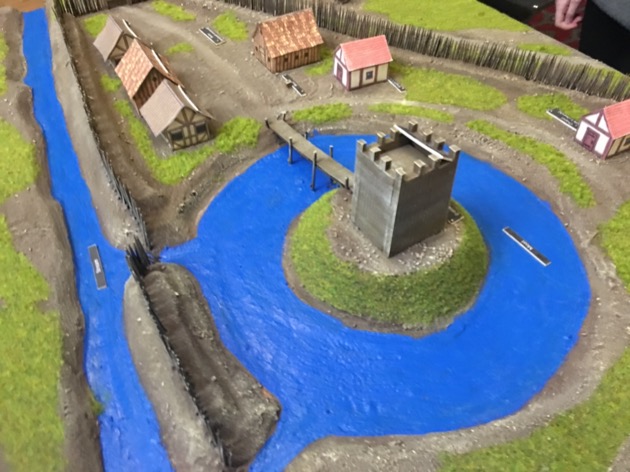
We ended up doing a reconstruction of Lütjenburg castle in Germany. We chose Lütjenburg for the simple reason that googling images for “Motte and Bailey” bring it up very quickly and it has a moat. Moats are cool and the result would be more interesting.

The model is roughly 1:150th scale. Perhaps more like 1:125th scale in places. And the palisade is probably a bit high. But hey. More or less 1:150th scale.
Step by step construction
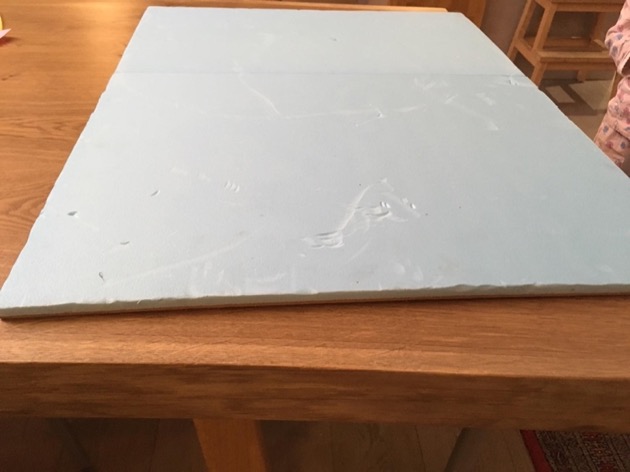
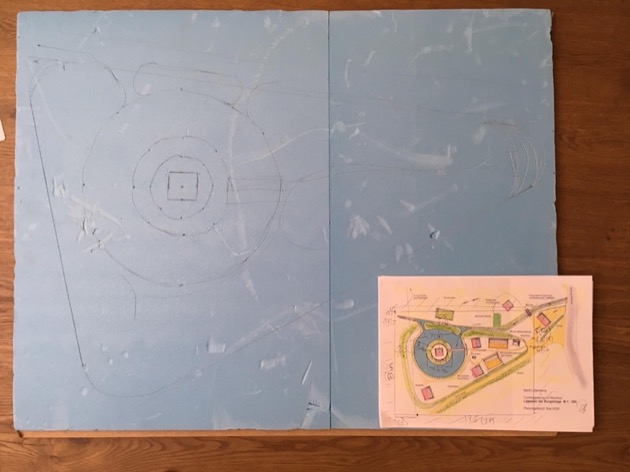
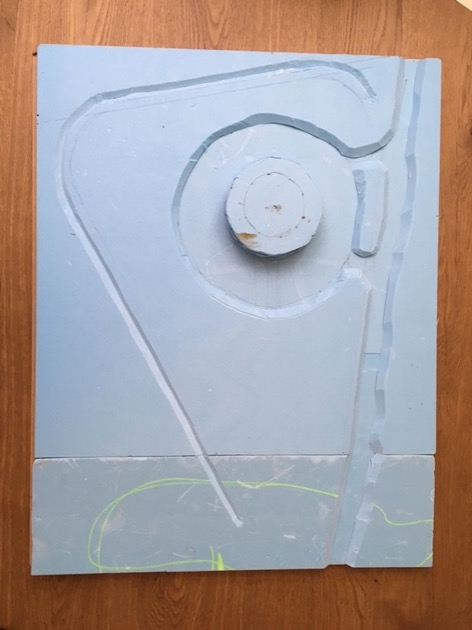
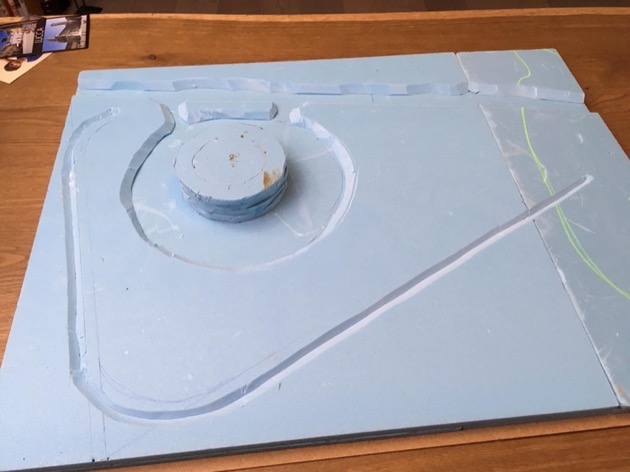
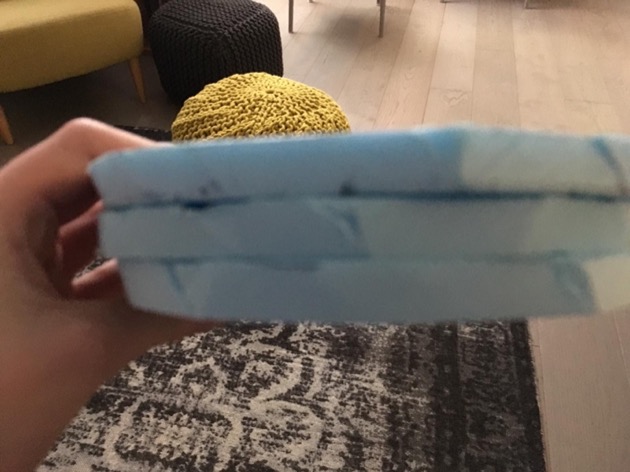
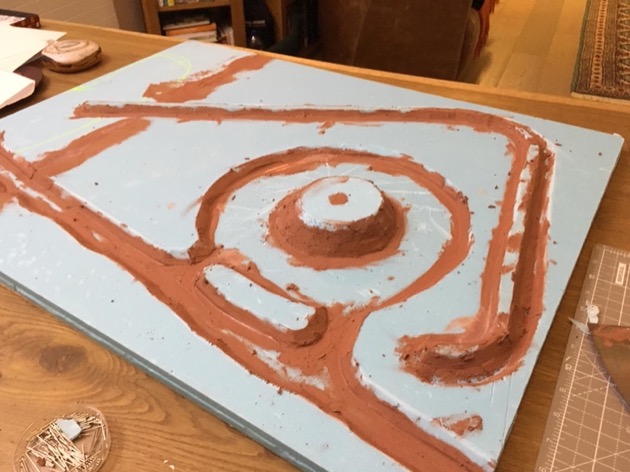
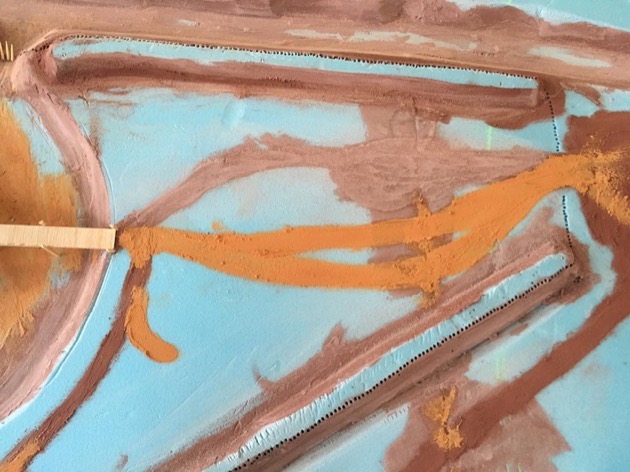
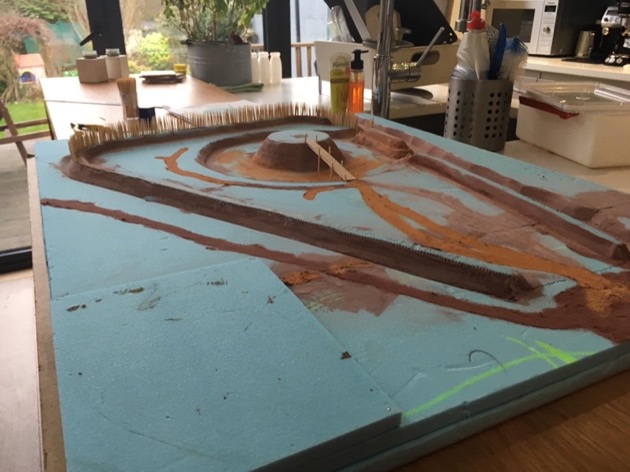
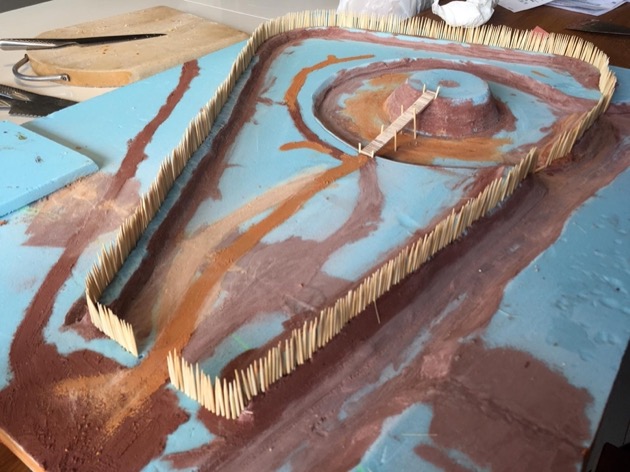
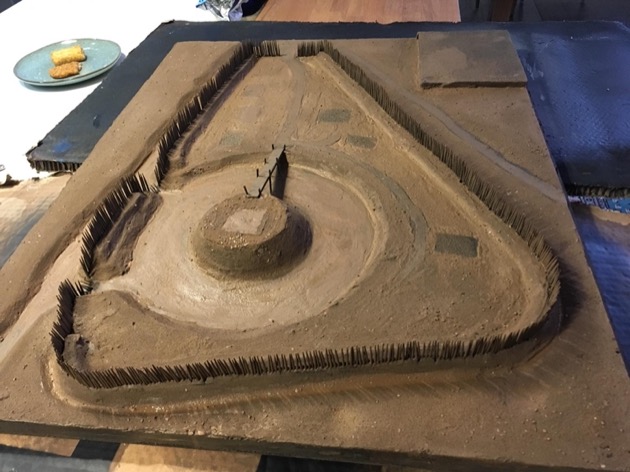
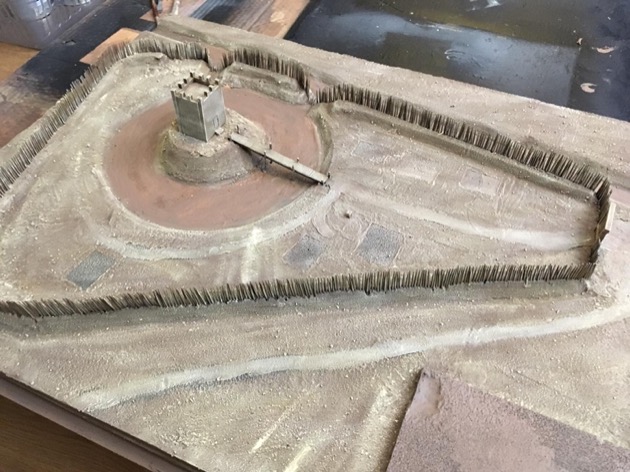
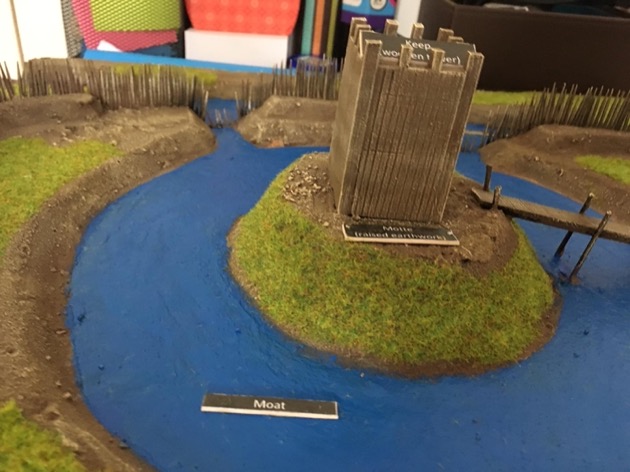
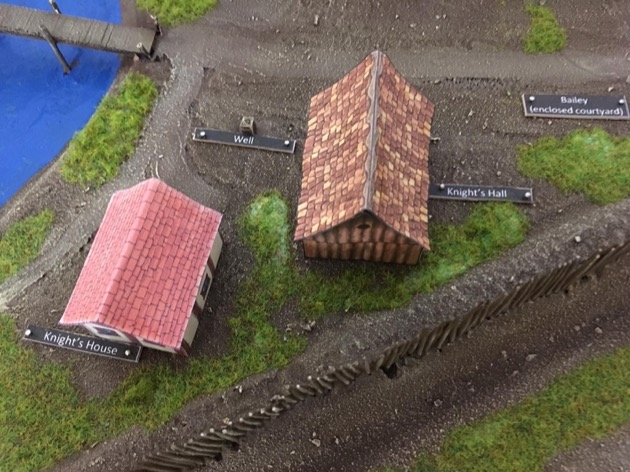
The pictures tell the story. We captured most steps. I think we forgot to photograph gluing the sand on. Otherwise everything is below.



















Lovely to read about this on a Saturday morning, great job and I hope she enjoyed the process, who knows you might have a helper on your other projects? The buildings really work well and the whole thing pops out. I bet the school were impressed…
thanks M. J. The school were impressed. Dana got a “Head Teacher Commendation” and the model is now displayed in the school’s boardroom.
Regarding the buildings …
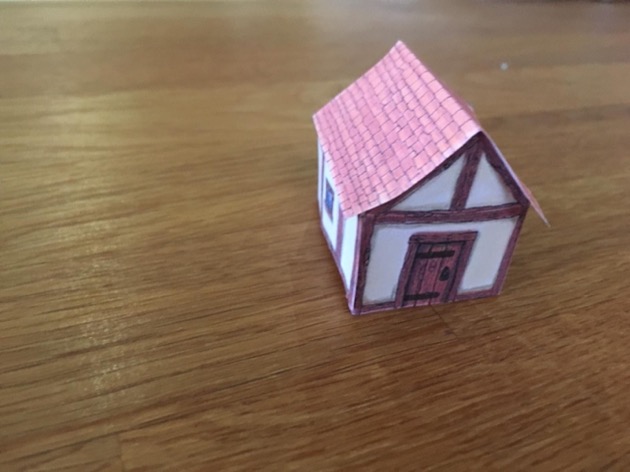
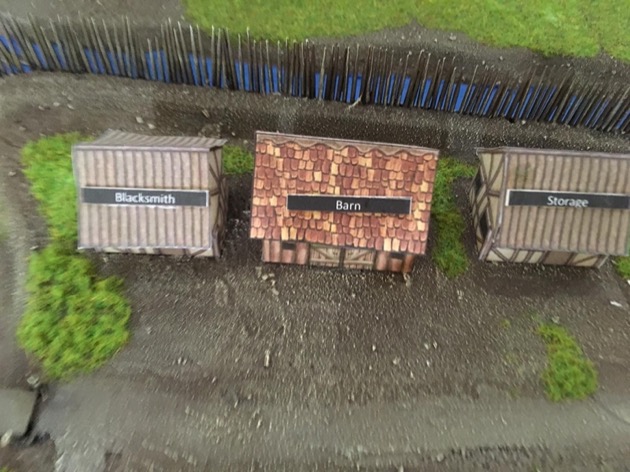
We used paper buildings. We got the masters off the internet and scaled them down to fit the castle. I’ve never used paper buildings before. I was concerned about them being a bit fragile which is why we put a lump of blue foam inside each one before putting on the roof – to provide a bit more substance should they get knocked about. But they definitely look the part.
At the start of the project we agreed we’d use paper buildings if we ran out of time. But really I wanted to scratch build them from balsa wood, foam core, and miliput (Plan A). I was disappointed we had to use the Plan B Paper versions. But needs must.
We also got feedback from a friend, after the event, that the chapel doesn’t look like a chapel. We just used a house as the chapel because we were running out of time. Personally I have no clue what a early medieval chapel from Germany would look like, and whether it really would look different to a cottage. So, on balance, I think this is a bit of criticism I can live with.
Looks brilliant – better than what I have seen in some actual museums. Well done to both of you.
Thanks Julian. The Head Teacher also made the comparison to “museum” quality. We’re very happy with it.
Fantastic – well done
Well done, Dana!! Congratulations for a great looking castle
The castle looks fantastic! Museum quality. I love it.
Two concerns though:
– How much parent participation did they expect at school? This certainly doesn’t look like it was made by a 7 yeard old 😛
– How much did you spend? Including the static grass.
(sorry, I misread: “year 7”, not 7 year old!)
Hi Andres. Yup “Year 7” = 11 to 12 year olds.
You’re right, it was a double act, and the parent participation is obvious to everybody. If you boil it down I provided ambition (“Wow, lets make a real castle, to scale”) and technical skills (“I’ve done all of this before, just in bits, and not together in a single a diorama”). I guess it is okay because we got an email from the Head Teacher congratulating Dana and acknowledging my contribution. It was a great father-daughter project.
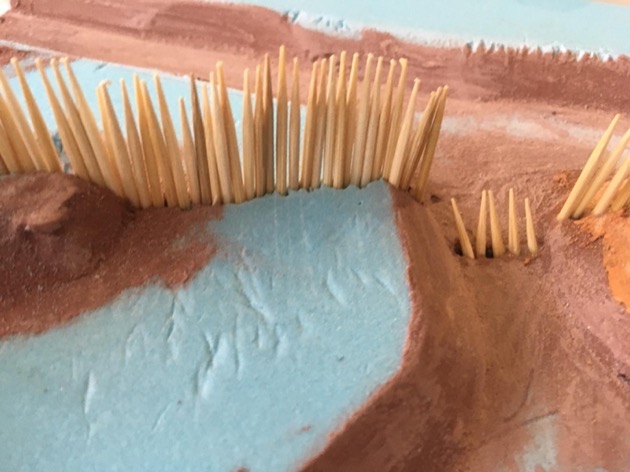
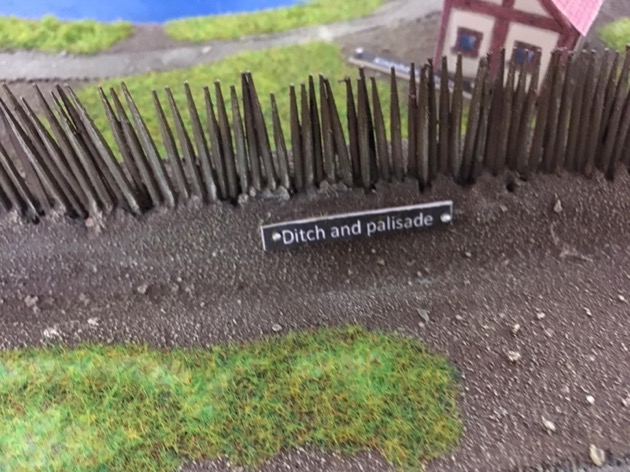
In terms of cost, the brief for the homework was “Don’t spend money on it”. We didn’t quite do that as we had to buy two extra boxes of toothpicks for the palisade. There are 700 stakes in the palisade. That is a fair few toothpicks. Total cost, about a pound.
Of course, in terms of cost of materials, I cheated. Aside from the toothpicks, everything else was in my workshop already. 2mm MDF. Blue insulation foam. Sand. Paint. Balsa wood. Wood glue. Foam glue. Balsa glue. Pins. Gloss varnish. Static grass. Paper. Tools. So we didn’t “buy” anything. We just had it. The advantages of having a geek for a father I guess.
Nice job, I’m really impressed in the quality of the work!
Outstanding skills. What a top dad!
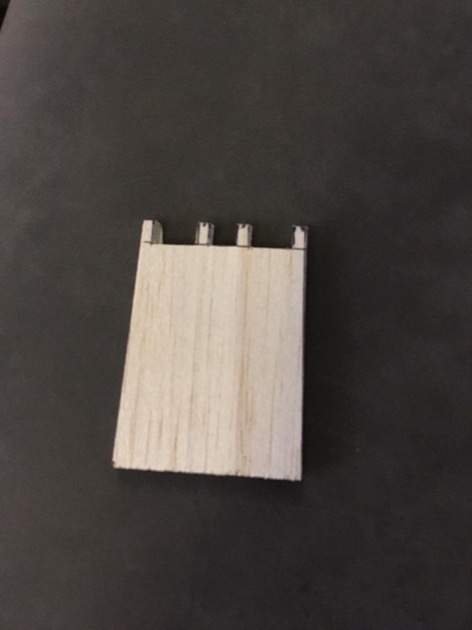
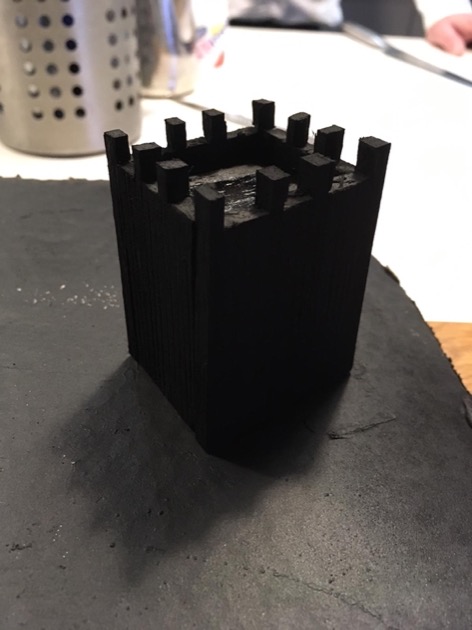
Looks excellent. Could you give me a better idea as to how you built the keep please. Thanks. Phil
Thanks. Instruction:
1. Cut 5mm balsa wood to shape for the four sides.
2. Cut 5mm balsa wood to shape for upper floor.
3. Score all outside surfaces with vertical lines to indicate planks.
4. Glue and hold together with rubber bands
5. Paint
Done
Congratulations! Why didn’t my kids have such projects when they were little ?
As for the chapel, I guess the devil is in the details of woodwork, door shape and such. Fundamentally, it would have been a timber and brick building much like the knight’s house, so you and Dana are good!
https://www.turmhuegelburg.de/files/cto_layout/images/vorburg/kapelle01.jpg