
In our first game since Covid-19 lockdown, Jamie and I played my Small Herbsthausen – A Tilly’s Very Bad Day Scenario. In Tilly’s Very Bad Day terms this is a small game on a small table with small armies (in numbers of units). The Bavarians (Jamie) heavily outnumber the French (Steven) so I was going to find this a struggle.
Summary: A quick game resulting in an rather spectacular draw. That is pretty much the best result the French could expect from the scenario.
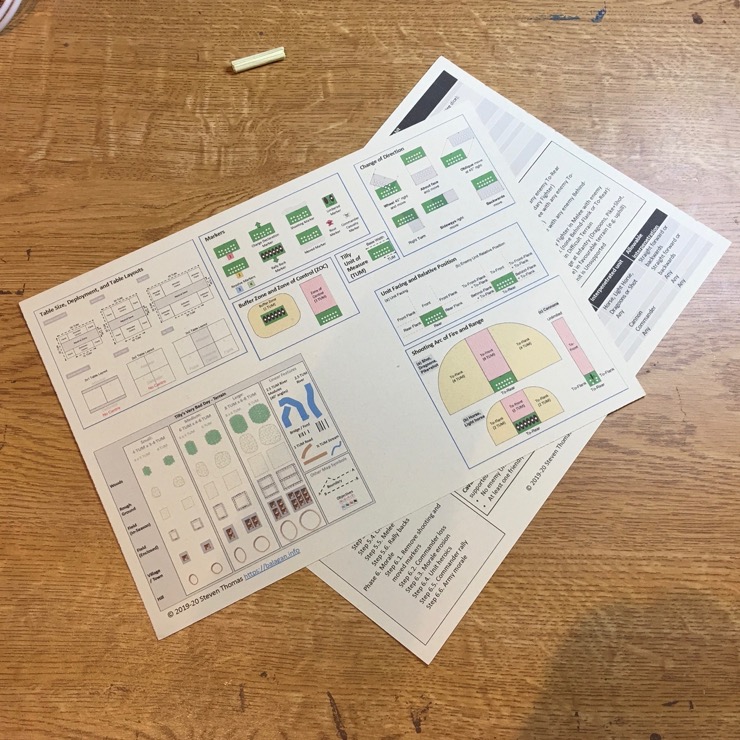
Version of Tilly’s Very Bad Day
We played version 2 of Tilly’s Very Bad Day (version 2.0).
While we are setting up I realised I’d forgotten how to play. Weird I know since I wrote the rules. Jamie suggested a we needed QRS. I have one – Quick Reference Sheet for Tilly’s Very Bad Day – but hadn’t printed it.
Deployment
The table just had a wood, hill and a road. Jamie lined his Bavarians close to the centre.

My only hope was to win quickly on the left. So I also deployed close to the centre with my horse.

I was thin on the left but even more thin on the right. So I hid in the woods. This wouldn’t protect me from Jamie’s infantry but it would make his horse a bit shy.

Turn 1
Jamie kicked off game turn 1. I got a shot on my right. But it has been a while and I forgot how many dice to roll. I rolled 4d6 (full resolve) rather than 1d6 (flank). I got two hits but later when I remembered the rule I took them back.

Not surprising the close combat started on the left with lots of cavalry charges. I had a slight advantage of 5 to 4.

Jamie had forgotten about support so I had a slight advantage. Unfortunately, for me, we got two draws and I got a rally back.

Turn 2
In game turn 2 we went in again on the left. Jamie brought up his reserve cavalry so we ere back to 5 to 5.

Another mixed bag – a rout on each side – and a rally back for Jamie.


We also had charges on the right. It wasn’t going to be pretty over here as Jamie outnumbered me 5 to 1 as Jamie had left one unit behind.

By some miracle my horse survived. Just barely.

Turn 3
I forgot to take the photo with the charge markers. But trust me, there were charges. It still looked depressingly balanced in the cavalry melee.

Elsewhere the Bavarian horde was also surrounding my wood.


But the action was with the horse on my left.

Boom!!!! We both had a unit routed and we both had our generals killed. With the morale fall out from that, not much was left intact. I had two horse units and he had one.

Those losses were enough to take both of us passed the army breakpoint. A draw.

Conclusion
It was small. It was short (3 turns; 1 hour). It was fierce. It resulted in a (rather surprising) draw. It was quite fun. We both enjoyed it.
The scenario is unbalanced. The Bavarians have a massive numbers advantage. I decided to follow French tactics. Charge impetuously with the horse on the left and anchor my right with infantry in the wood. Kind of worked.
I have to say I was lucky taking Jamie over the army breakpoint and hence pushing him to a draw. A much more likely outcome was a clear Bavarian victory. If you want to balance the scenario up you might make the French horse superior. But I think it is fine as it is.
We quite liked the exploding wings at the end of the game. Both of our wings were depleted after several rounds of melee. So losing a unit routed and general was enough to decimate the remaining troops. It seemed fair enough. The only unusual thing was it happened to both of us at the same time.
The not-quite-woods were the only special rules. My foot took advantage of the woods to hide from Jamie’s horse. That was reasonable but it wasn’t going to protect me from his foot. I do wonder whether I would have bene better off getting my infantry to defend the hill behind the wood. Hard to say. It would have provided a good defensive position against the Bavarian horse and foot, but it quite removed so my foot would not have supported my horse.
We were very rusty. I was terribly slow getting my kit out because I just haven’t done it for six months. And I had to keep the Sequence of Play open in the Tilly’s Very Bad Day rules to remind us what to do when. By the end of the game we had remembered everything we needed but it took us a while to get into the zone.
Jamie flogged we needed a Quick Reference Sheet for Tilly’s Very Bad Day. Of course, we had one, but I hadn’t printed it. Now I have.
All in all, a good game.
Glad you can game face to face again. Another interesting AAR.
Thank you for this report. I want to try this scenario when I can resume face-to-face games.
For a scenario like this, where the number of units is close to the minimum number for a small game, I wonder whether it would be preferable to use the ‘advanced’ command morale rules. Otherwise, as here, the game is likely to be decided by the initial clash, and the game not last long enough for many of units to get into action. If the command morale rules had been used here, both sides would have lost a command, and the game would continue until one or other lost another command.
By the way, I assume Jamie’s reserve cavalry passed its command check. It looks to me as if it was deployed out of command!
RogerC
Or increase the break point.
Jamie’s right flank horse was part of the right wing. So separate from the other horse and in command.
Ooops, that comment was about my right flank horse.
Jamie’s reserve horse was from the centre, helped out on his right, while centre commander drifted left. Hmm, didn’t spot that at the time. Might have made a difference as it would have put the odds in my favour in the cavalry battle.